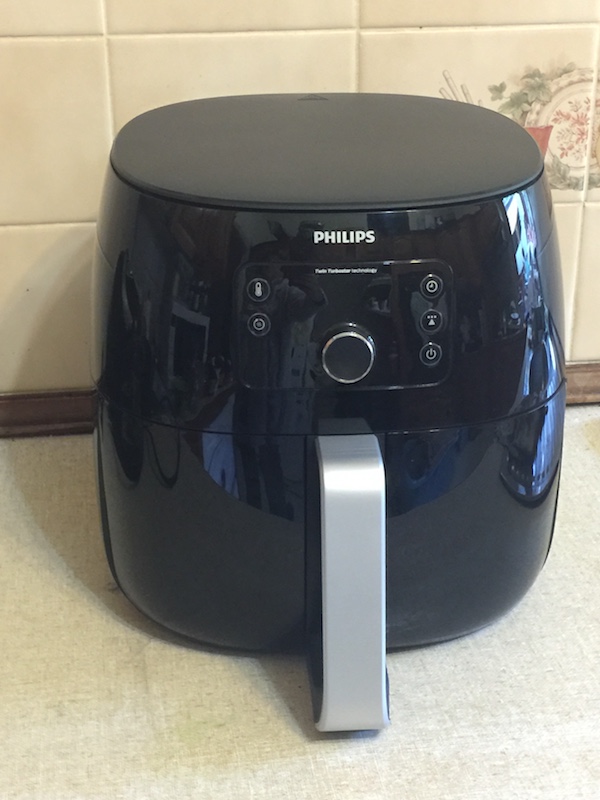
I was sent a Philips Airfryer XXL to test out. Read on to learn how to cook hot chips and lamb chops & veggies in the airfryer. Insert happy dance…
Cooking With The Philips Airfryer XXL
Continue reading
0 Comments
A blog with a little bit of everything for parents
I was sent a Philips Airfryer XXL to test out. Read on to learn how to cook hot chips and lamb chops & veggies in the airfryer. Insert happy dance…

Indulge in the Marvel: A No-Bake Oreo Blackberry Tart! You’re Gorgeous, Yes You Are! Make this showstopper dessert today!
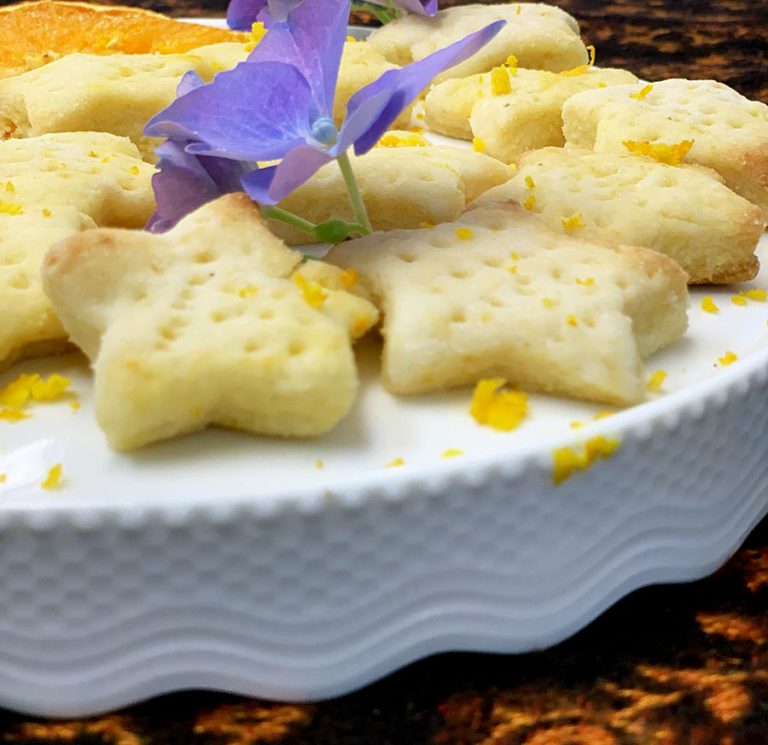
Want to add some sunshine to the traditional shortbread recipe? Just add Valencia orange juice and zest and enjoy zesty orange shortbread.
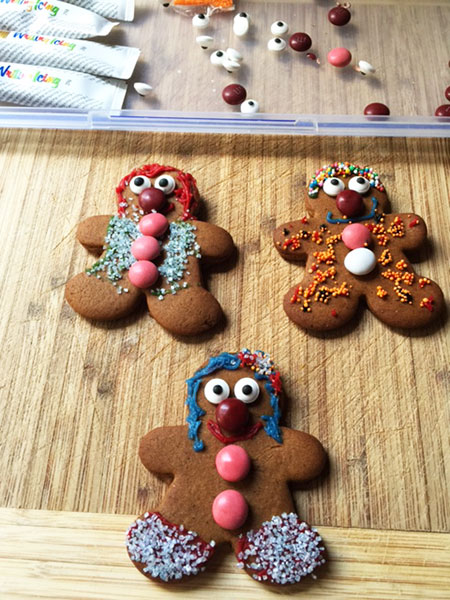
Do you love to make Gingerbread? Would you like to have one of the yummiest recipes there is for gingerbread? Then read on to download the recipe and to see my versions that I created.
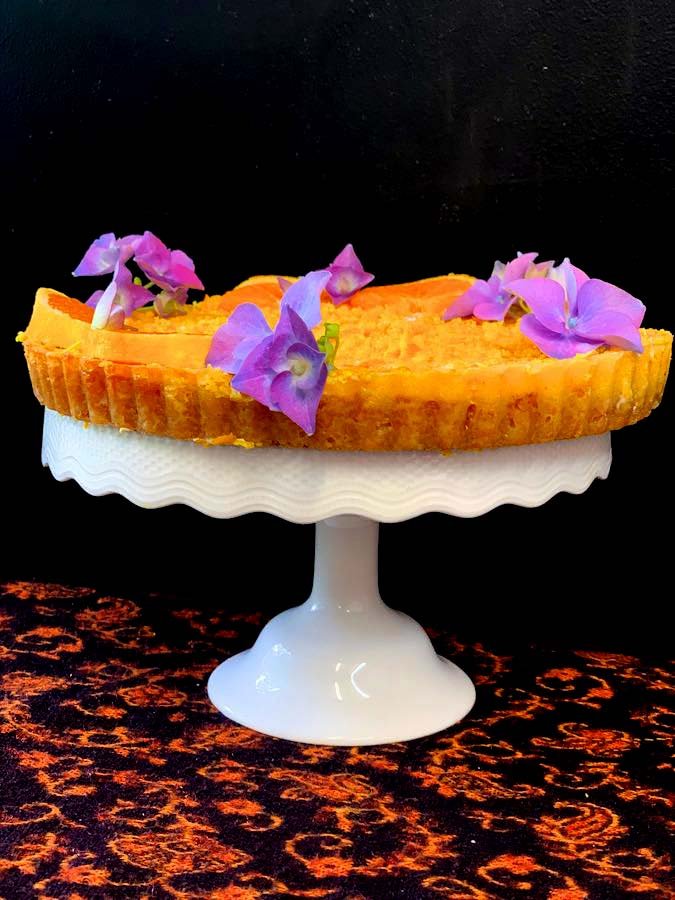
Oranges are bright, colourful and a happy fruit. Yes, fruit can be happy, especially when it reminds me of summer and holidays. Make Valencia Orange Sunset Pie and share the taste of summer.
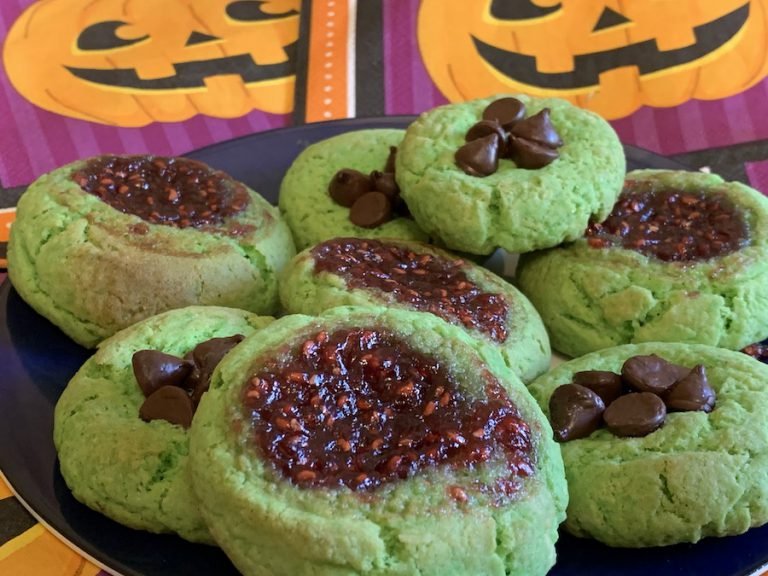
Make Snot Drops for Halloween. Download the recipe card to make your own snot drops today!
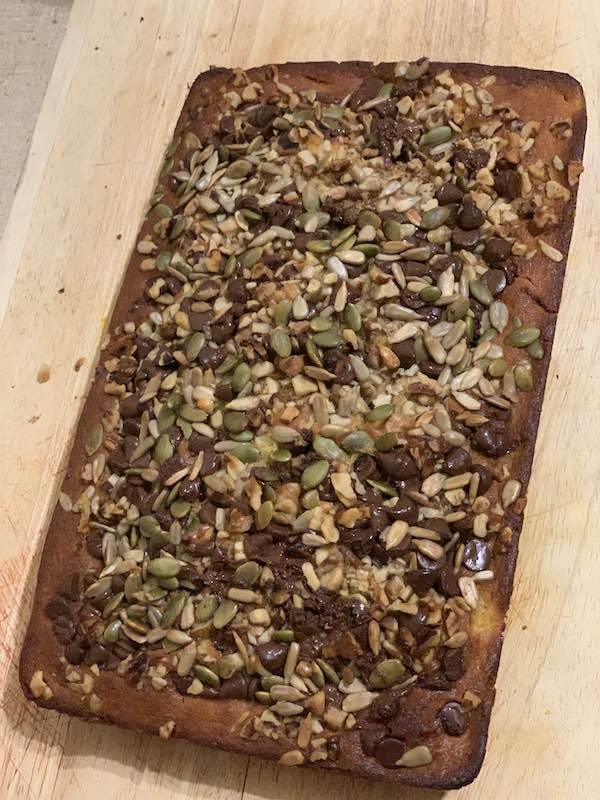
Make this yummy treat today – Choc Chip Pumpkin Bread is super easy to make and super yummy too. See the video on how easy it is to create.
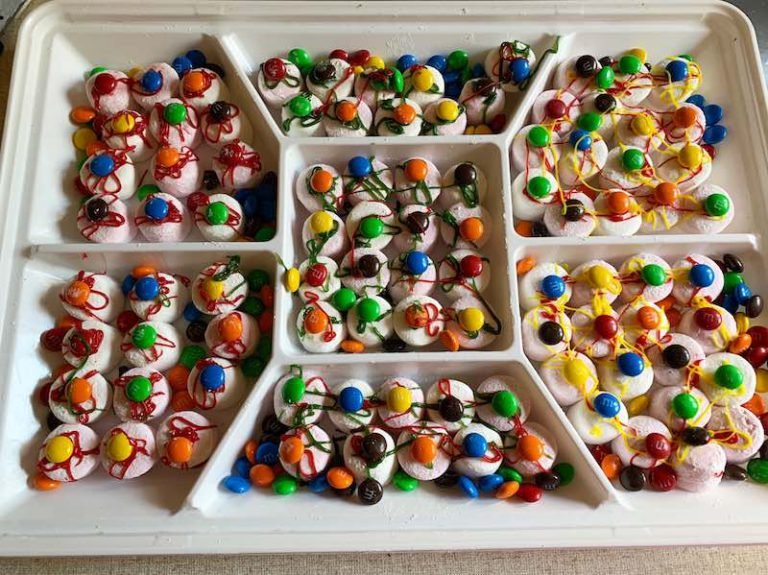
Make a quick no-bake spooky treat – Zombie Eyes! Make a batch today.
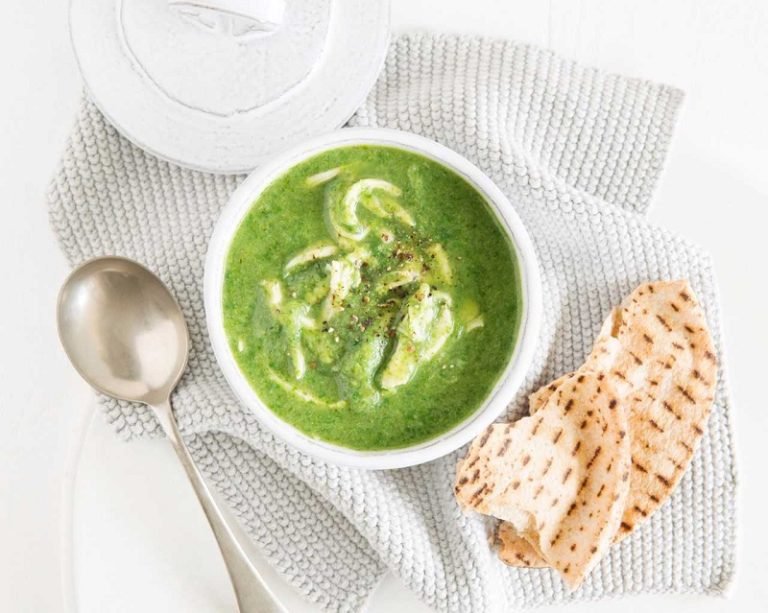
Warm up your chilly evenings with a vibrant and delicious Chicken & Broccoli Soup! It’s packed with nutrients and flavours that will make your nights cosier. Get the recipe now!
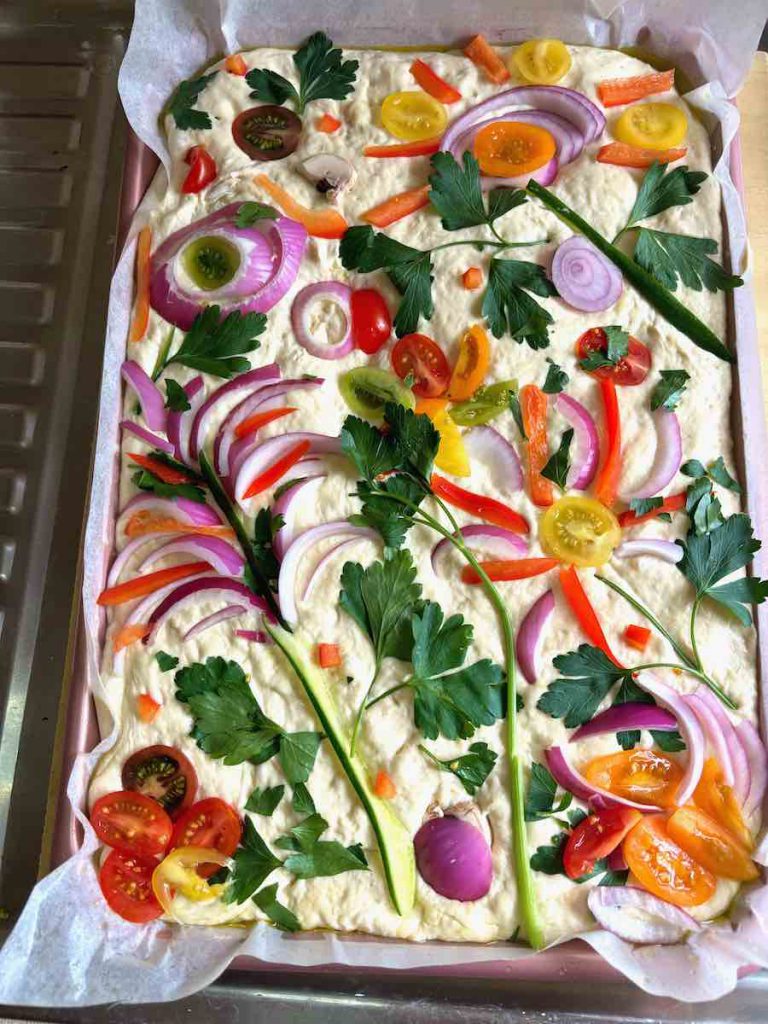
Get ready to bake the prettiest focaccia ever, complete with veggie flowers and garden-inspired decorations! This stunning, mouthwatering masterpiece is as fun to make as it is to eat. Perfect for impressing guests or treating yourself, this focaccia will have everyone asking for the recipe. Don’t miss out on this showstopper bread – your taste buds (and Instagram feed) will thank you!
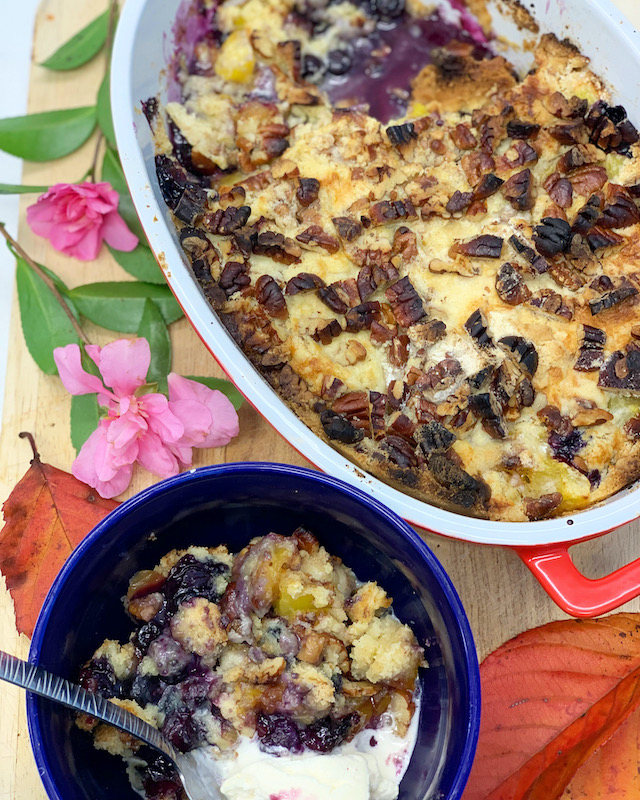
Have you wondered what a dump cake was, well wonder no more! Make one and find out how easy it is, plus yummy!
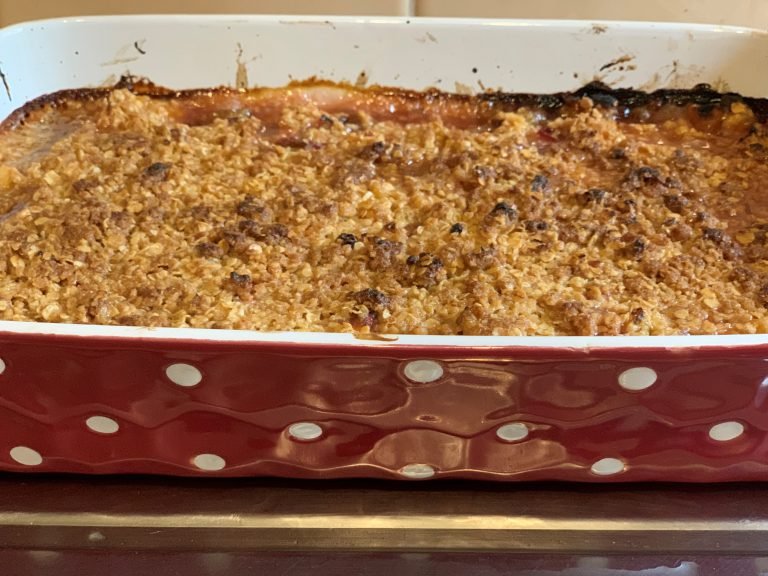
Make a yummy mandarin and rhubarb crumble today. Everyone will love it and it will certainly impress if you are having a dinner party. Easy and quick to make. Download the FREE recipe card as well to make cooking easier.