Indulge in the Marvel: A No-Bake Oreo Blackberry Tart! You’re Gorgeous, Yes You Are! Make this showstopper dessert today!

Gorgeous Easy No-Bake Oreo Blackberry Mousse Tart
Continue reading
0 Comments
A blog with a little bit of everything for parents
Indulge in the Marvel: A No-Bake Oreo Blackberry Tart! You’re Gorgeous, Yes You Are! Make this showstopper dessert today!
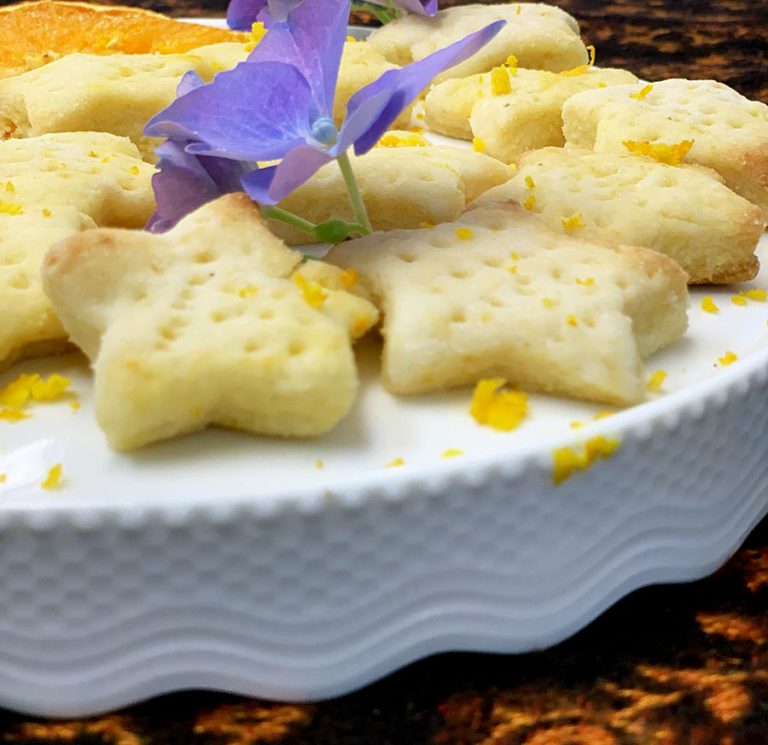
Want to add some sunshine to the traditional shortbread recipe? Just add Valencia orange juice and zest and enjoy zesty orange shortbread.
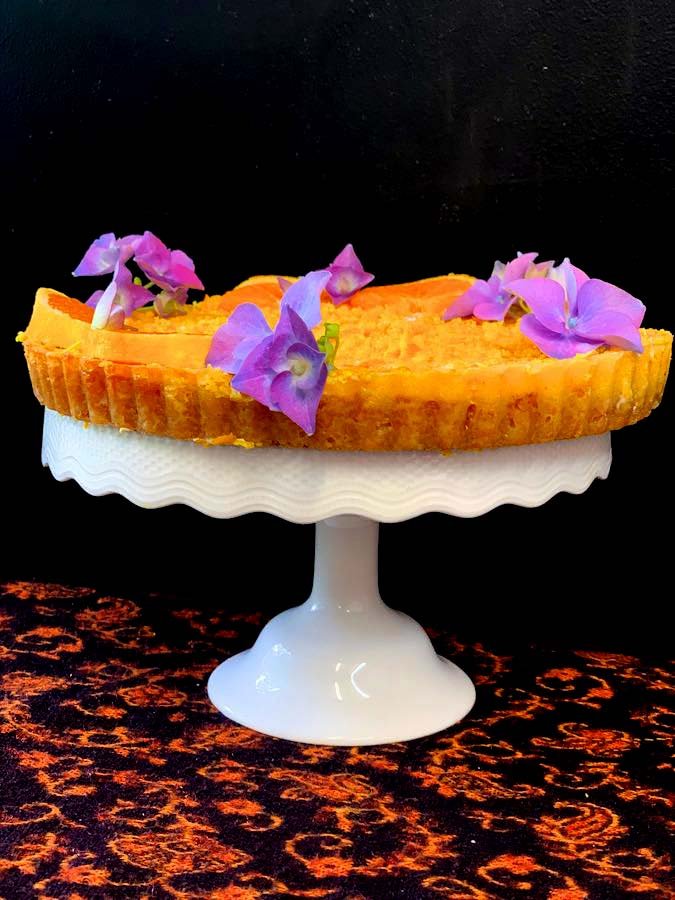
Oranges are bright, colourful and a happy fruit. Yes, fruit can be happy, especially when it reminds me of summer and holidays. Make Valencia Orange Sunset Pie and share the taste of summer.
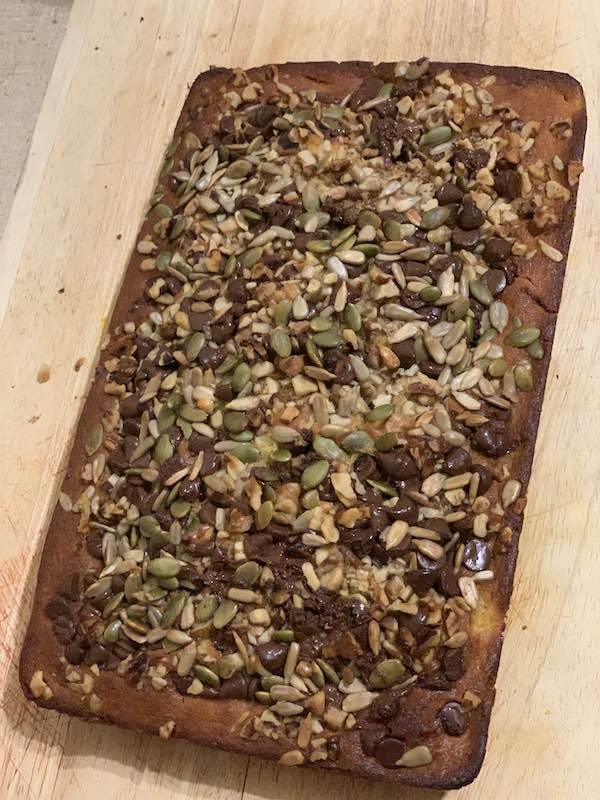
Make this yummy treat today – Choc Chip Pumpkin Bread is super easy to make and super yummy too. See the video on how easy it is to create.
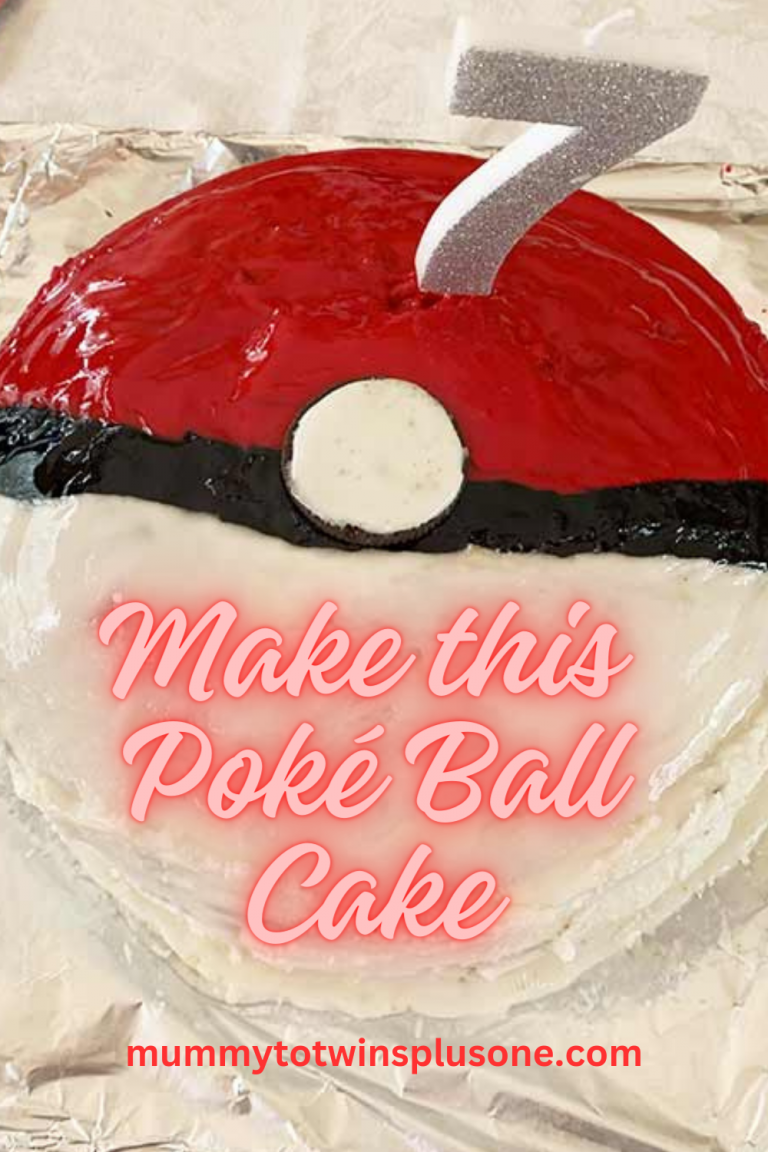
Got a Pokémon superfan in your life? Someone whose love for those pocket monsters knows no bounds, whether they’re a kid or a kid-at-heart adult? Make them an epic Poké Ball cake.
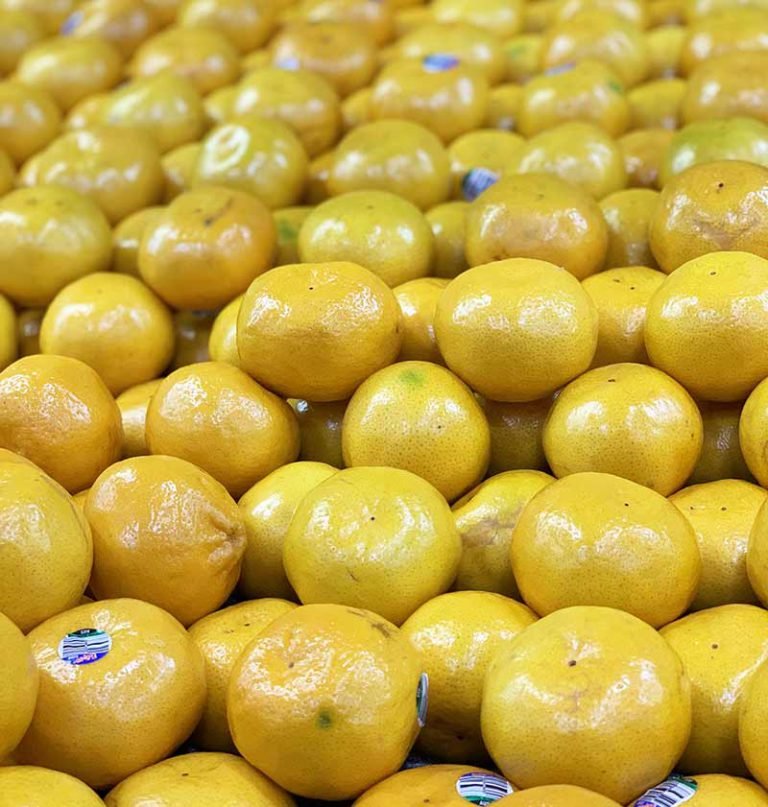
Cook some new and delicious dishes with Mandarins. Download the recipes for Mandarin Curd Tart and Spiced Mandarin Marinade.
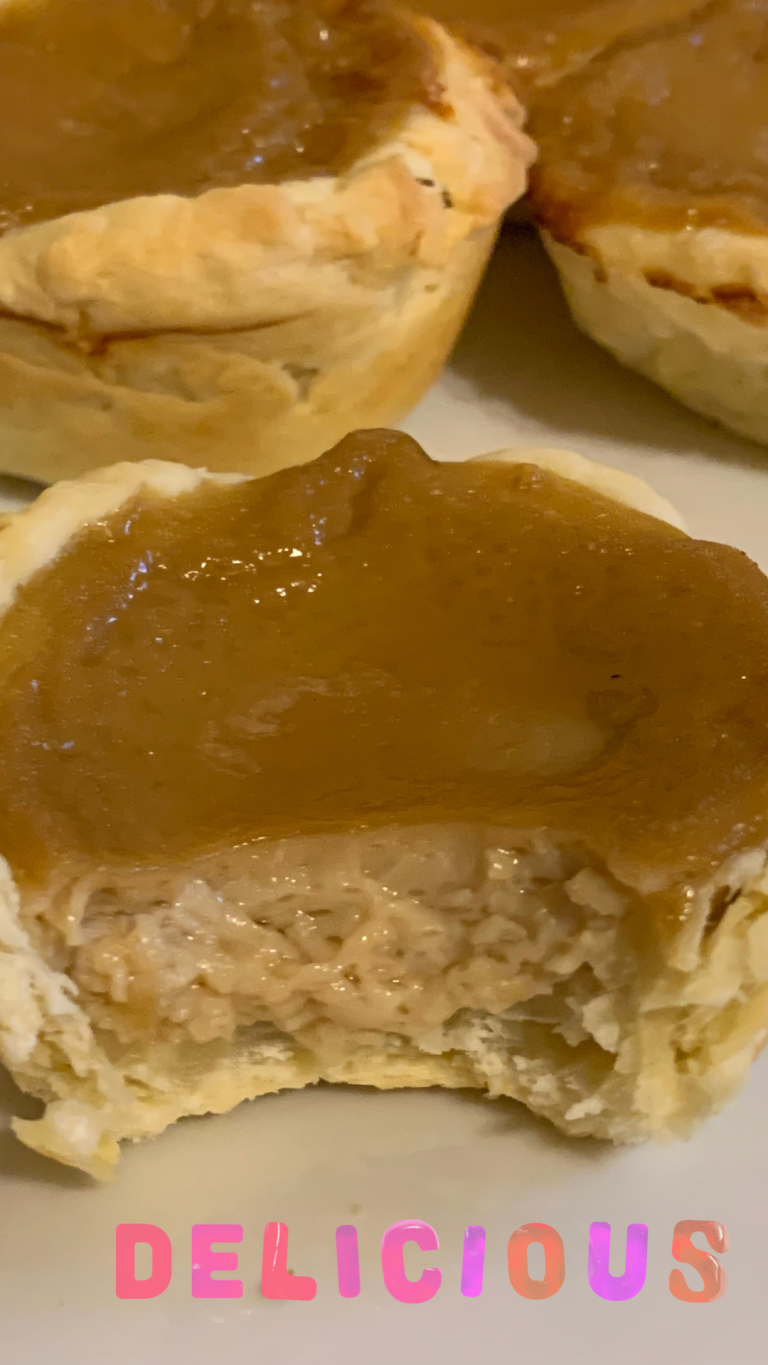
Make Hong Kong Egg Tarts to celebrate the Lunar New Year. I made mine with brown sugar so they look a little bit darker than the standard egg tart, but still taste amazing.
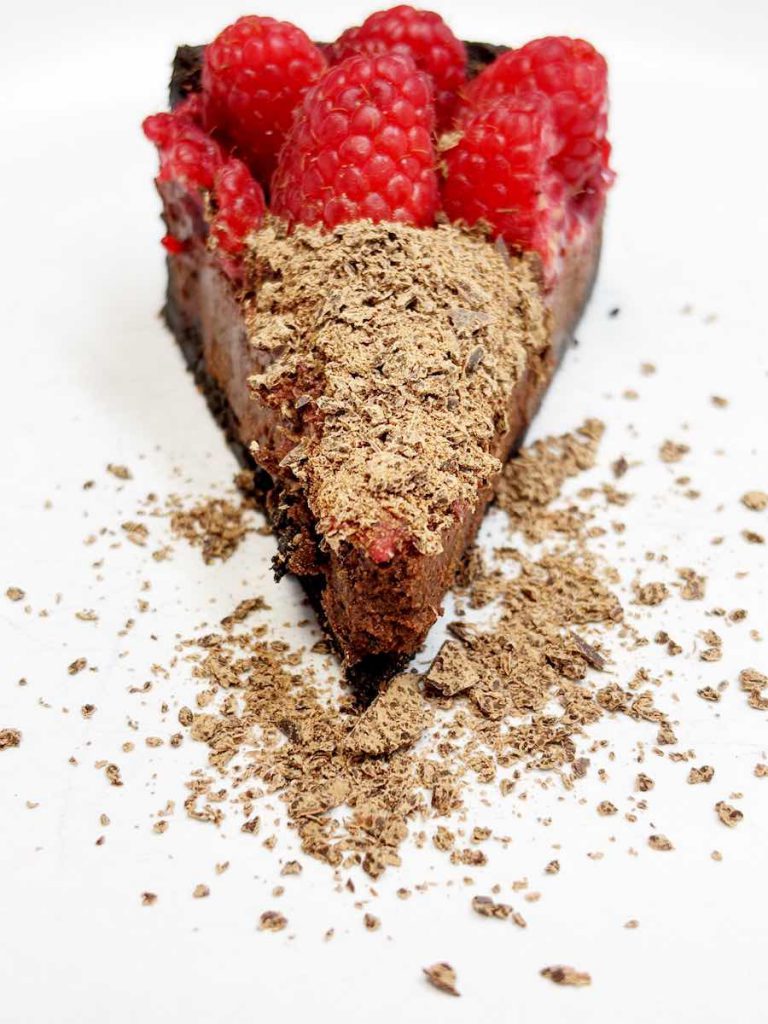
Ready to wow your guests with minimal effort? This tart is the secret weapon you’ve been waiting for! Think rich dark chocolate, zesty raspberries, and an Oreo crust that’s easier than pie. Whether you go big or mini, this dessert will steal the show at your next dinner party, birthday bash, or any special occasion. Trust us, you’ll want to make it again—and again!
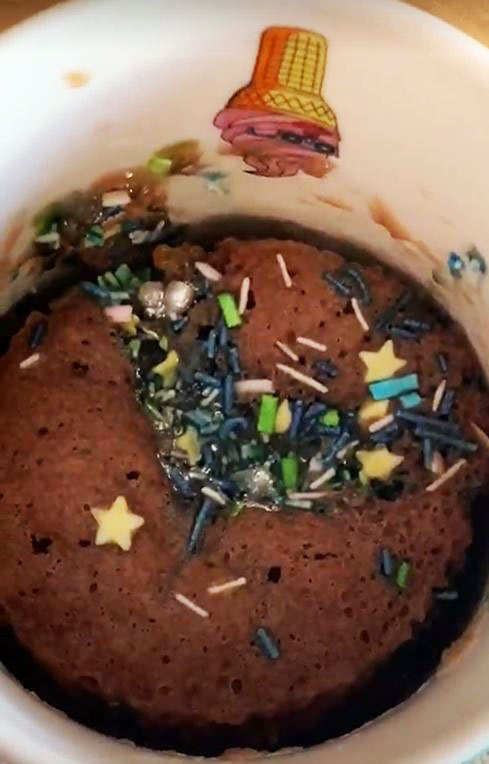
Make a super yummy and easy microwave mug cake. I used cake mix to make it super easy and quick. Get the ingredients and instructions and make yours today!
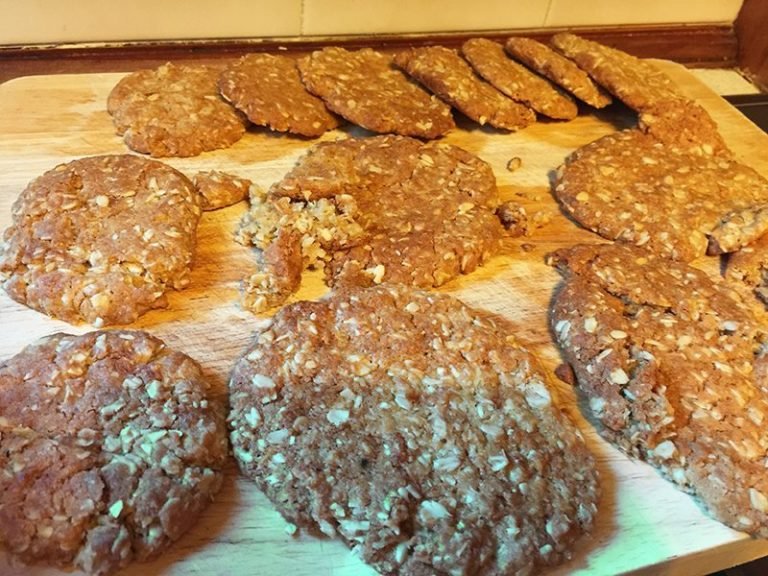
I used the ANZAC Biscuit recipe from the Wiki Cookbook – ANZAC Biscuits, however, if you wish to do the more traditional method it is available from The Australian War Memorial…
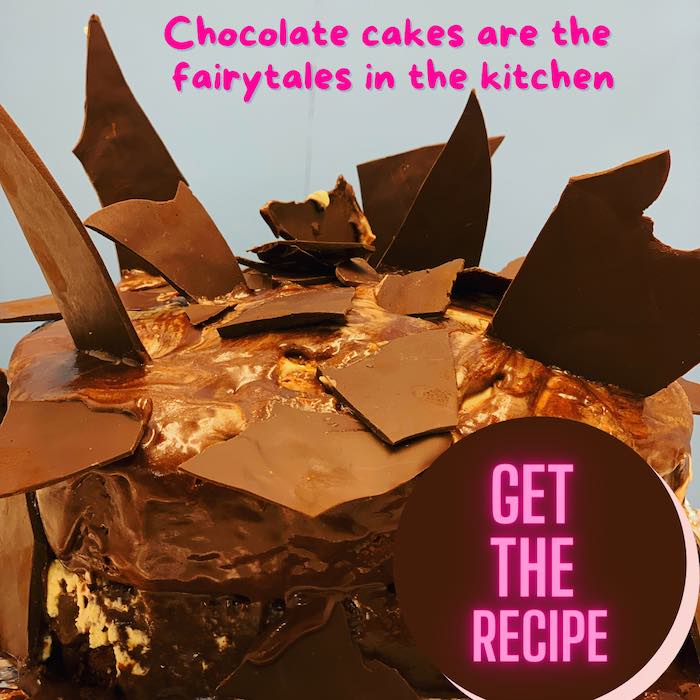
Have the urge for a very dark chocolate cake? If you said yes, then this recipe is for you. See how I made a Marble Dark Chocolate Cake.
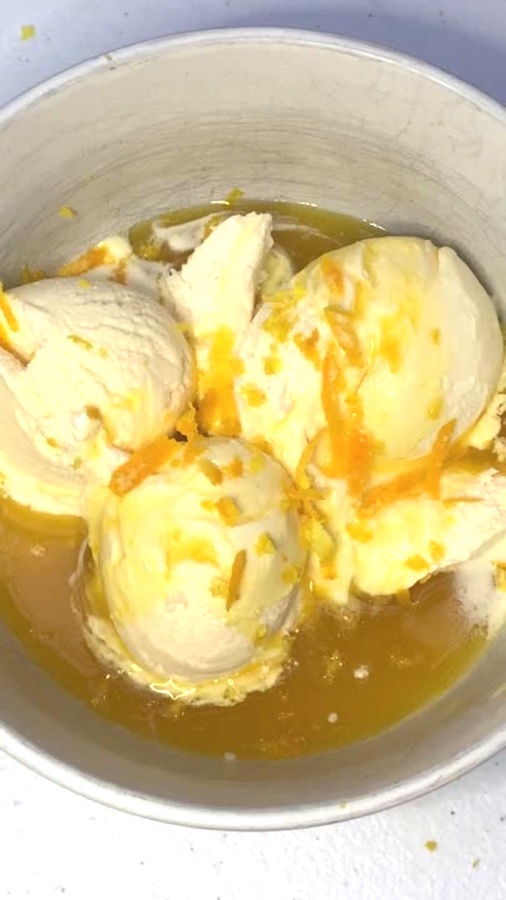
Did you know how easy it is to make orange syrup? How about making it even more orangey? Read on to see how I made orangey orange syrup.