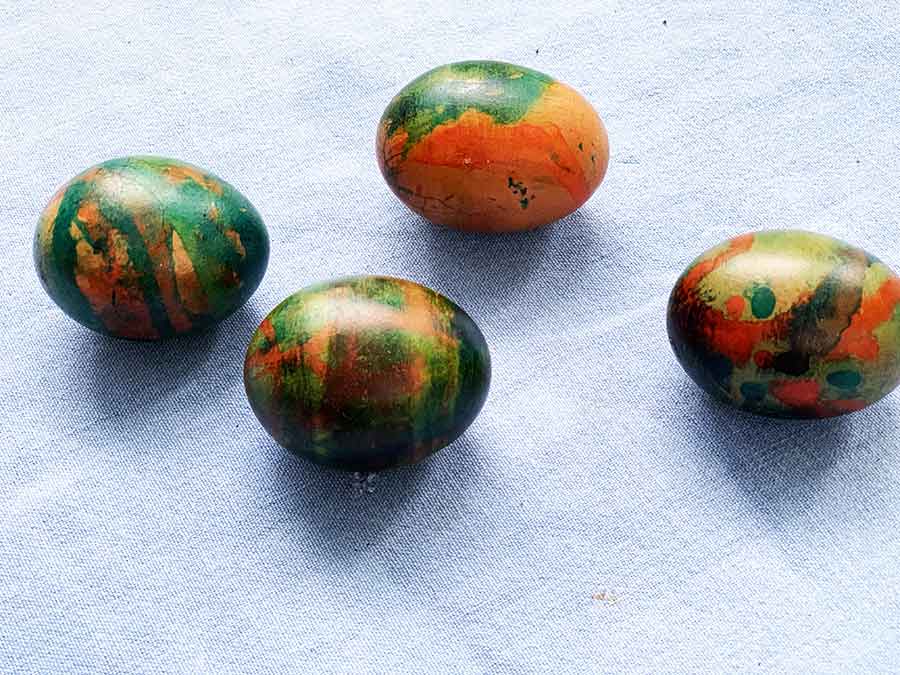
Make Marbled Easter Eggs this Easter. It is easy and so much fun.
A blog with a little bit of everything for parents

Make Marbled Easter Eggs this Easter. It is easy and so much fun.
Make something unique and cheap this Christmas and safe money.
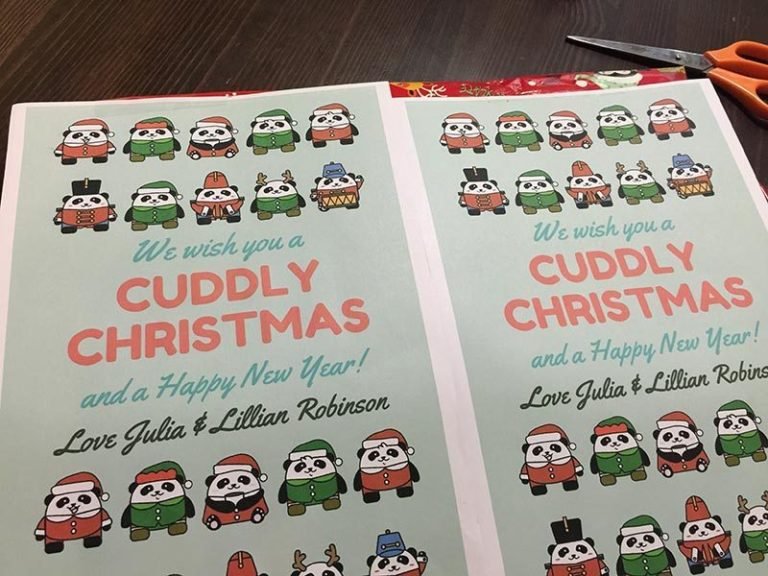
Need a cheap, easy and special teachers gift? This is something that you can do quickly and will be treasured by your favourite teacher.
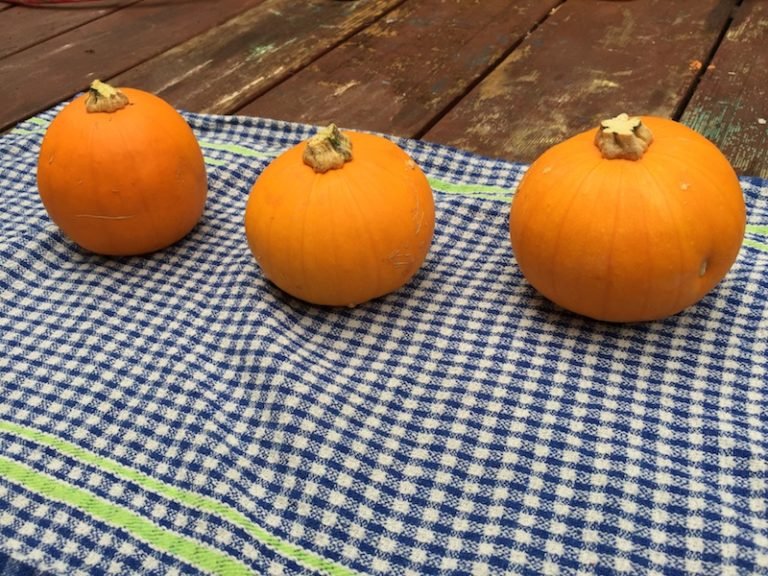
Yesterday the kids and I created mini Jack O’Lanterns. Three mini pumpkins, just the right size for kids to carve and also the right number for each child. Also, they…
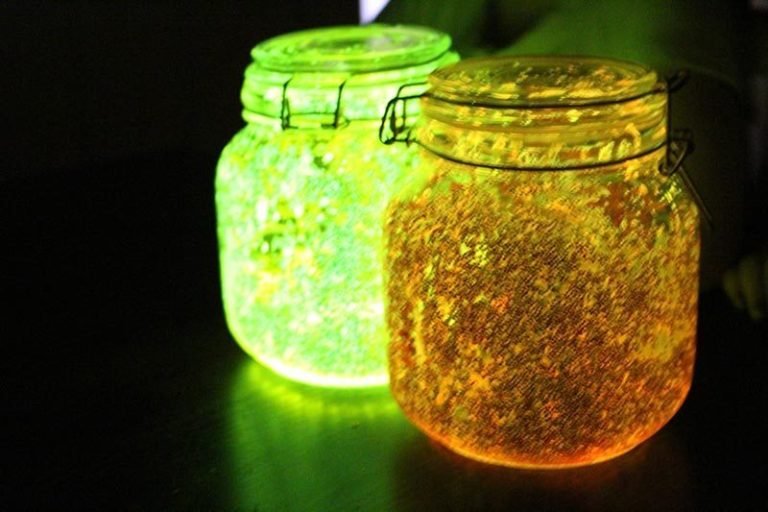
Would you like to create fairy lights? Need a great activity to do with the kids? I have seen this on the web and thought “Does it really work?” “Will…
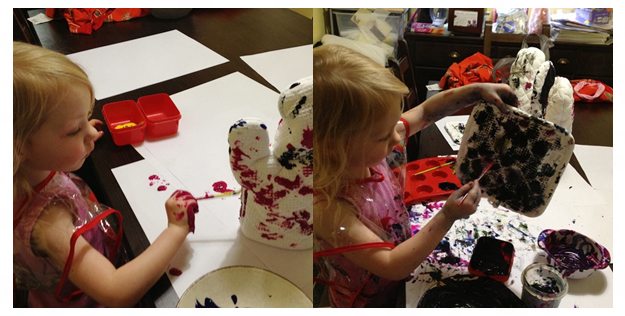
🎨 Paint, play, and get messy!
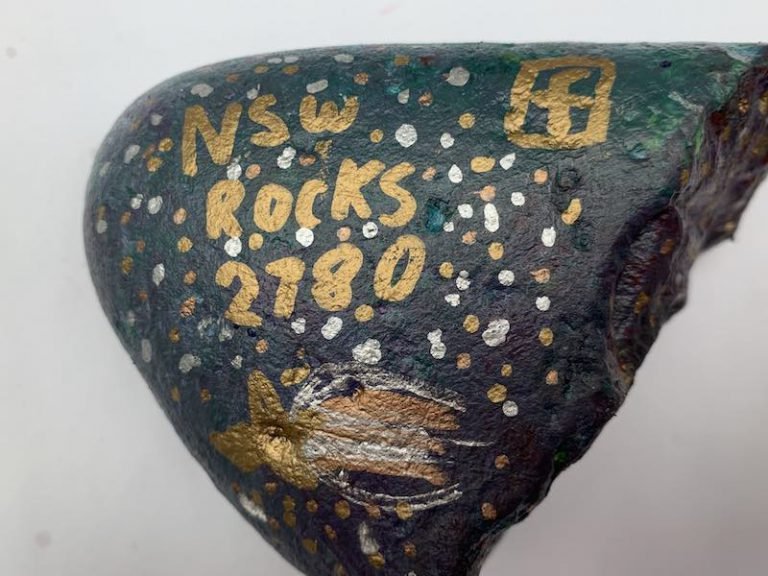
Turn ordinary rocks into sparkly space scenes or rainbow bugs—then hide them in your local park! It’s creative fun that gets kids outdoors and away from screens. Just don’t forget the old clothes!
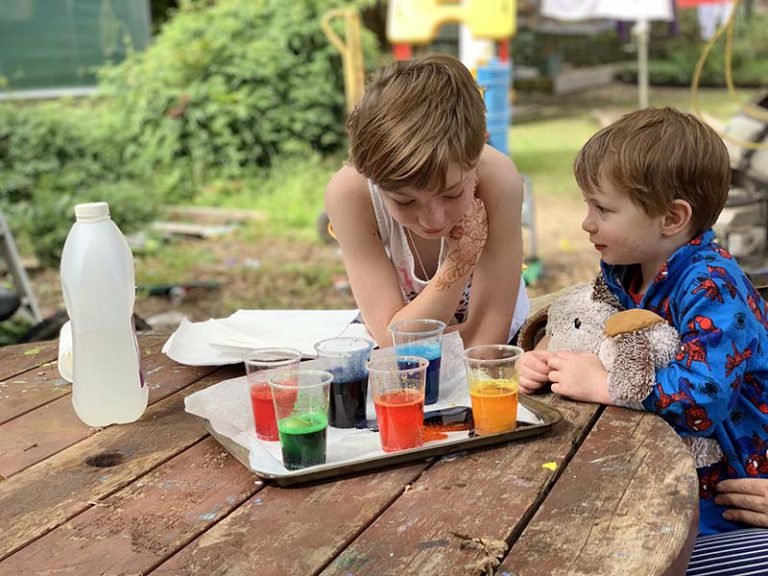
Looking for a fun Easter activity? Try Fizzy Dyed Easter Eggs! It’s easy, interactive, and perfect for kids and adults. Get the recipe and tips on our blog for a bubbly Easter adventure! #EasterCrafts #FamilyFun 🌈🐣
See what an easy and cheap art project this is to do, and it also keeps kids busy and also gets them outdoors. Watch the video and create one today!

Make this amazing smelling raspberry play dough! It smells fabulous and is also so soft. Have fun with this great play dough recipe. Read my post to find out what the mystery ingredient is.

Take the kids outdoors to mine for crystals and diamonds…it is so much fun and a marvellous adventure. Learn more about how to do this fun activity.

Easter will soon be here and so will the Easter Hat parade at your local school. If this is shocking, then I might have freaked you out. Breathe it is okay! Read on to find out how to make the most amazing Easter Hat!
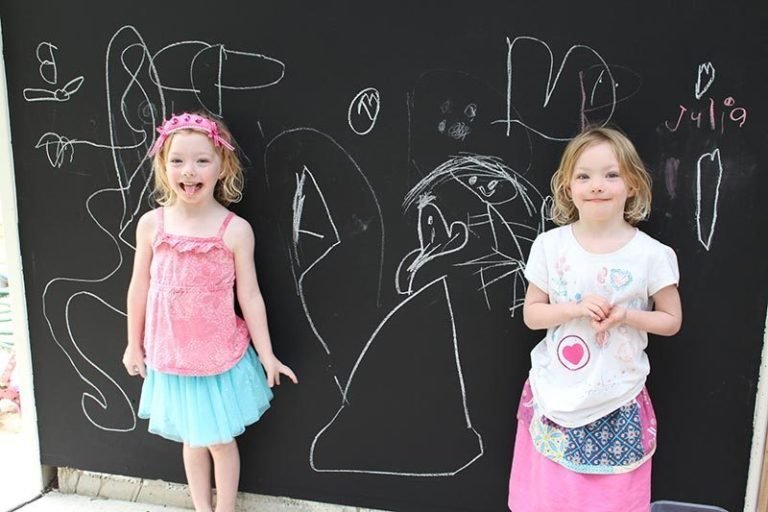
🎨 DIY Blackboard in 3 Easy Steps! Unleash Your Kids’ Creativity! 🌟
Looking for a fun project? Create a DIY blackboard in just 3 steps! 🖌️ Transform any wall into a canvas for your little artists! 💡 Get started now and watch their creativity soar! Read more here!