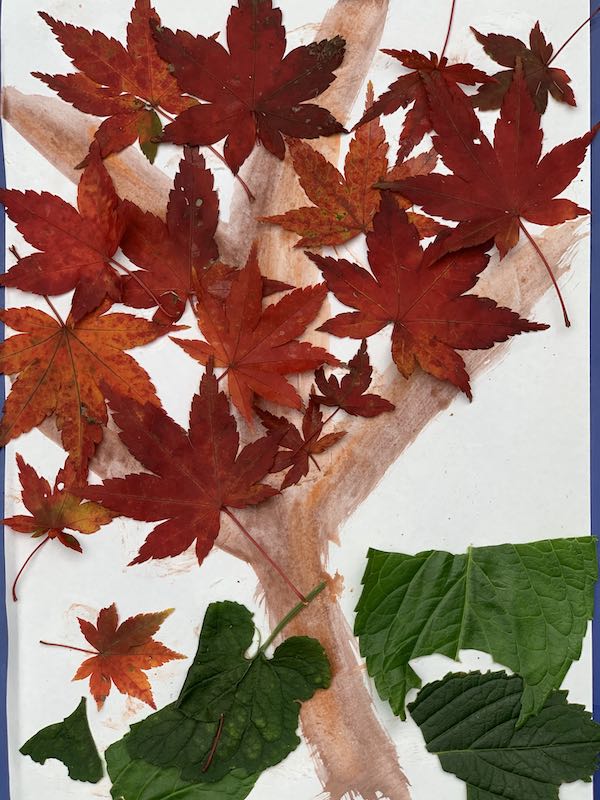
See what an easy and cheap art project this is to do, and it also keeps kids busy and also gets them outdoors. Watch the video and create one today!
Create Autumn & Winter Pictures
Continue reading
0 Comments
A blog with a little bit of everything for parents
See what an easy and cheap art project this is to do, and it also keeps kids busy and also gets them outdoors. Watch the video and create one today!
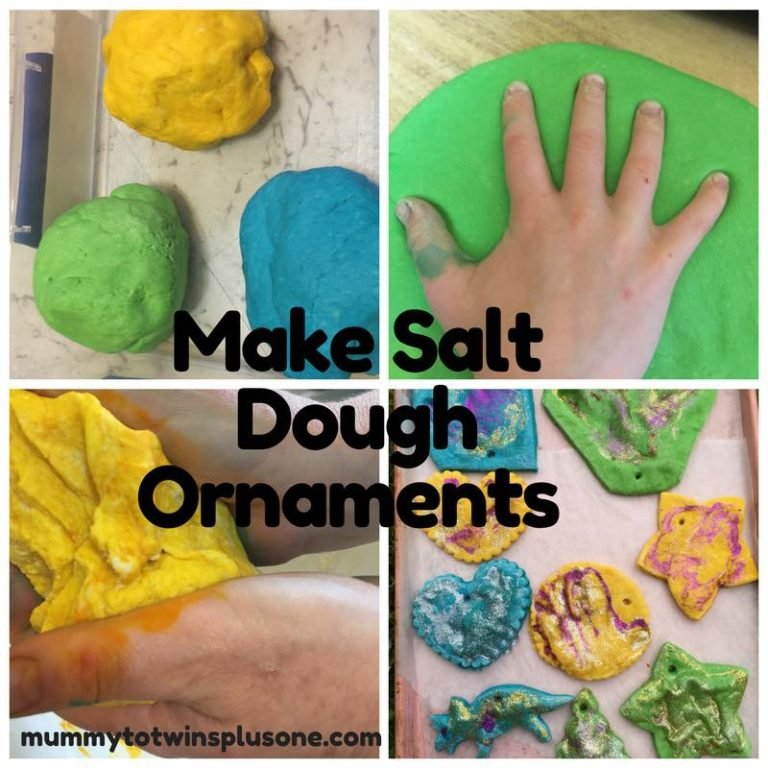
Salt Dough Ornaments are a perfect craft project to do with the kids. They are fun and you can make whatever your heart desires. Your imagination can run wild. My…
This post was provided by Education.com Young kids usually have only a vague sense of time. They probably know that an hour is longer than ten minutes, and a week…
Note: First published July 2014..although this is great no matter what year. Have you wondered what to do with the kids these school holidays? Worried that if you take them…

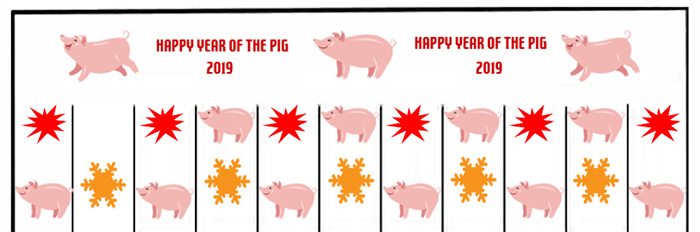
Download a FREE Year of the Pig Chinese Lantern. Perfect for Chinese New Year, and a fun craft activity for kids. Get yours today!
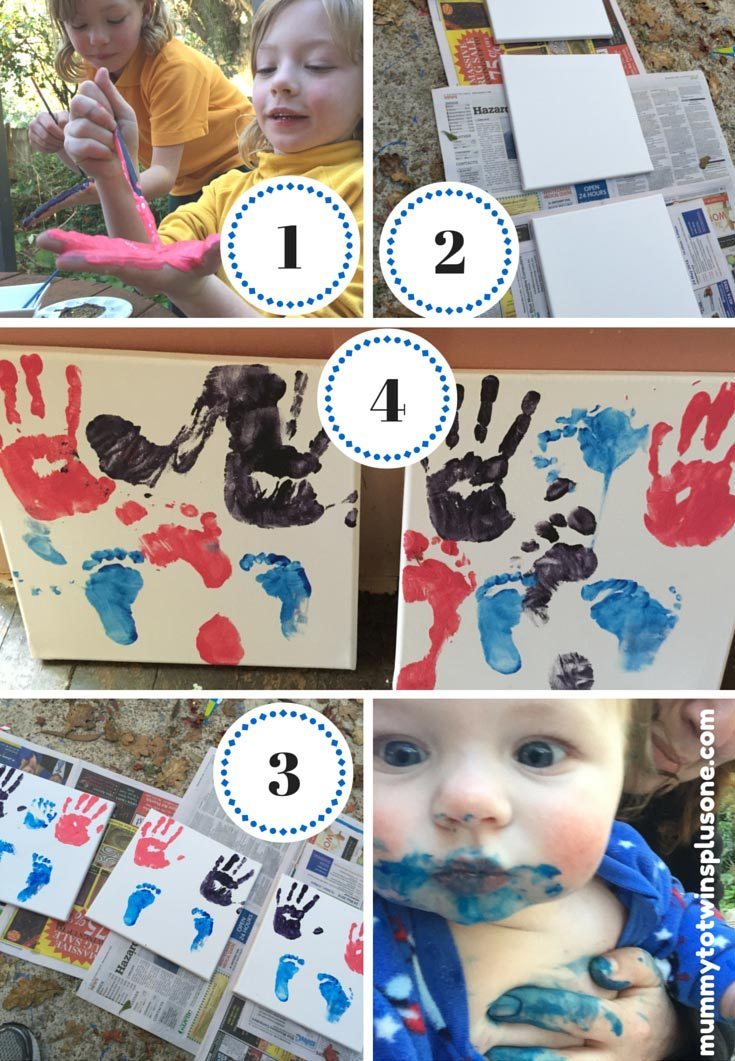
Make this easy and cheap gift for birthdays, Mother’s Day, Father’s Day, Celebrating being a new mum/dad, or even Christmas. Capture the feet and hands of your little ones on canvas. Warning this is a messy activity.

Need a unique gift for a family member? Don’t have heaps of money? Well this great project will give you a cheap gift and your family member will cherish the…
Do you sometimes feel like packing it in. No point. No one is listening, reading or paying any attention. I do. I have had many moments where I have just…

I started my blog nearly seven years ago. I did it due to being at home with my new born twins and feeling disconnected from my previous life as a…
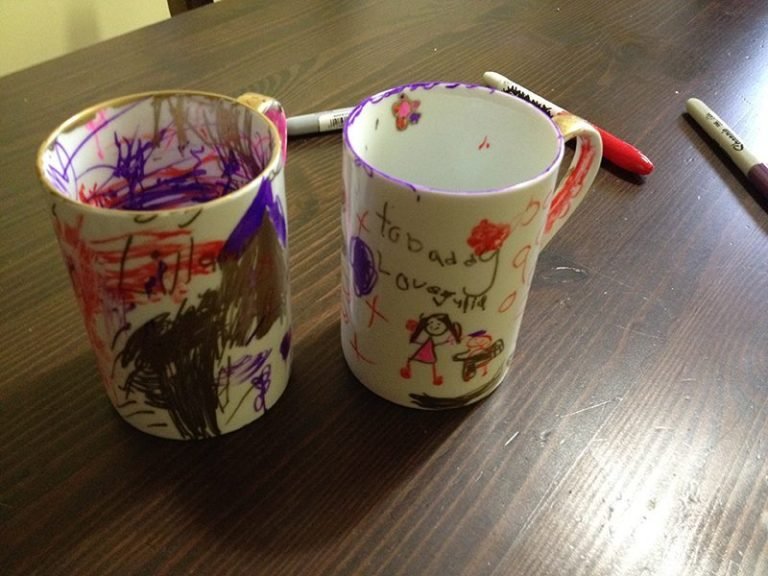
This post was originally created for a Father’s Day tutorial. However this could be applied for Christmas gifts, birthdays and anything at all. Use it to create some great presents…
Why is it when you suddenly have time for you, the slot fills with something else to do and you never get to do what you wanted to do? I…