Want to add some sunshine to the traditional shortbread recipe? Just add Valencia orange juice and zest and enjoy zesty orange shortbread.

Zesty Orange Shortbread
Continue reading
0 Comments
A blog with a little bit of everything for parents
Want to add some sunshine to the traditional shortbread recipe? Just add Valencia orange juice and zest and enjoy zesty orange shortbread.
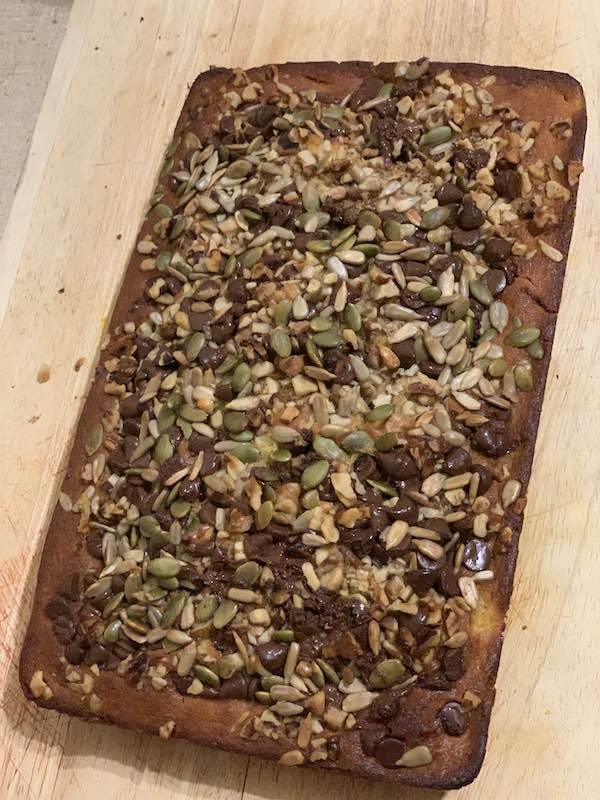
Make this yummy treat today – Choc Chip Pumpkin Bread is super easy to make and super yummy too. See the video on how easy it is to create.
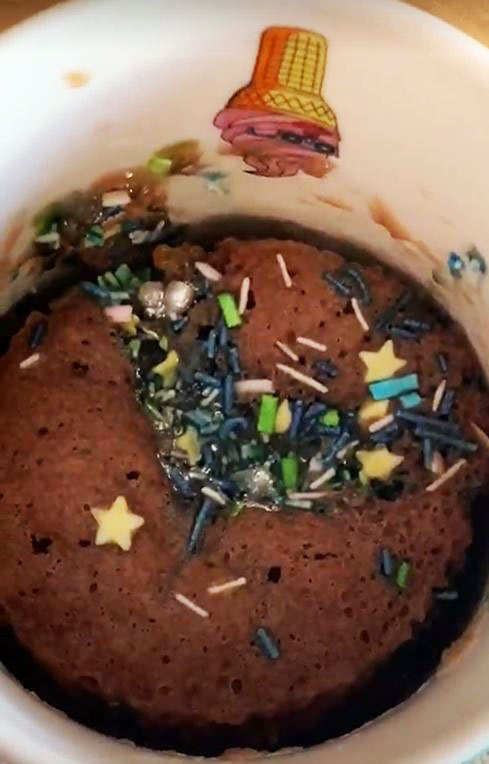
Make a super yummy and easy microwave mug cake. I used cake mix to make it super easy and quick. Get the ingredients and instructions and make yours today!
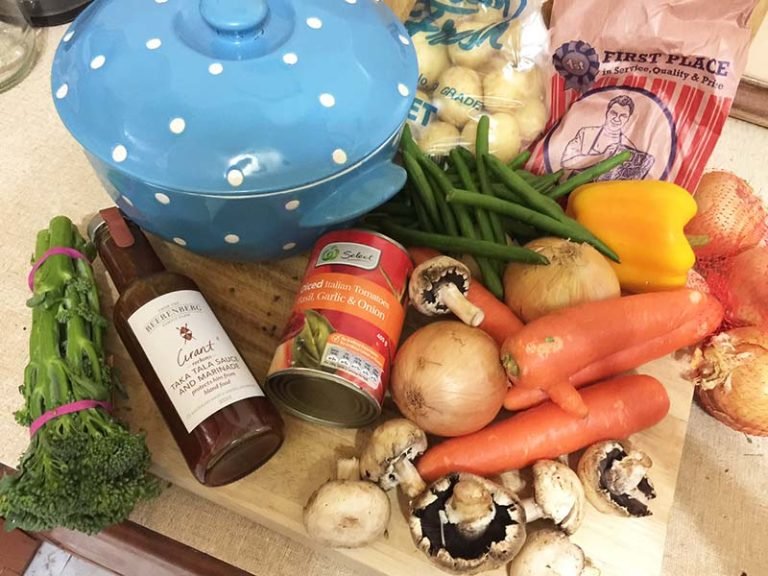
I love going to the Veggie Patch in Blackheath. As the name suggests they sell fresh produce: fruit and vegetables. However, they also sell pasta, sauces, and all sorts of…
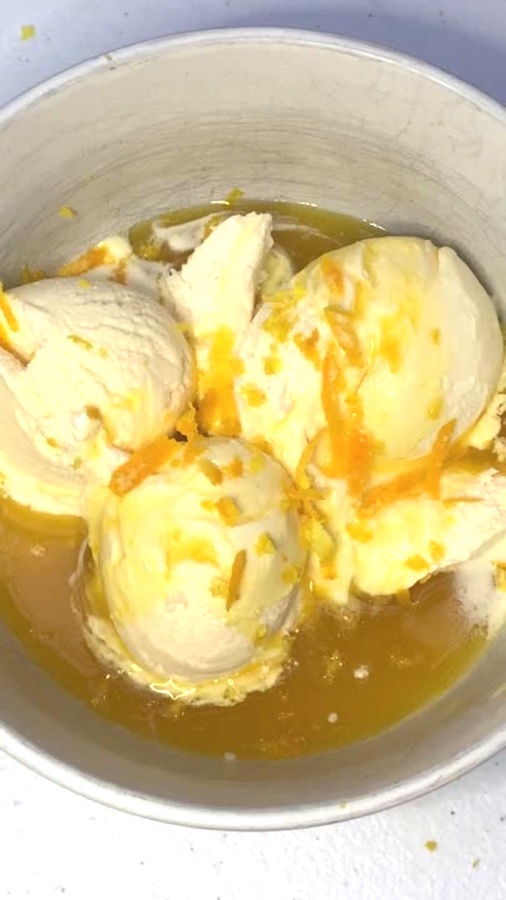
Did you know how easy it is to make orange syrup? How about making it even more orangey? Read on to see how I made orangey orange syrup.
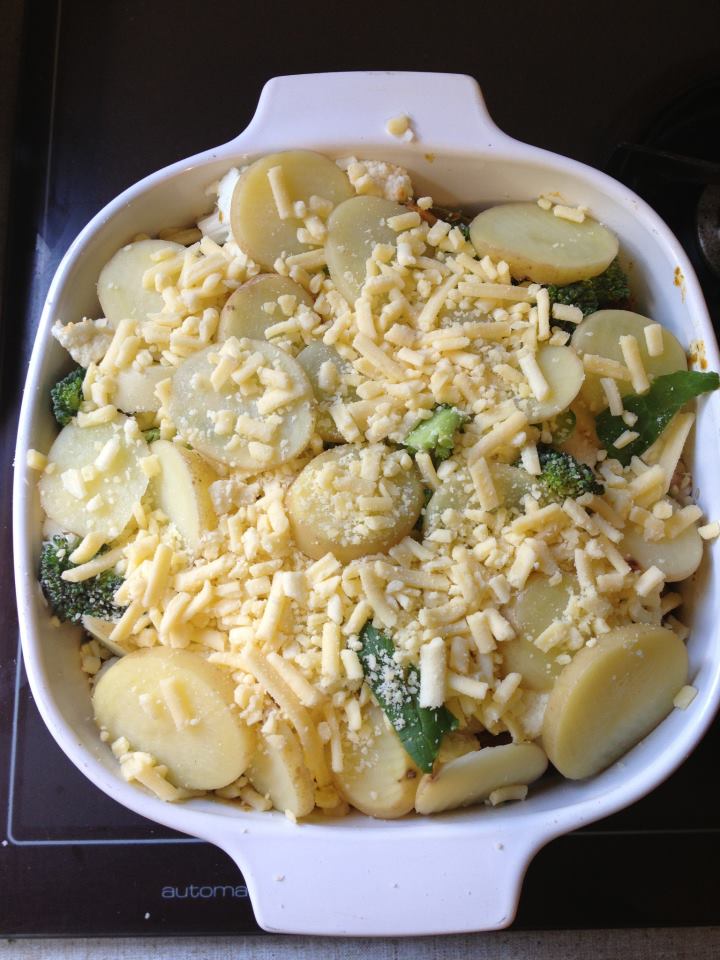
If you are like me you sometimes run out of things for dinners. Yes sad but true. This tasty recipe that I’m about to share only uses some items from…
Make easy mini pies for dinner, lunch or for Australia Day. You will be so amazed at how easy they are to make, and how yummy they are.
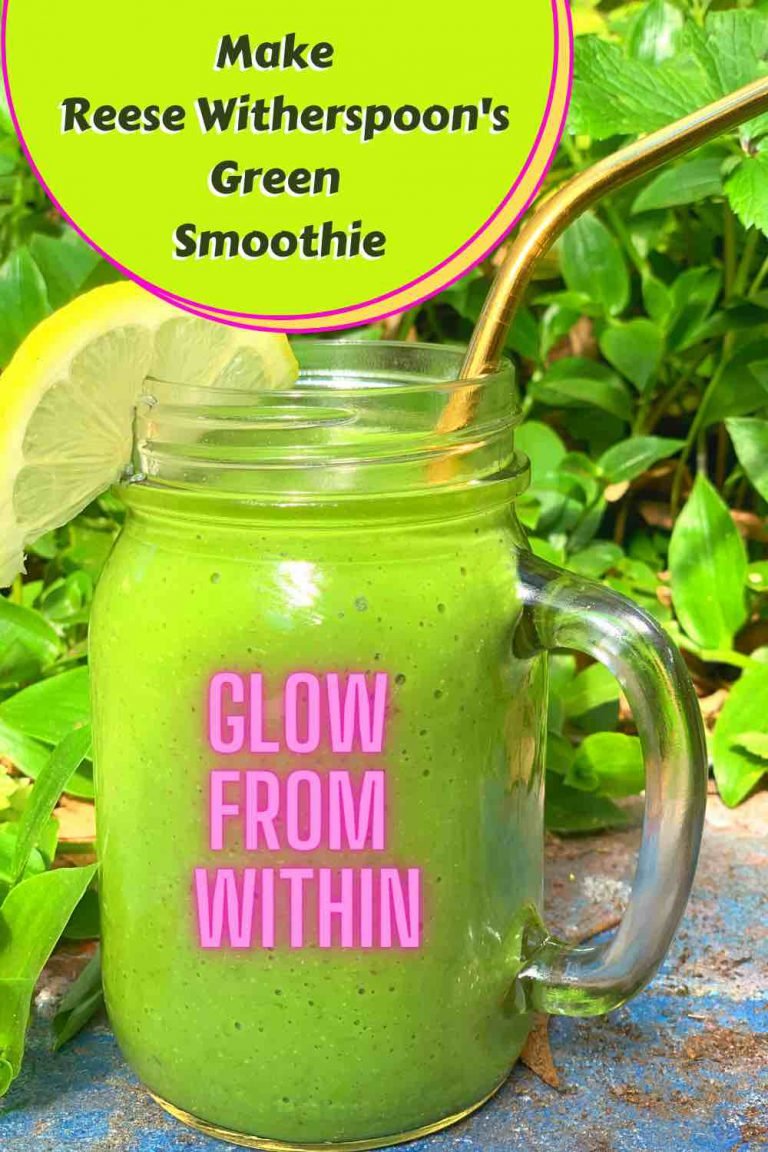
Would you like better skin? What about hair and nails? How about adding a green smoothie to your daily routine? I am testing out Reese Witherspoon’s Green Smoothie to see if it makes a difference to my body.
Zen Green Tea sent me some Green Tea Matcha to try. They had no idea that I just love green tea… actually it is so yummy the smell of the…

IGA sent me a bag of goodies to say Happy Easter. It was a lovely bag that I can reuse and it was filled with baked goods to make a…
Hi all, this is a good one if you have a curry or meat from the night before. I cooked a beef curry and had meat and mostly sauce over….