Make this super easy and stunning digger cake for your child’s next birthday.
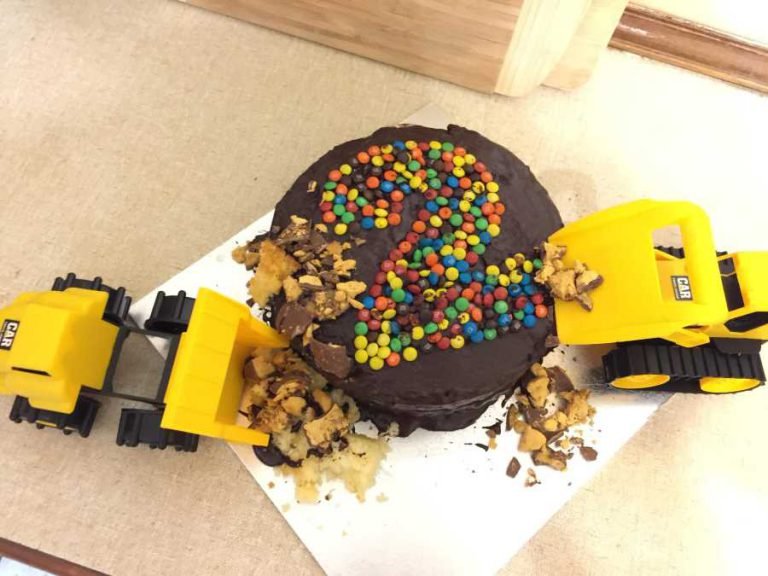
Digger Birthday Cake
Continue reading
0 Comments
A blog with a little bit of everything for parents
Make this super easy and stunning digger cake for your child’s next birthday.
Make your next celebration easy with the Coles Vanilla Pink Drip Cake – Have it decorated and looking awesome in record time. See how we made ours look like a summer festival.
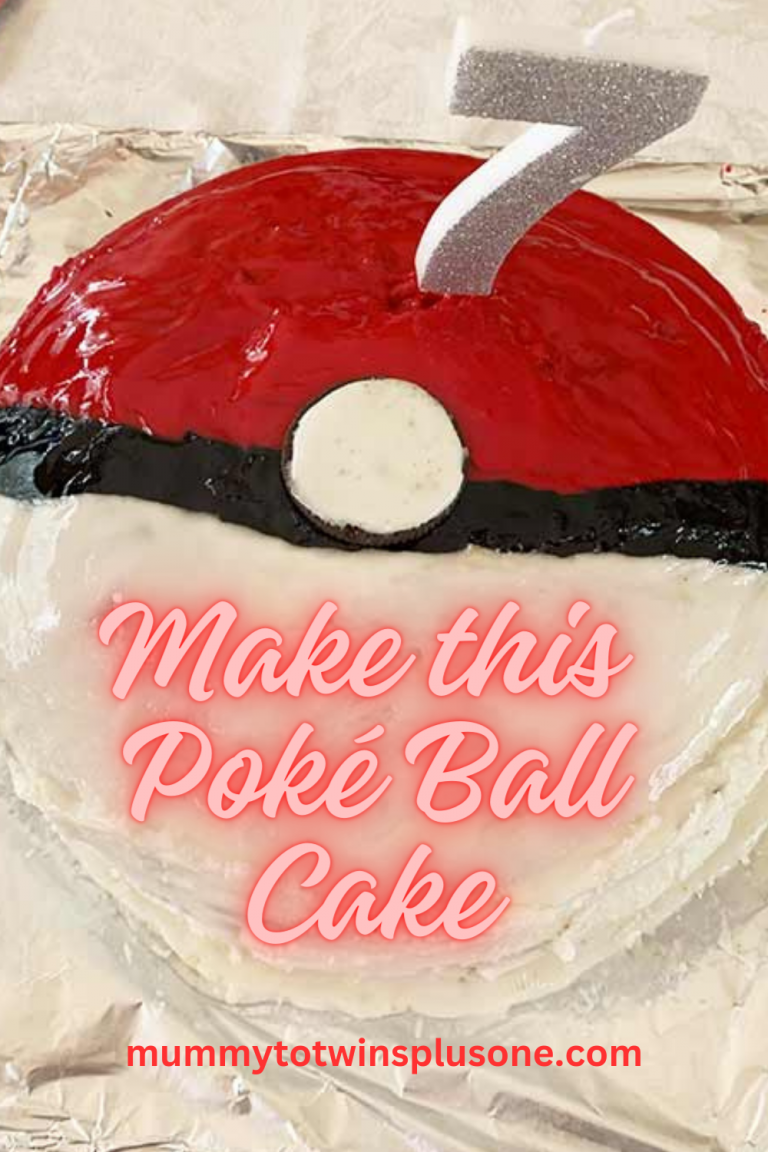
Got a Pokémon superfan in your life? Someone whose love for those pocket monsters knows no bounds, whether they’re a kid or a kid-at-heart adult? Make them an epic Poké Ball cake.
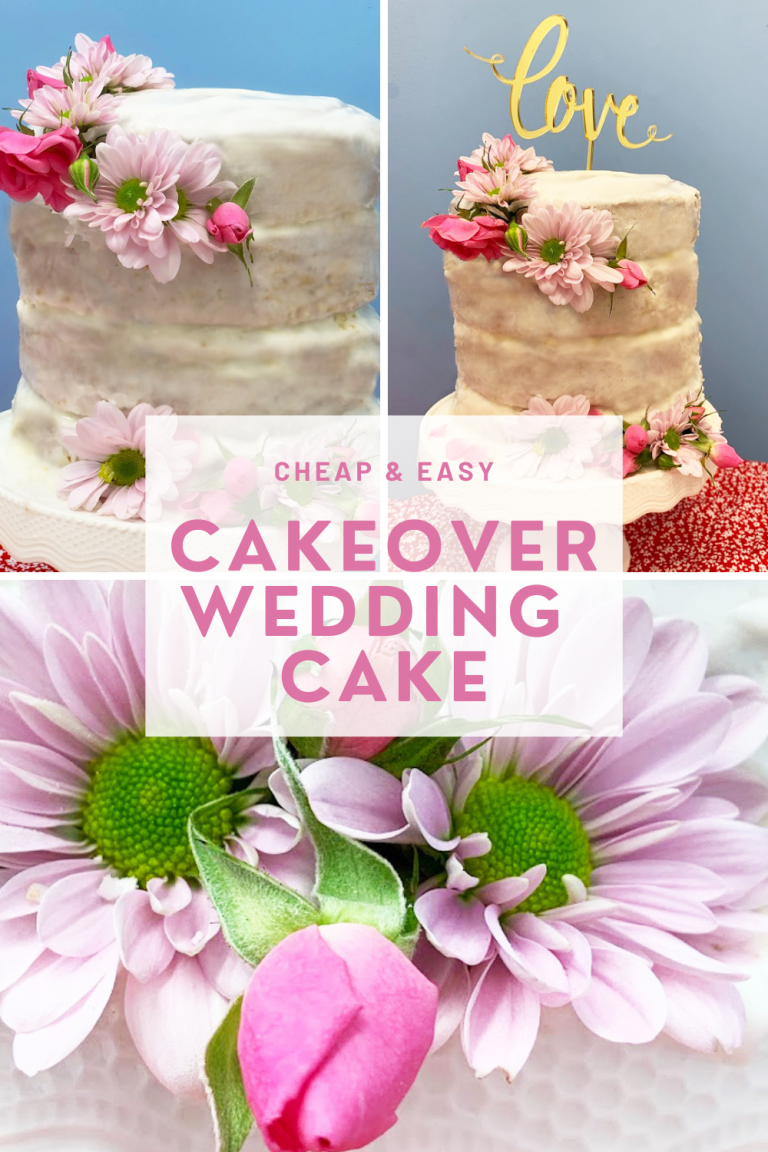
Make a cheap and easy Cakeover Wedding Cake. Learn how I created this pretty and tasty cake for a wedding.
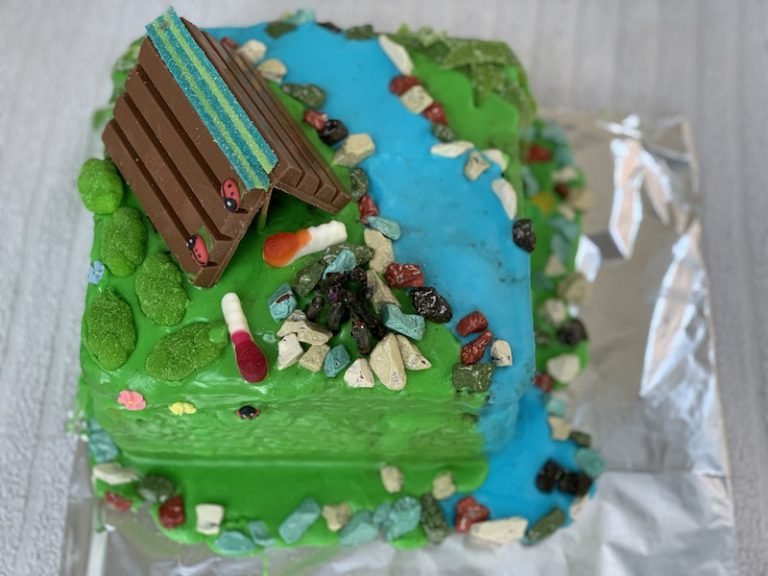
Make this amazing camping cake for your kids next birthday party. It looks amazing and is super easy to create.
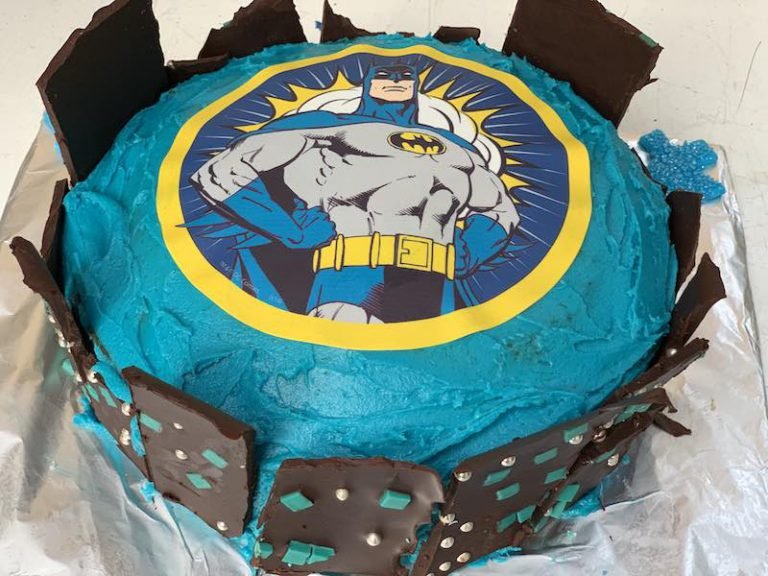
I made a fabulous and yummy batman cake for Alexander’s 4th Birthday. I also tested out my new Sunbeam handheld mixer, watch my video to learn more!

Today my lovely twins, Julia and Lillian are eight! Yes they are eight years old already! How it has flown by so quickly. I remember when they were little babies…