Indulge in the Marvel: A No-Bake Oreo Blackberry Tart! You’re Gorgeous, Yes You Are! Make this showstopper dessert today!

Gorgeous Easy No-Bake Oreo Blackberry Mousse Tart
Continue reading
0 Comments
A blog with a little bit of everything for parents
Indulge in the Marvel: A No-Bake Oreo Blackberry Tart! You’re Gorgeous, Yes You Are! Make this showstopper dessert today!
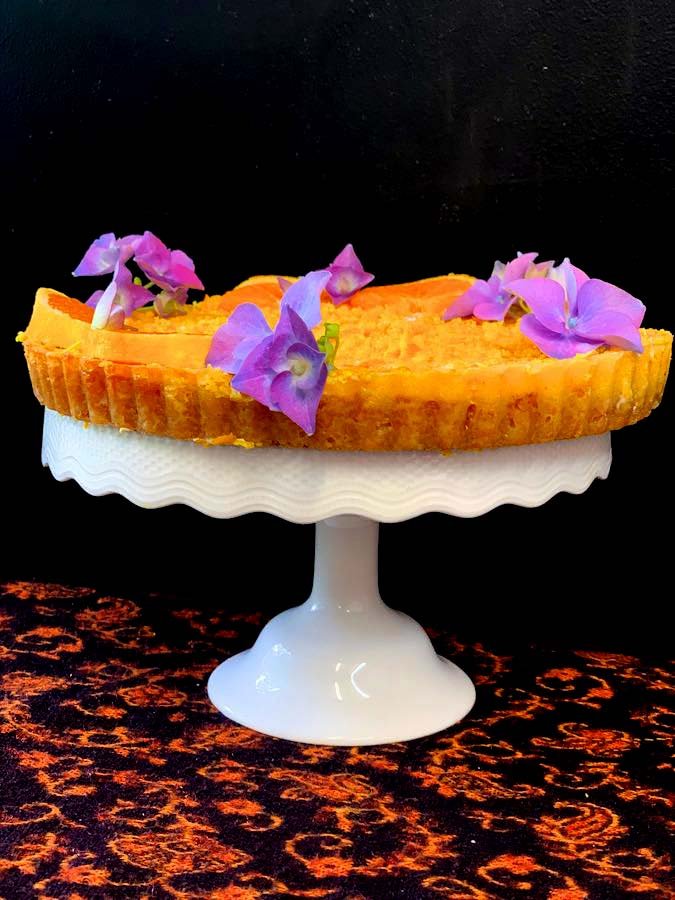
Oranges are bright, colourful and a happy fruit. Yes, fruit can be happy, especially when it reminds me of summer and holidays. Make Valencia Orange Sunset Pie and share the taste of summer.
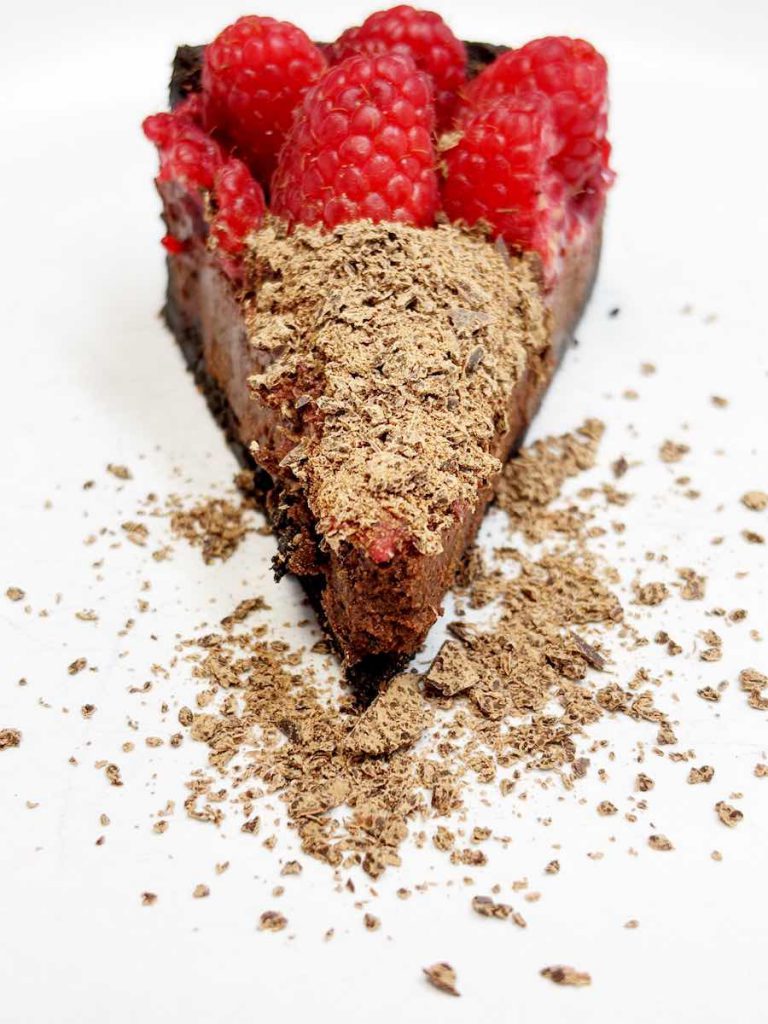
Ready to wow your guests with minimal effort? This tart is the secret weapon you’ve been waiting for! Think rich dark chocolate, zesty raspberries, and an Oreo crust that’s easier than pie. Whether you go big or mini, this dessert will steal the show at your next dinner party, birthday bash, or any special occasion. Trust us, you’ll want to make it again—and again!