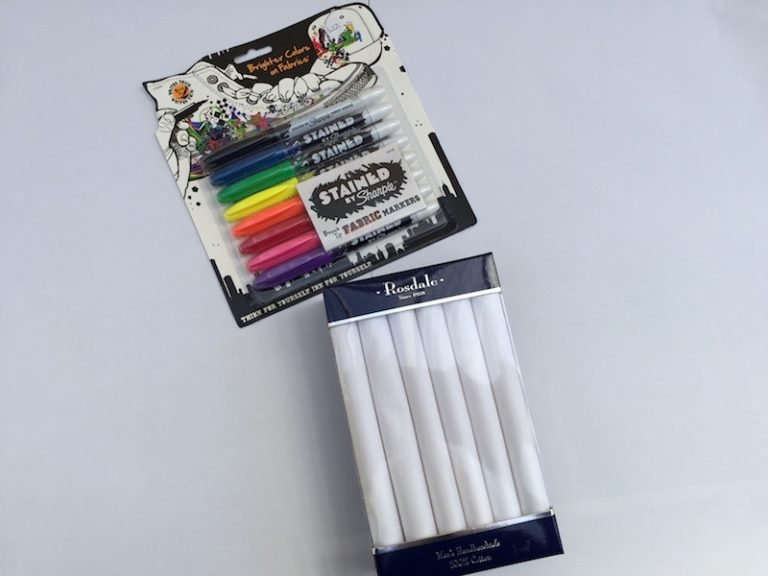
Make Marbled Easter Eggs this Easter. It is easy and so much fun.
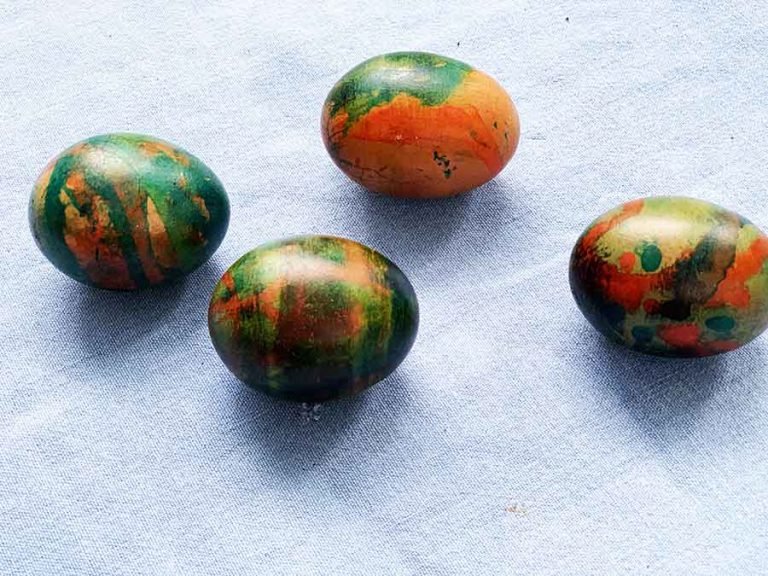
Marbled Easter Eggs
Continue reading
0 Comments
A blog with a little bit of everything for parents
Make Marbled Easter Eggs this Easter. It is easy and so much fun.
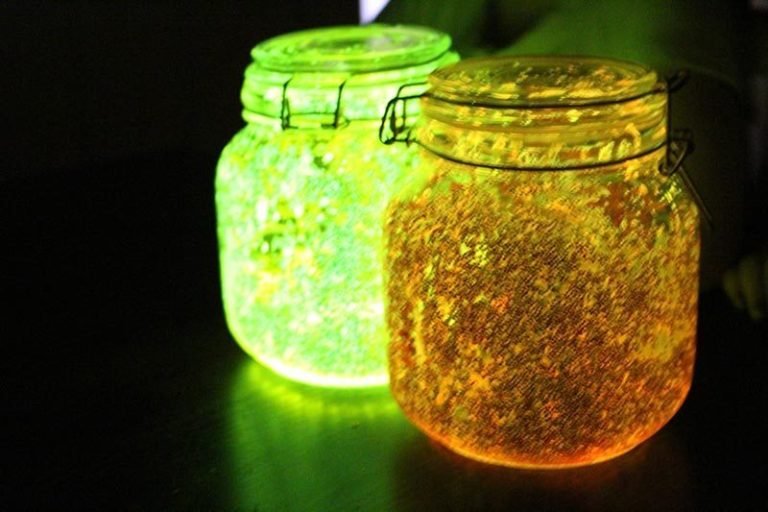
Would you like to create fairy lights? Need a great activity to do with the kids? I have seen this on the web and thought “Does it really work?” “Will…
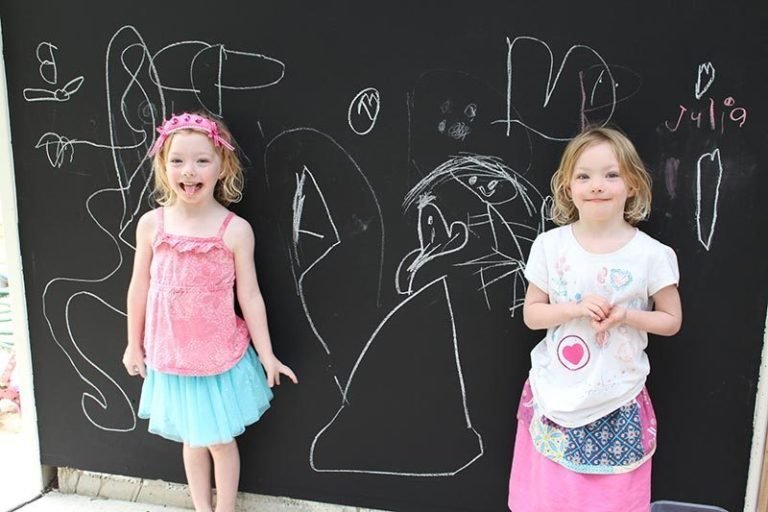
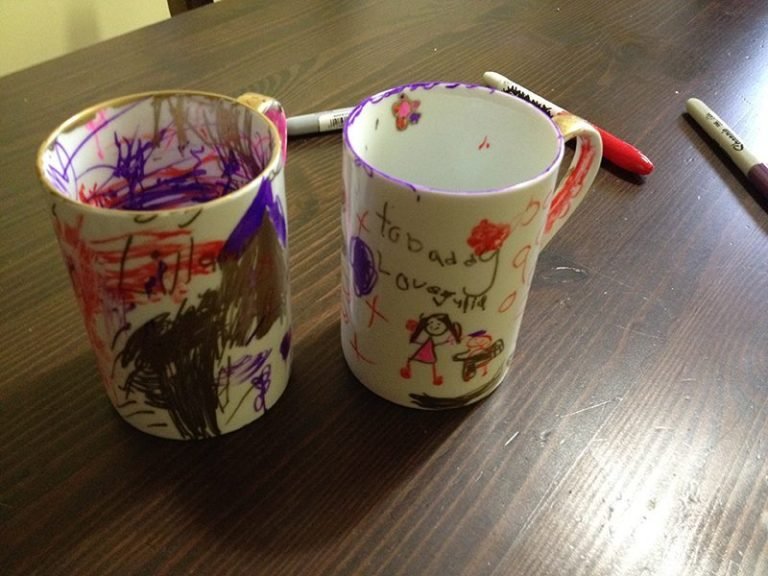
🎨 DIY Blackboard in 3 Easy Steps! Unleash Your Kids’ Creativity! 🌟
Looking for a fun project? Create a DIY blackboard in just 3 steps! 🖌️ Transform any wall into a canvas for your little artists! 💡 Get started now and watch their creativity soar! Read more here!
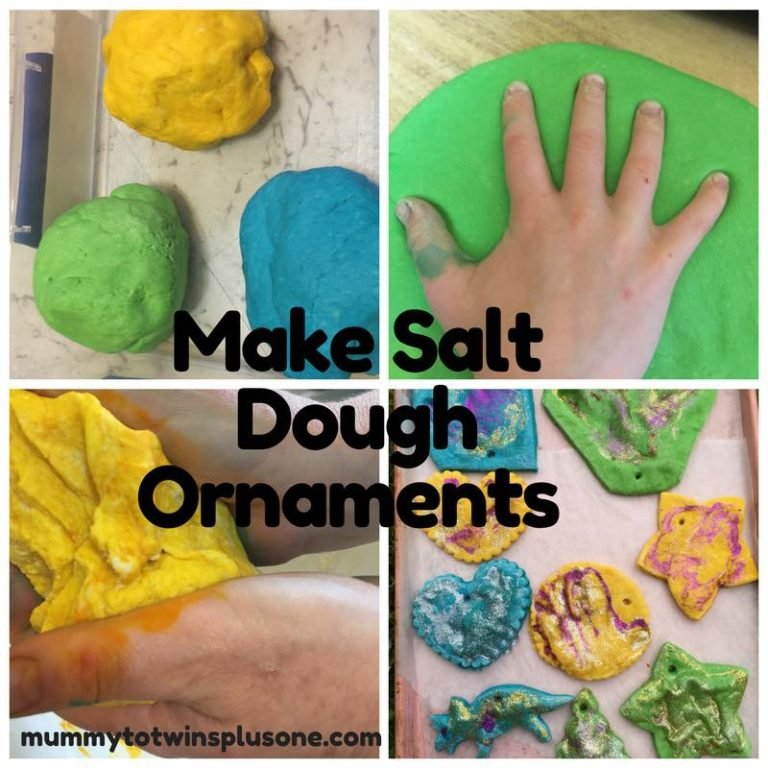
Salt Dough Ornaments are a perfect craft project to do with the kids. They are fun and you can make whatever your heart desires. Your imagination can run wild. My…
Download a FREE Year of the Pig Chinese Lantern. Perfect for Chinese New Year, and a fun craft activity for kids. Get yours today!
It is always nice to have gifts that are unique. A gift that has meaning, and of course is special to you and others. Creating a gift that is a…
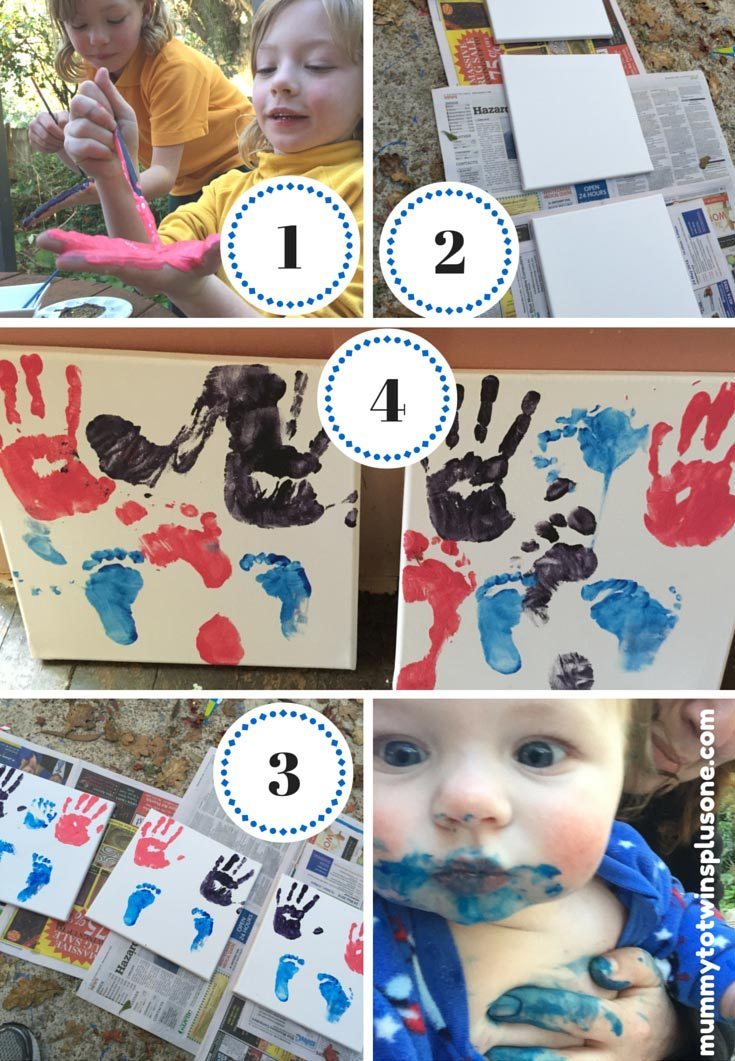
Make this easy and cheap gift for birthdays, Mother’s Day, Father’s Day, Celebrating being a new mum/dad, or even Christmas. Capture the feet and hands of your little ones on canvas. Warning this is a messy activity.

Need a unique gift for a family member? Don’t have heaps of money? Well this great project will give you a cheap gift and your family member will cherish the…
I have been thinking about what a year 2015 was. I did want to accomplish more on the blog side and professionally but managed to do a bit of what I had…

Hello. I do apologise for not blogging sooner. Here is what has been happening lately. We had 10 days in Ballarat and Melbourne, flew home to then fall in a…
This post was originally created for a Father’s Day tutorial. However this could be applied for Christmas gifts, birthdays and anything at all. Use it to create some great presents…
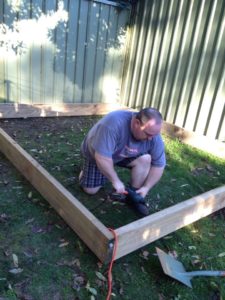
We often hear that modern kids spend too much time using electronic devices, and one way to get around this is to provide a space for them to play outside…