Make this super easy and stunning digger cake for your child’s next birthday.
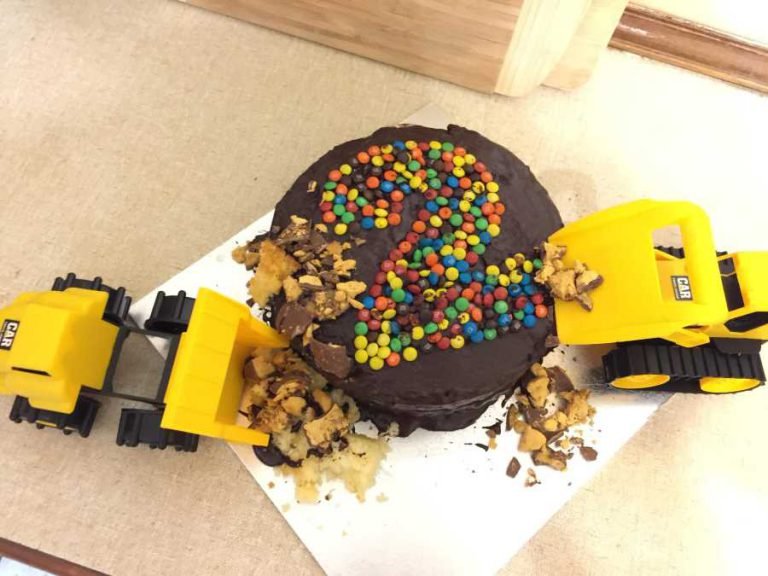
Digger Birthday Cake
Continue reading
0 Comments
A blog with a little bit of everything for parents
Make this super easy and stunning digger cake for your child’s next birthday.
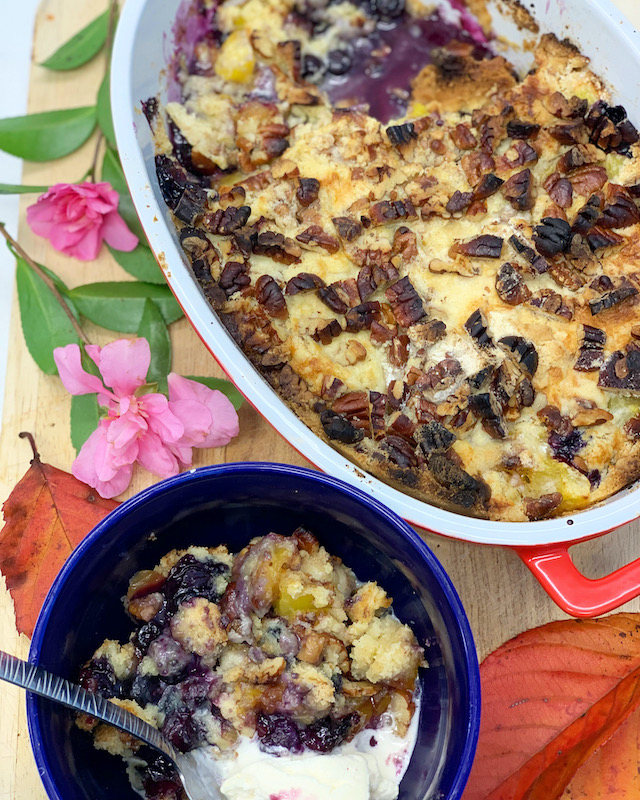
Have you wondered what a dump cake was, well wonder no more! Make one and find out how easy it is, plus yummy!
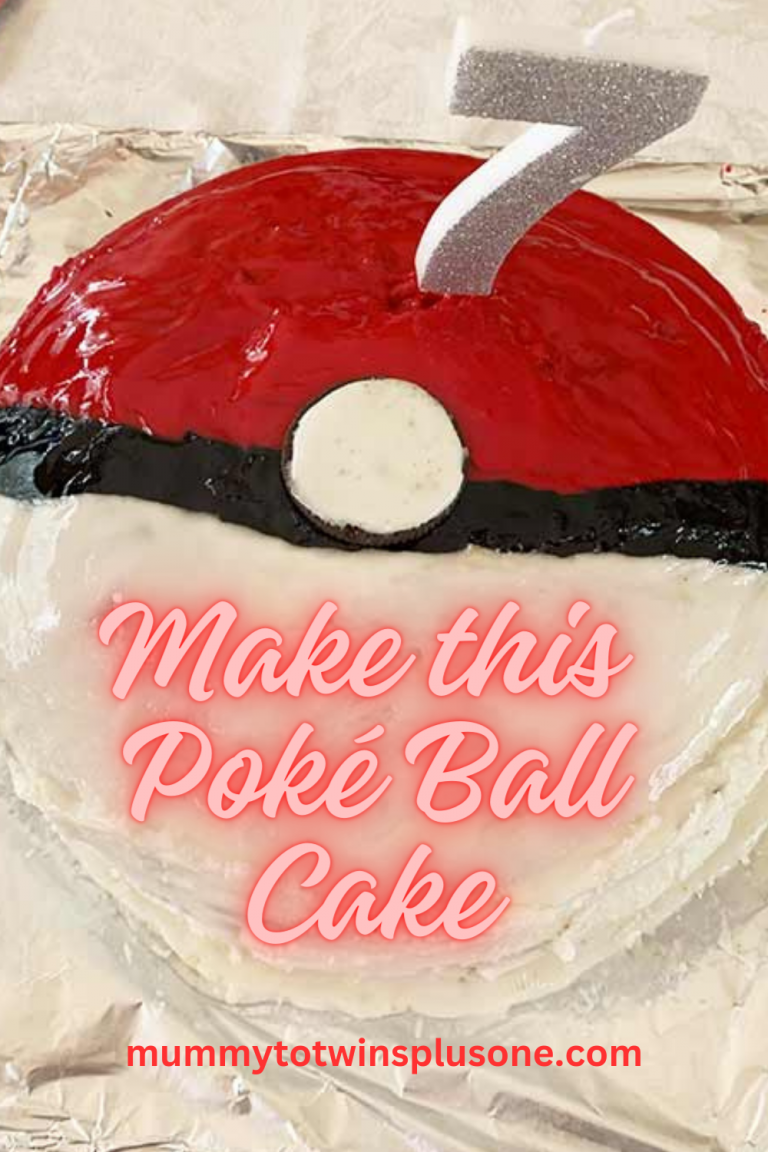
Got a Pokémon superfan in your life? Someone whose love for those pocket monsters knows no bounds, whether they’re a kid or a kid-at-heart adult? Make them an epic Poké Ball cake.
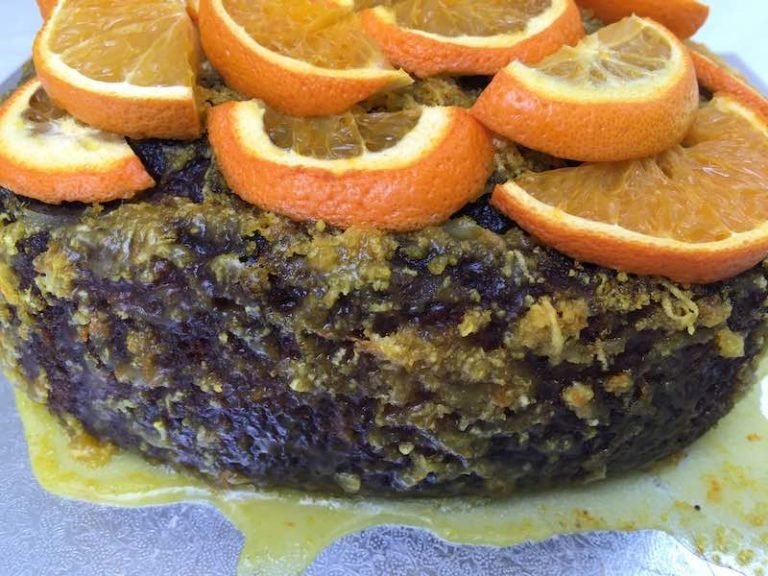
Make this super yummy and quick to bake Orange & Poppy Seed Pound Cake. You’ll be amazed at how quick it is to make with the Philips XXL Airfryer, and how delicious it is! Make yours today.
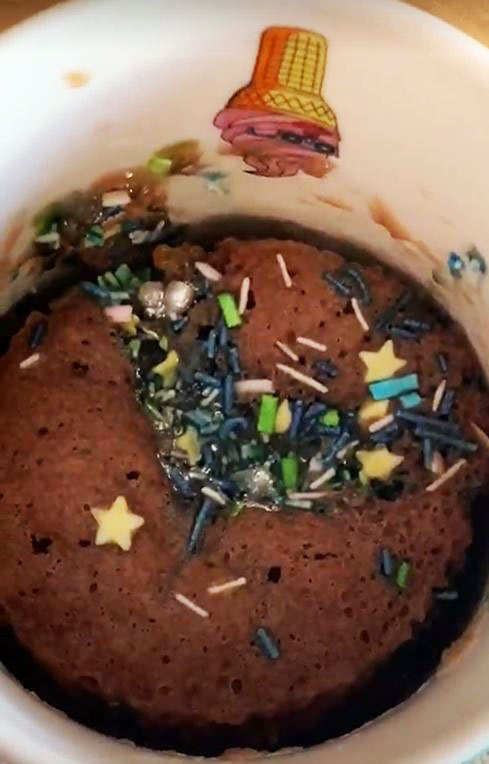
Make a super yummy and easy microwave mug cake. I used cake mix to make it super easy and quick. Get the ingredients and instructions and make yours today!

Make a cheap and easy Cakeover Wedding Cake. Learn how I created this pretty and tasty cake for a wedding.
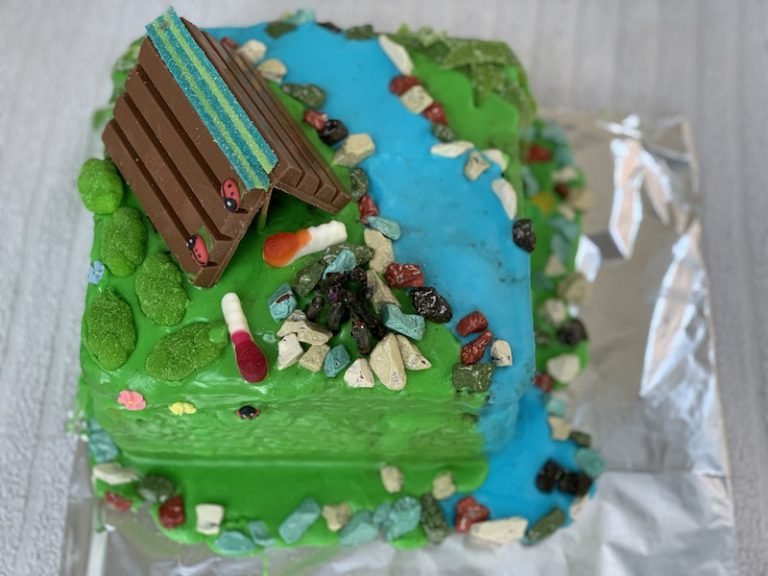
Make this amazing camping cake for your kids next birthday party. It looks amazing and is super easy to create.
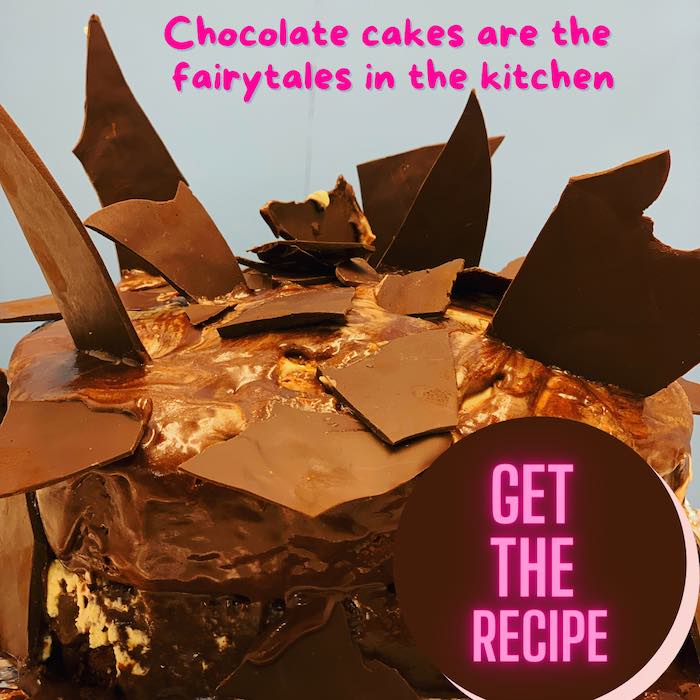
Have the urge for a very dark chocolate cake? If you said yes, then this recipe is for you. See how I made a Marble Dark Chocolate Cake.
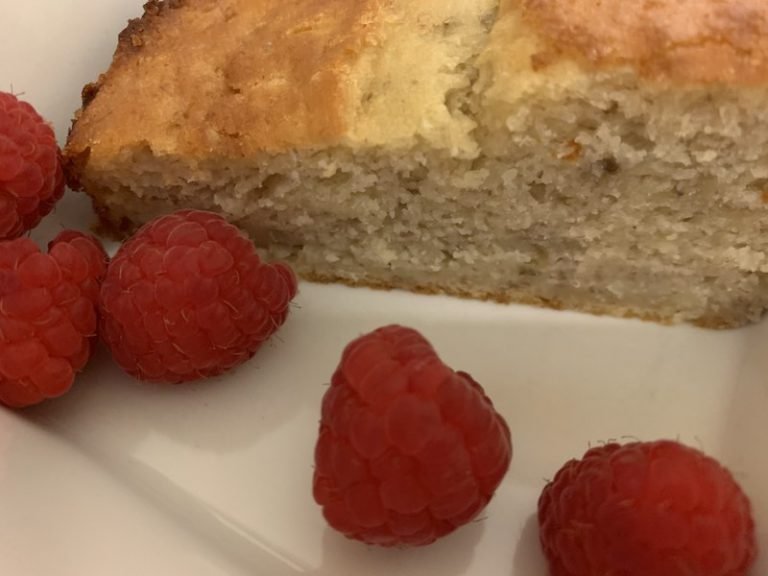
Make a super yummy and secretly healthy cake for afternoon tea or the school lunch box. Read on to find out how easy it is to make.