Make Marbled Easter Eggs this Easter. It is easy and so much fun.
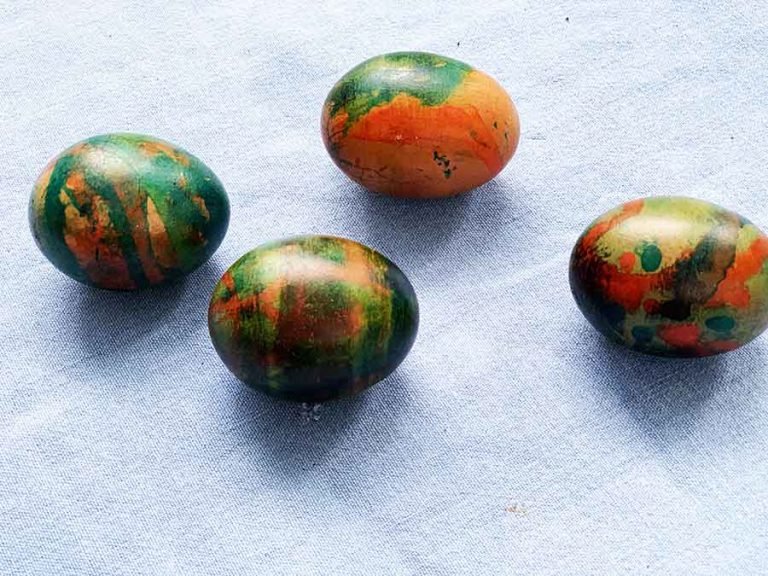
Marbled Easter Eggs
Continue reading
0 Comments
A blog with a little bit of everything for parents
Make Marbled Easter Eggs this Easter. It is easy and so much fun.

Indulge in the Marvel: A No-Bake Oreo Blackberry Tart! You’re Gorgeous, Yes You Are! Make this showstopper dessert today!
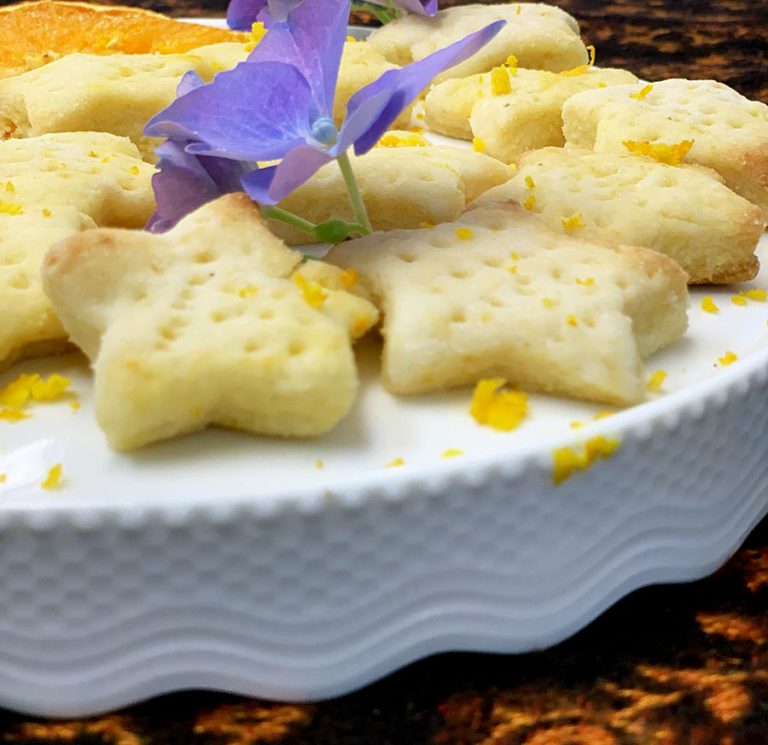
Want to add some sunshine to the traditional shortbread recipe? Just add Valencia orange juice and zest and enjoy zesty orange shortbread.
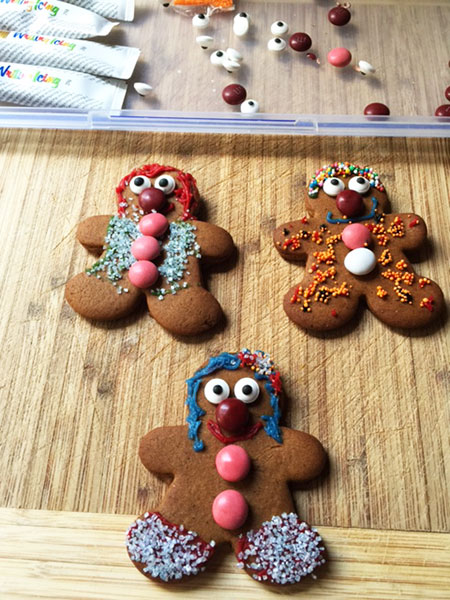
Do you love to make Gingerbread? Would you like to have one of the yummiest recipes there is for gingerbread? Then read on to download the recipe and to see my versions that I created.
Make something unique and cheap this Christmas and safe money.
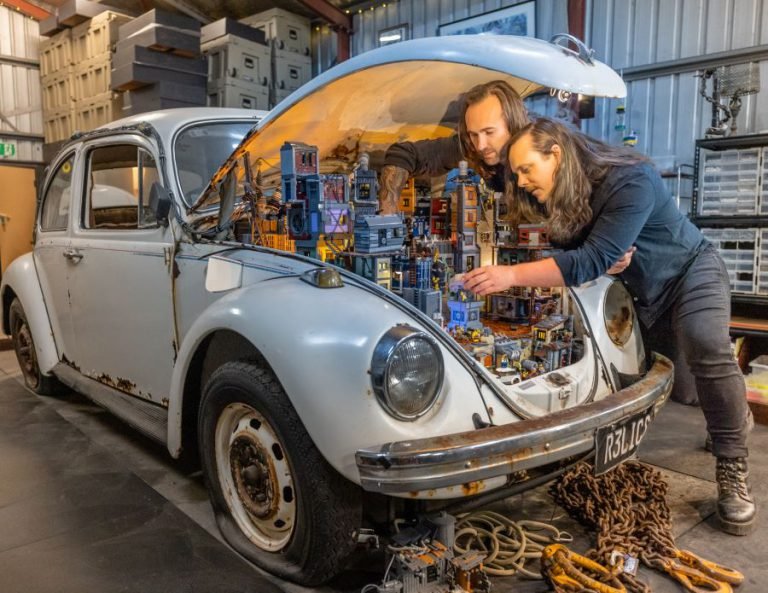
We can’t wait to explore RELICS: A New World Rises with our family! Dive into this incredible LEGO® exhibition by former LEGO® Masters champions, where everyday objects are transformed into imaginative miniature worlds packed with Minifigure mischief. Perfect for the school holidays, RELICS promises fun for all ages, interactive builds, scavenger hunts, and a futuristic story you’ll never forget. Hurry—tickets are selling fast and the exhibition ends 26 January 2026!
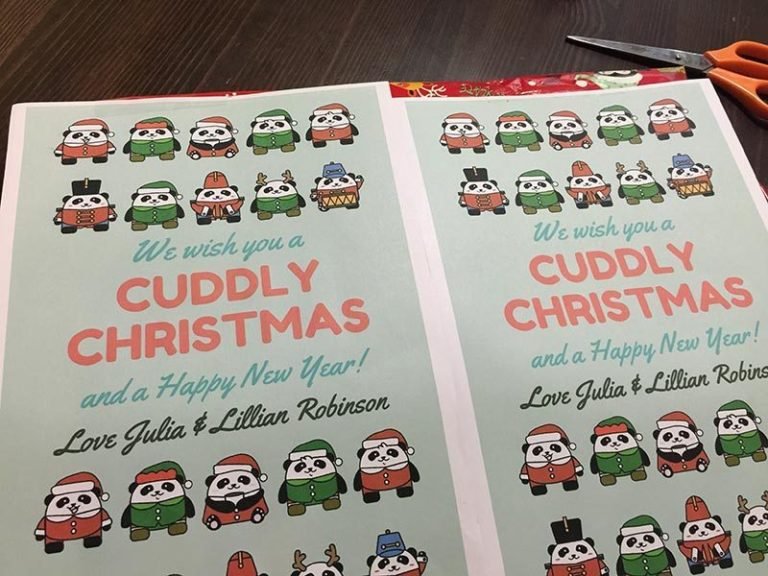
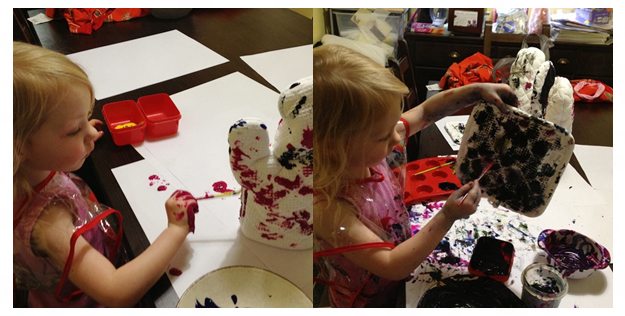
Need a cheap, easy and special teachers gift? This is something that you can do quickly and will be treasured by your favourite teacher.

Why is it that the wife or female partner seems to organise everything for Christmas. Some of the things that are left to me are: Planning and buying Christmas Presents…
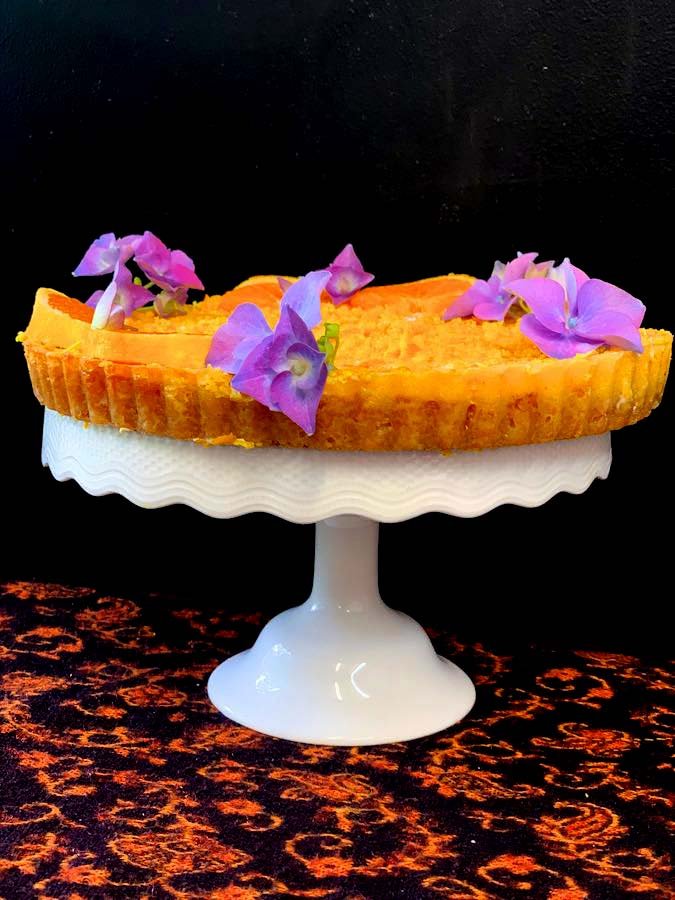
Oranges are bright, colourful and a happy fruit. Yes, fruit can be happy, especially when it reminds me of summer and holidays. Make Valencia Orange Sunset Pie and share the taste of summer.
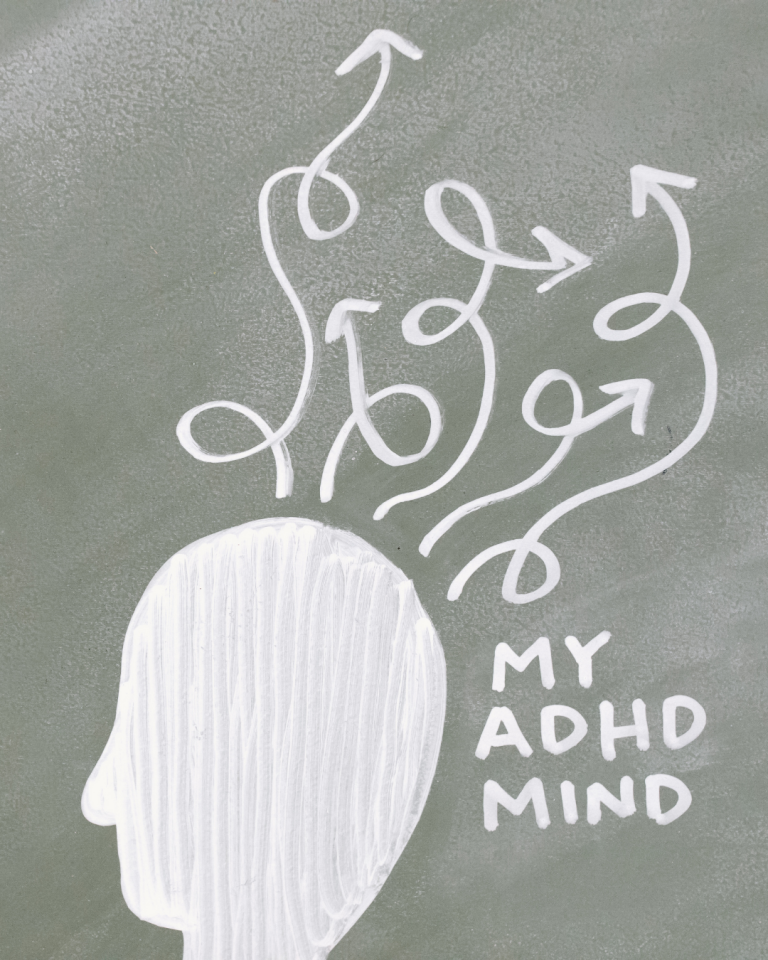
Okay, I know I’m late to ADHD Awareness Month — but when you’re parenting a little one with ADHD, life’s rarely on schedule! 💛 Here’s why I see my son’s ADHD as his superpower and some amazing advocates and resources that continue to inspire us every day.
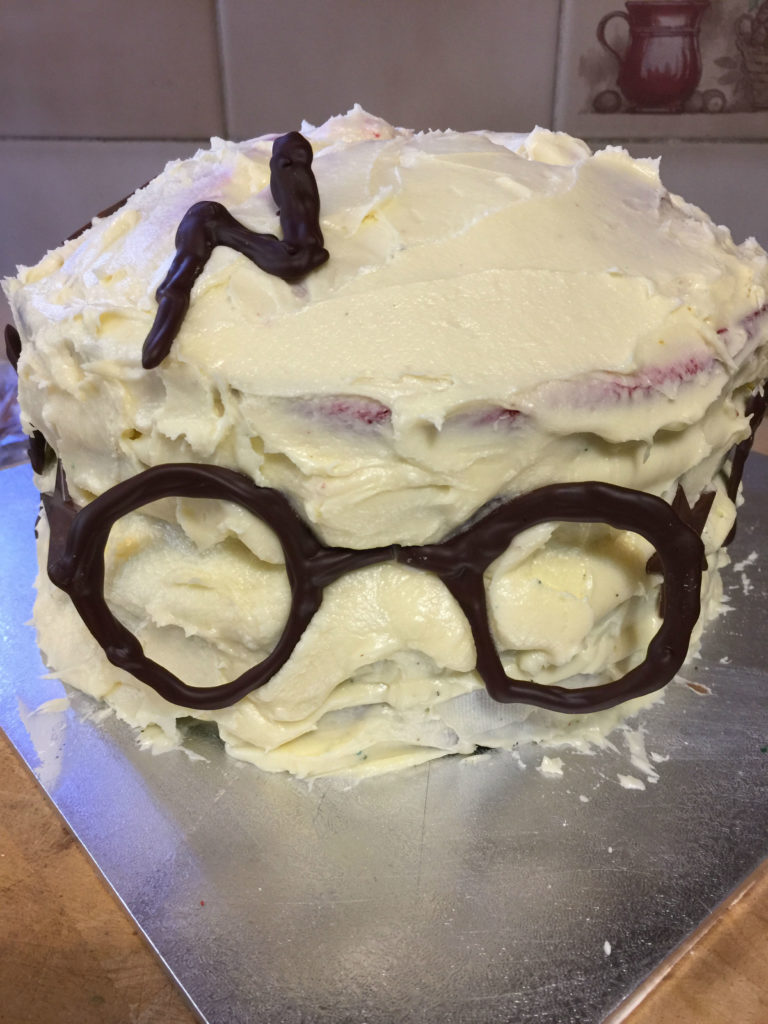
This year the girls wanted a Harry Potter or Wizard themed birthday party. (Read on to get the free takeaway – Harry Potter Cupcake Toppers) I thought how do I…
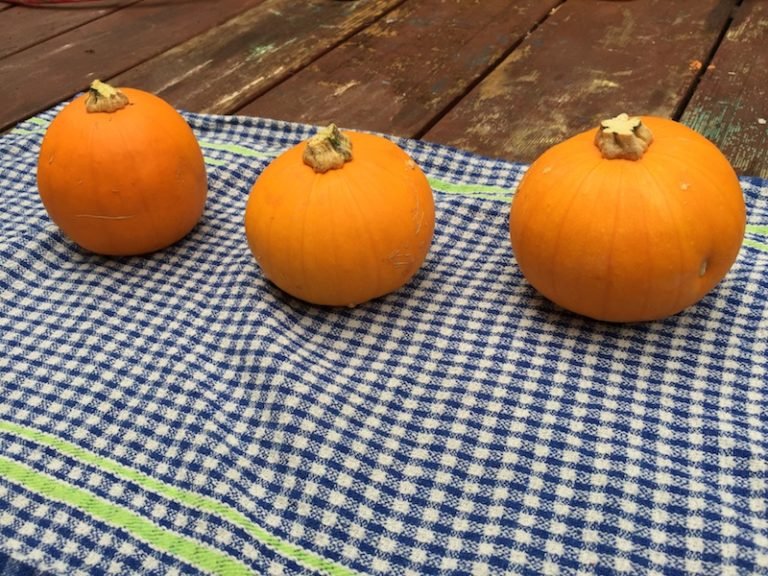
Yesterday the kids and I created mini Jack O’Lanterns. Three mini pumpkins, just the right size for kids to carve and also the right number for each child. Also, they…
Make Snot Drops for Halloween. Download the recipe card to make your own snot drops today!
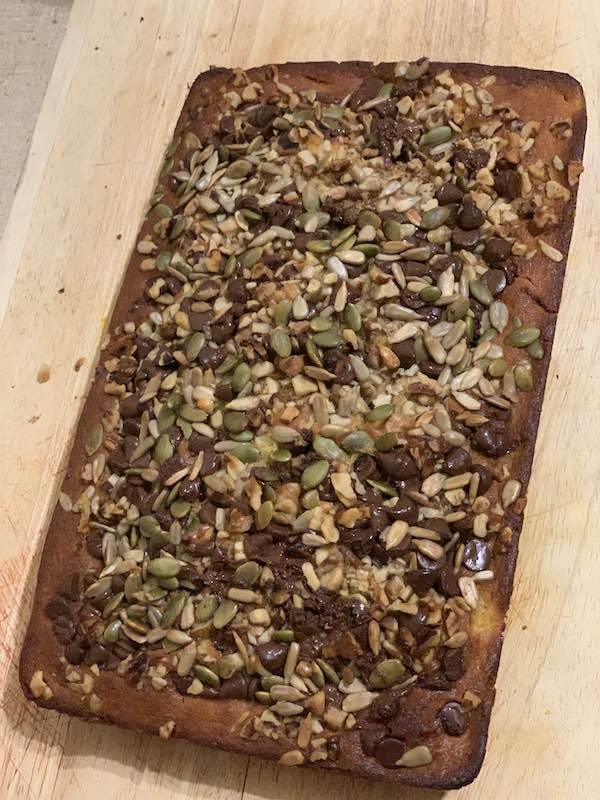
Make this yummy treat today – Choc Chip Pumpkin Bread is super easy to make and super yummy too. See the video on how easy it is to create.
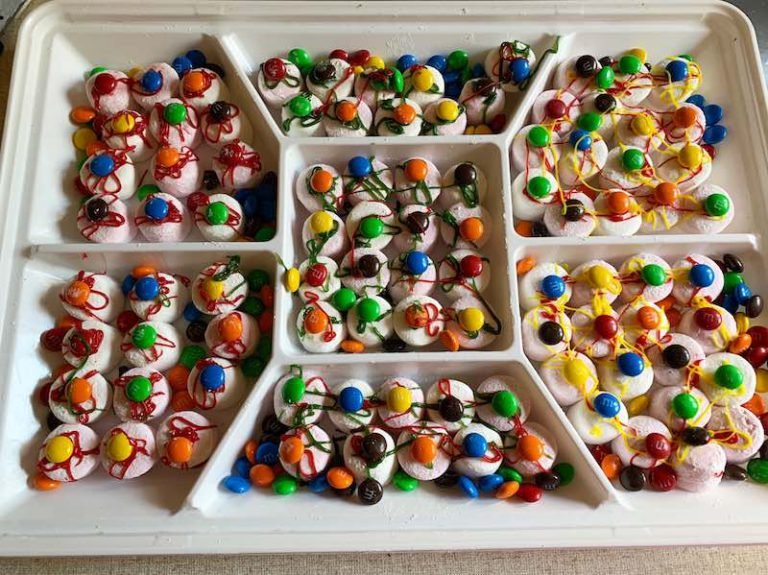
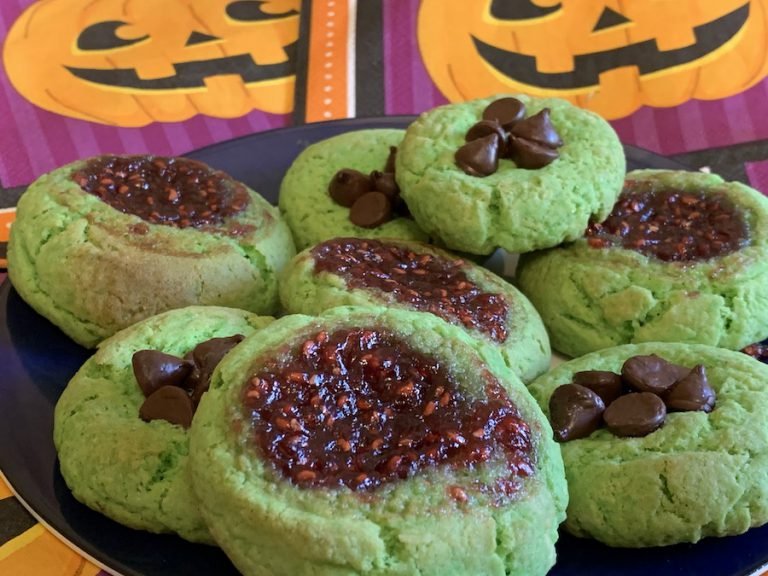
Make a quick no-bake spooky treat – Zombie Eyes! Make a batch today.

Get ready for a LEGO® adventure like no other! RELICS: A New World Rises opens 16 August 2025 at the Australian Museum, featuring immersive LEGO® worlds, interactive build zones, and tiny Minifigure stories around every corner. Perfect for LEGO®-obsessed kids – and adults – it’s a fun, creative day out for the whole family.

Celebrate the legacy of Amelia Earhart and Australia’s aviation pioneers in this tribute to flight, courage, and exploration—past and present. Plus, download Twinkl’s free resources to help you and your learners honour aviation history and the inspiring story of Amelia Earhart.
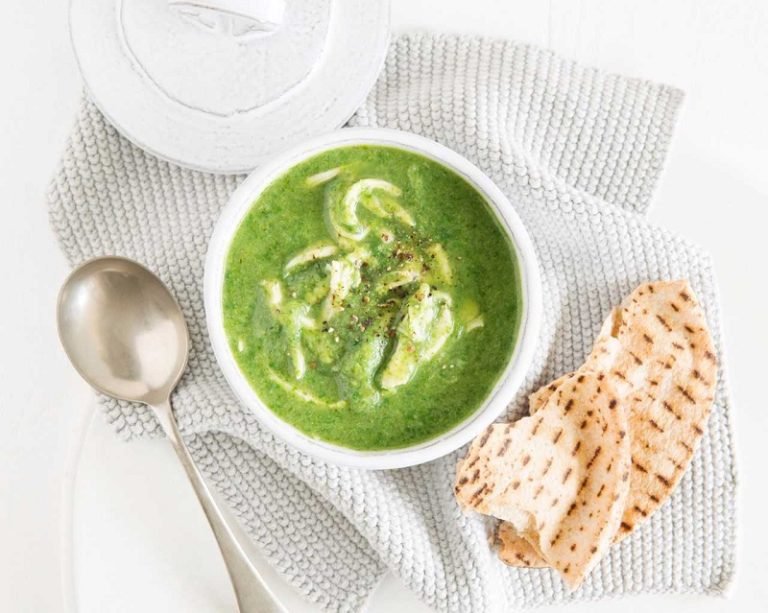
Warm up your chilly evenings with a vibrant and delicious Chicken & Broccoli Soup! It’s packed with nutrients and flavours that will make your nights cosier. Get the recipe now!