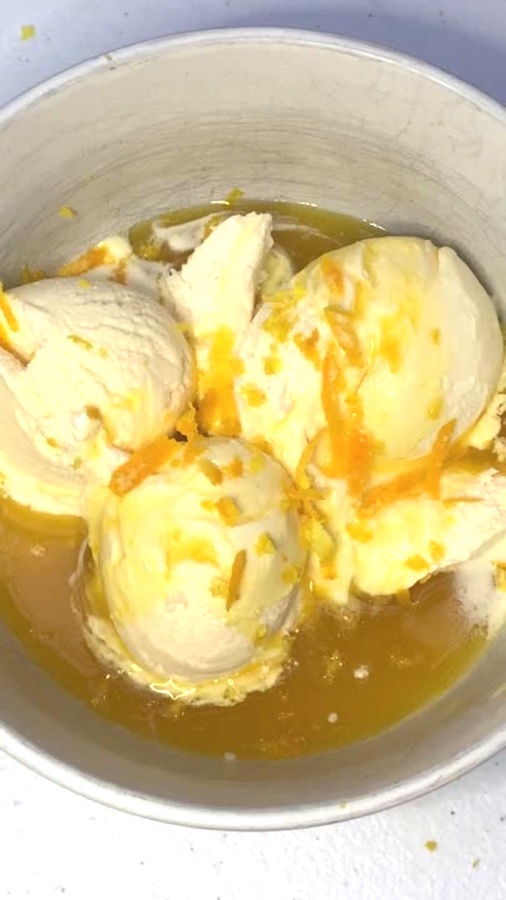
Oranges are bright, colourful and a happy fruit. Yes, fruit can be happy, especially when it reminds me of summer and holidays. Make Valencia Orange Sunset Pie and share the taste of summer.
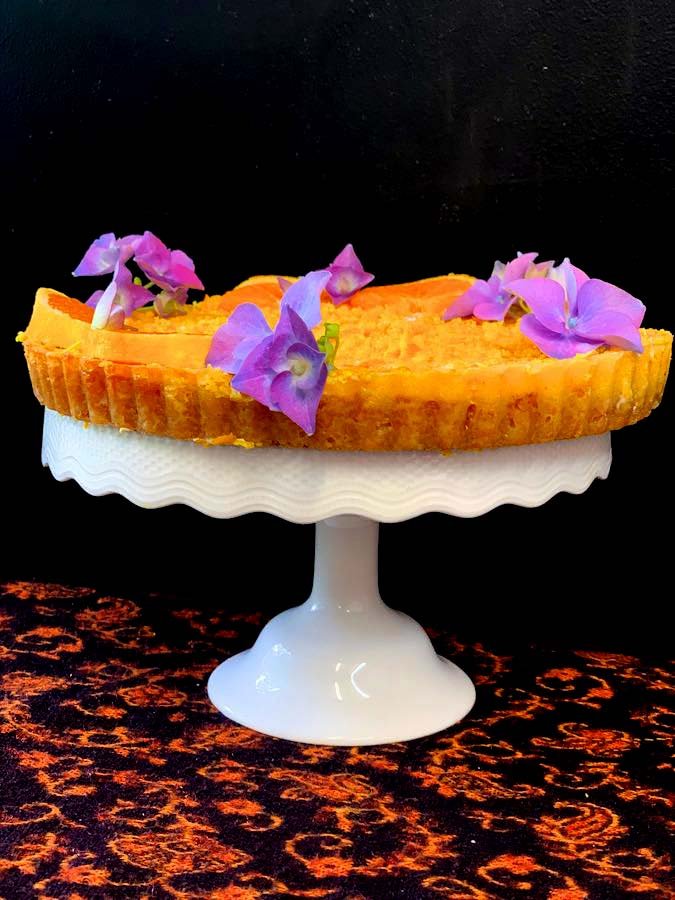
Valencia Orange Sunset Pie
Continue reading
0 Comments