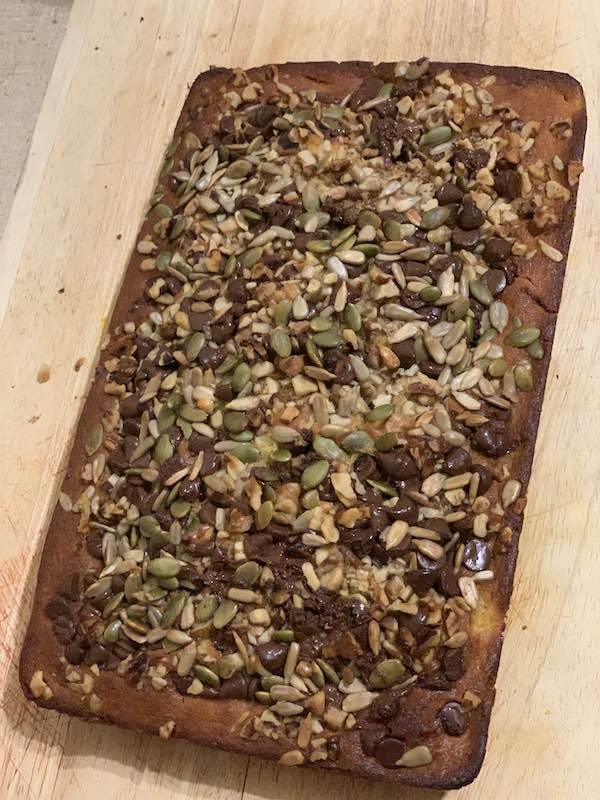
Make this yummy treat today – Choc Chip Pumpkin Bread is super easy to make and super yummy too. See the video on how easy it is to create.
Make Choc Chip Pumpkin Bread
Continue reading
0 Comments
A blog with a little bit of everything for parents
Make this yummy treat today – Choc Chip Pumpkin Bread is super easy to make and super yummy too. See the video on how easy it is to create.
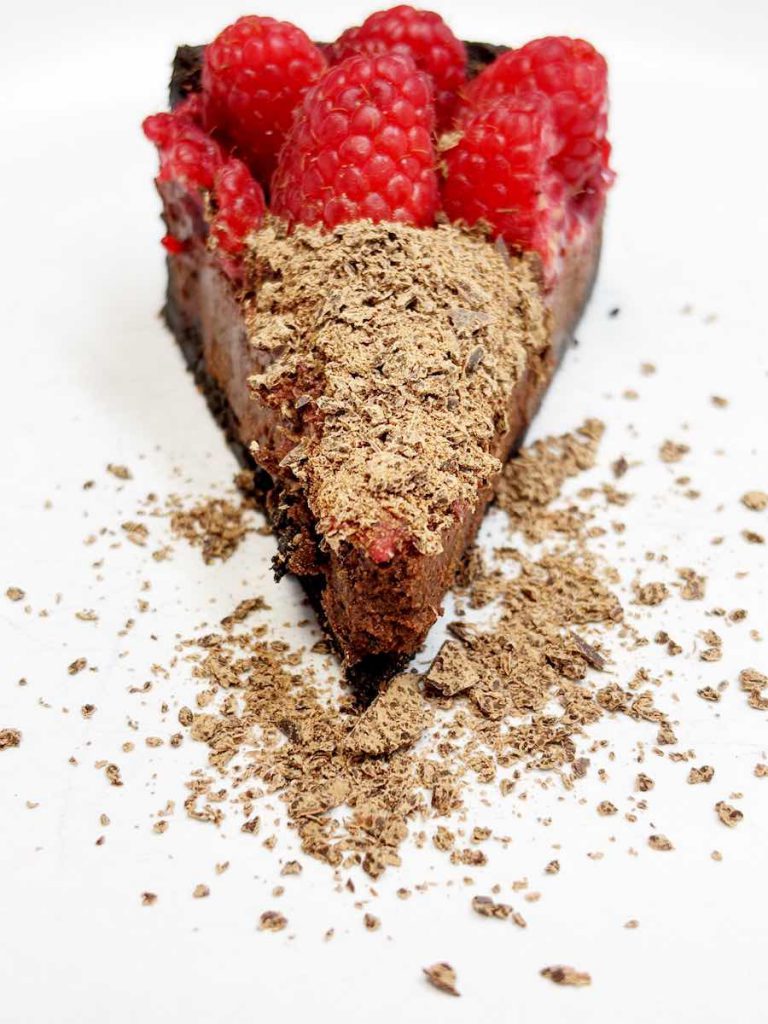
Ready to wow your guests with minimal effort? This tart is the secret weapon you’ve been waiting for! Think rich dark chocolate, zesty raspberries, and an Oreo crust that’s easier than pie. Whether you go big or mini, this dessert will steal the show at your next dinner party, birthday bash, or any special occasion. Trust us, you’ll want to make it again—and again!