Indulge in the Marvel: A No-Bake Oreo Blackberry Tart! You’re Gorgeous, Yes You Are! Make this showstopper dessert today!

Gorgeous Easy No-Bake Oreo Blackberry Mousse Tart
Continue reading
0 Comments
A blog with a little bit of everything for parents
Indulge in the Marvel: A No-Bake Oreo Blackberry Tart! You’re Gorgeous, Yes You Are! Make this showstopper dessert today!
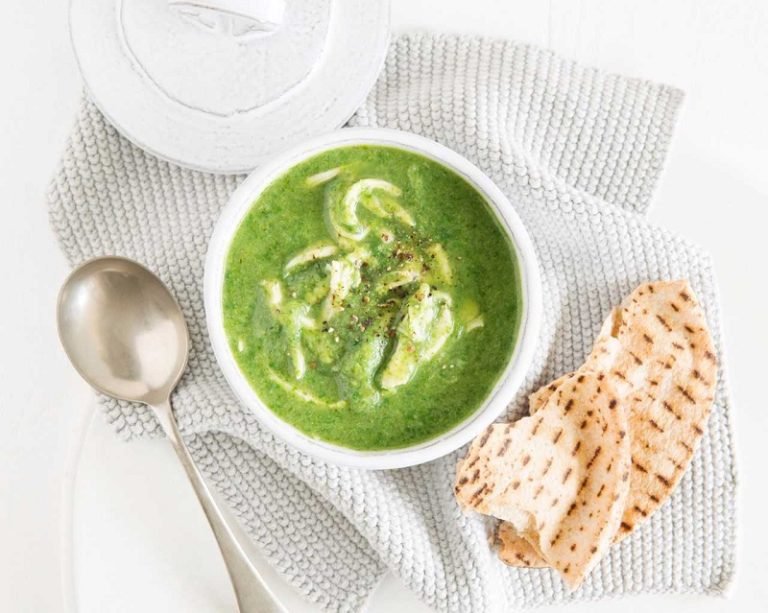
Warm up your chilly evenings with a vibrant and delicious Chicken & Broccoli Soup! It’s packed with nutrients and flavours that will make your nights cosier. Get the recipe now!
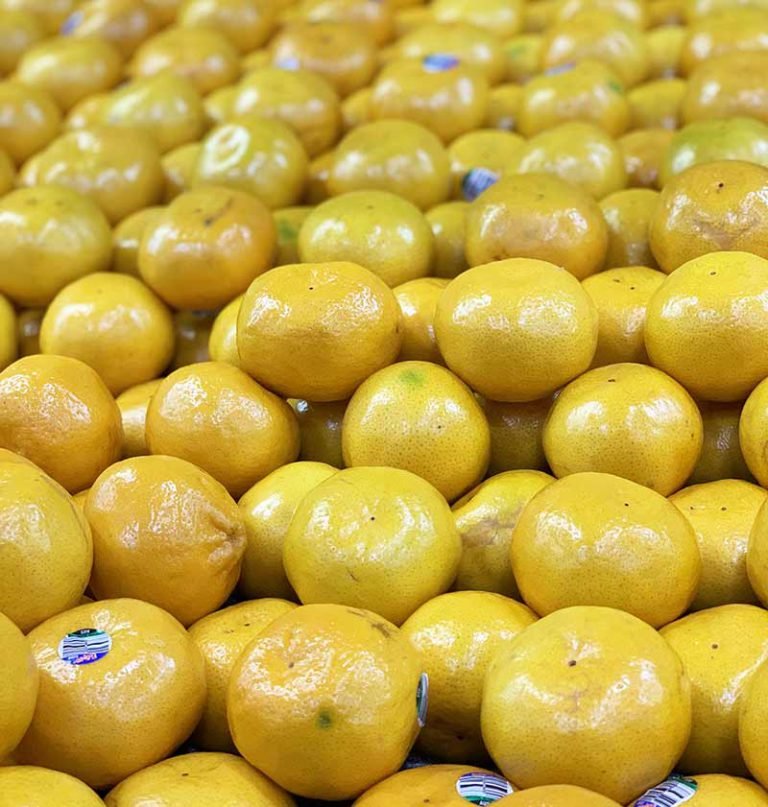
Cook some new and delicious dishes with Mandarins. Download the recipes for Mandarin Curd Tart and Spiced Mandarin Marinade.
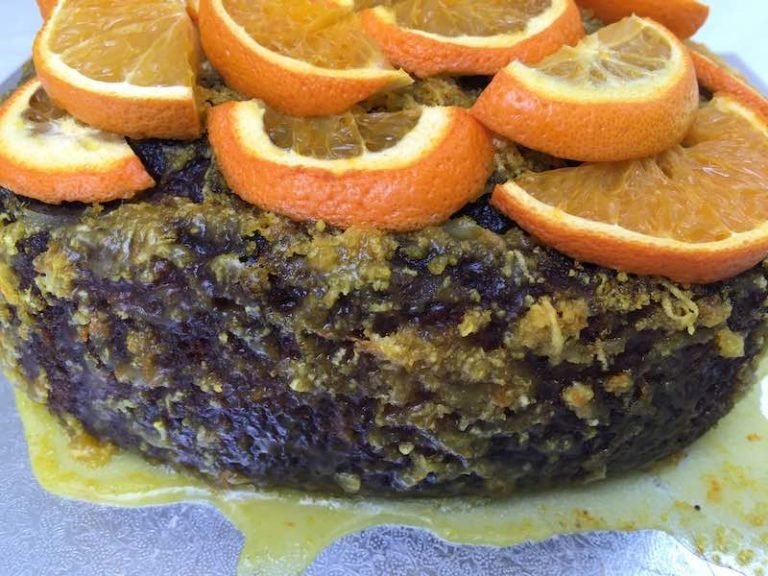
Make this super yummy and quick to bake Orange & Poppy Seed Pound Cake. You’ll be amazed at how quick it is to make with the Philips XXL Airfryer, and how delicious it is! Make yours today.
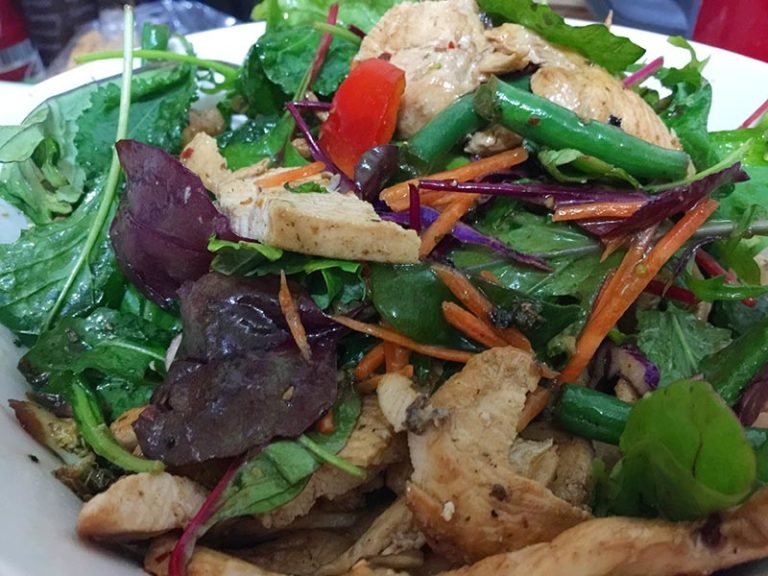
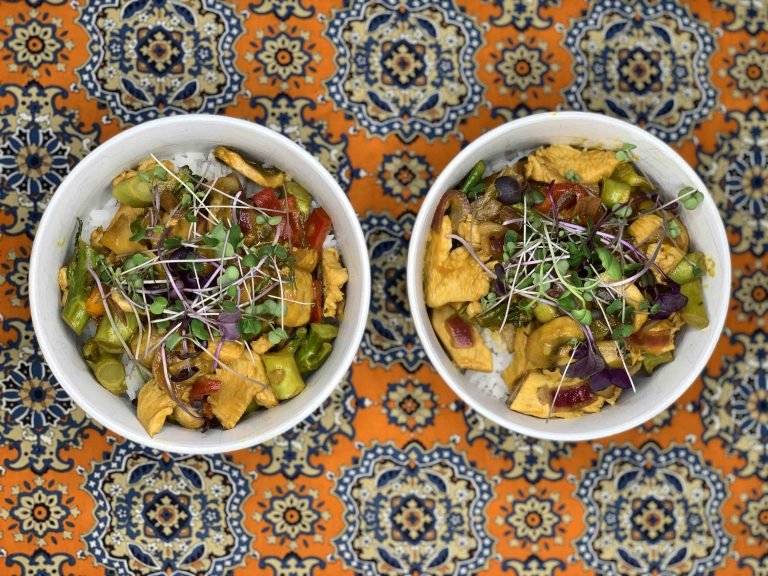
Craving a simple, healthy dinner? Try this warm chicken salad with veggies! With fresh ingredients and a zesty dressing, it’s perfect for a quick, nutritious meal. Give it a try tonight!
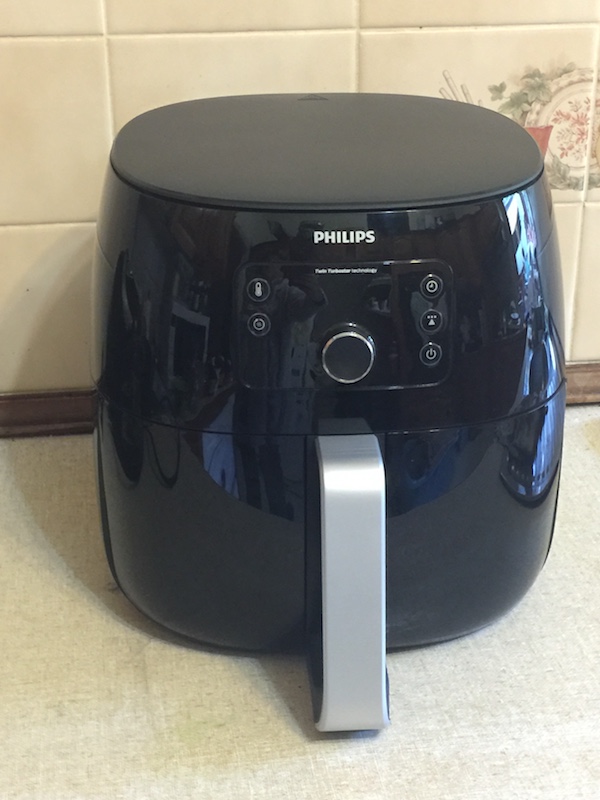
I was sent a Philips Airfryer XXL to test out. Read on to learn how to cook hot chips and lamb chops & veggies in the airfryer. Insert happy dance…
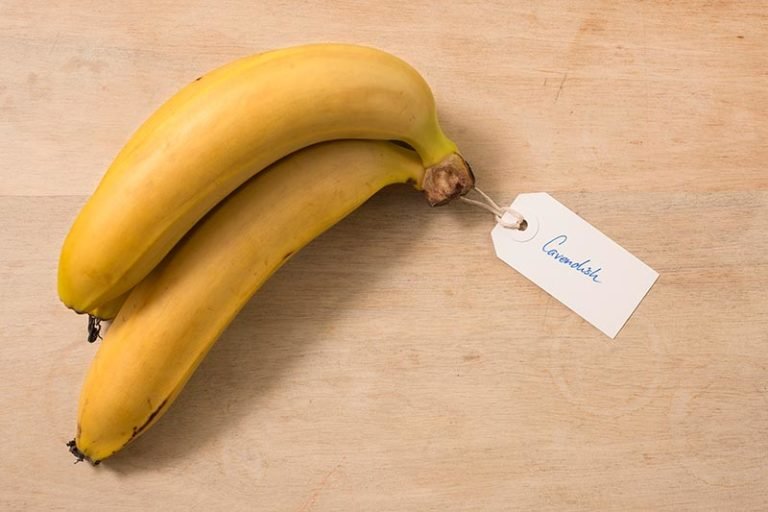
From the moment you realise you are going to be a mum until your child is getting dressed all by themselves, Australian bananas are the ideal addition to both your diets….
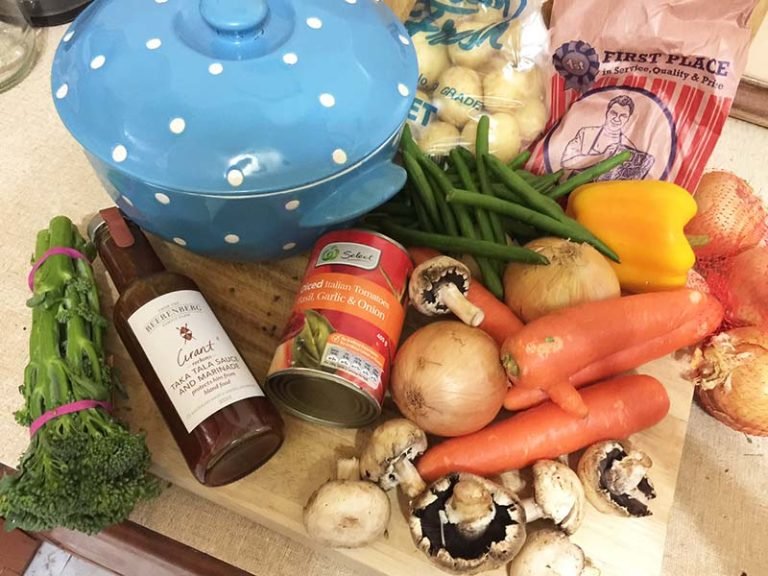
I love going to the Veggie Patch in Blackheath. As the name suggests they sell fresh produce: fruit and vegetables. However, they also sell pasta, sauces, and all sorts of…

Hey there, wonderful readers! I have some exciting news to share—I’m a finalist for the 2024 Fresh Content Award! 🎉 This is my third time being nominated, and I couldn’t be more thrilled. The excitement is even sweeter this year because my twin girls will be by my side to celebrate this special night. Can you believe it’s just one week away now? 🌟
Make passionfruit recipes that are not just cakes or slices. How about salad dressing, stir-fry sauce, and a dessert flummery? Download the free recipe eBook.
Learn what I thought about EveryPlate and find out the meals I cooked with my EveryPlate Box…oh and you can get $115 off your next 4 EveryPlate boxes.
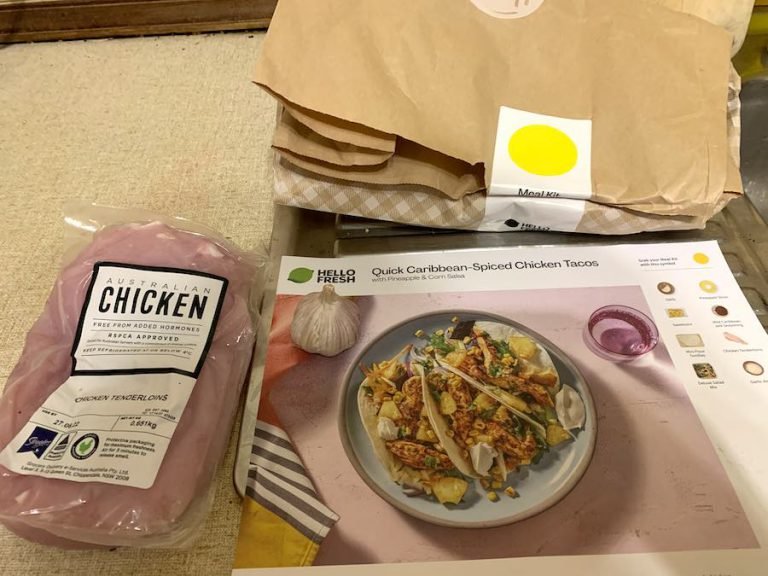
A HelloFresh Box gives me a mental break to not have to plan dinners, no shopping for food and less waste with food. Get up to $130 off your first four boxes today!
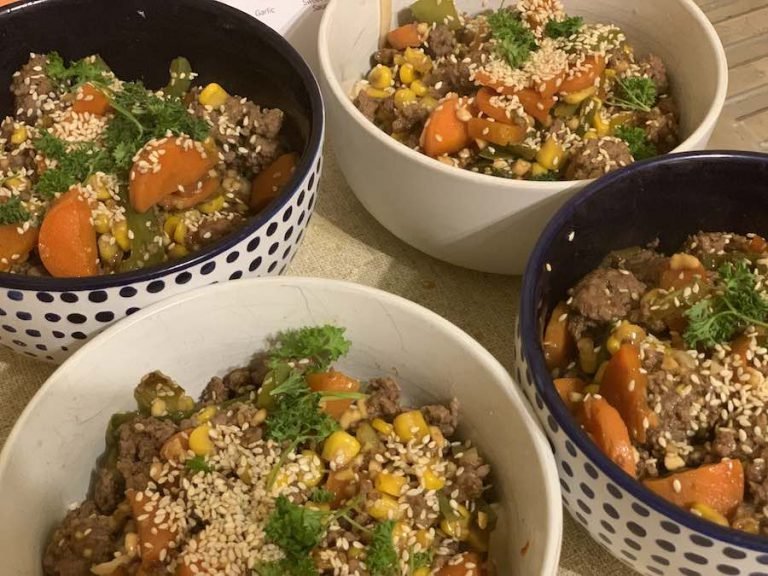
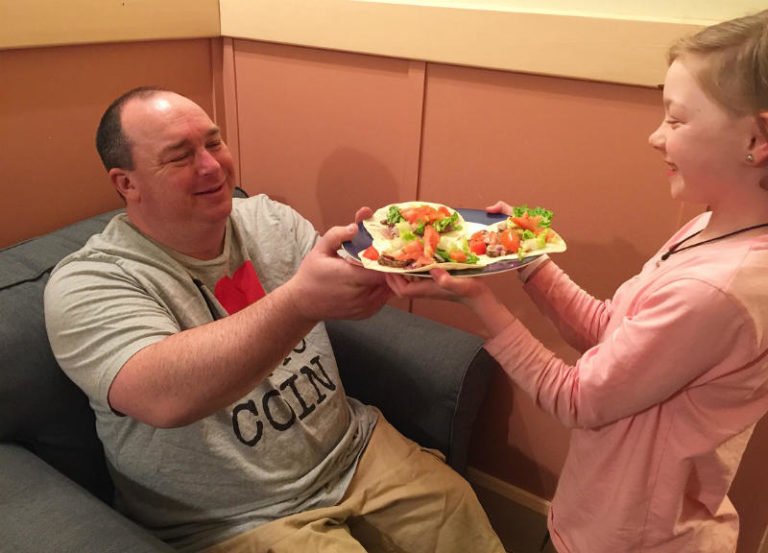
I was very excited when my HelloFresh meal box arrived. All dinners organised for me, no thinking about what to cook! Follow along with my three post series. Make sure you see the $130 discount off your next meal box from HelloFresh.

Season 2 of Only Murders in the Building starts June 28th. To celebrate download my Only Murders in the Building Dip Cookbook. Eat dip just like Oliver Putman (played by Martin Short) and help Mabel, Oliver and Charles find the murderer and continue their podcast.

I am very happy and excited to announce that I have been named 1 of the 4 finalists for the Sydney Markets Fresh Content Awards for 2022.
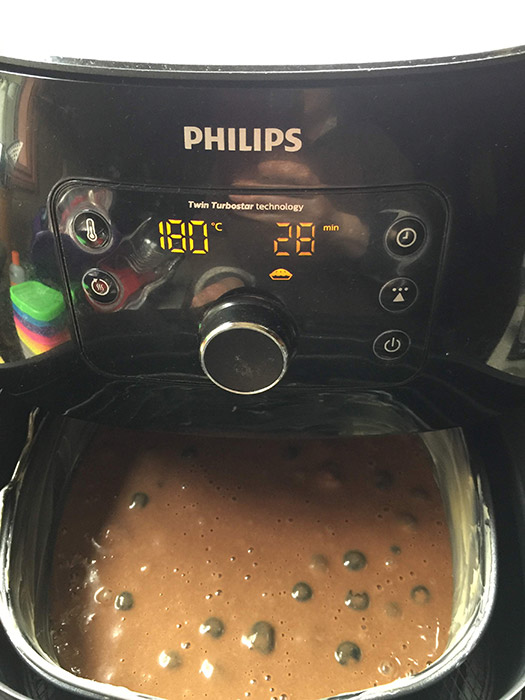
Cooking and Entertaining is super easy with the Philips Airfryer XXL. Cakes come out perfectly and taste amazing, plus cook a whole chicken for the family this holiday season. Learn more and watch my videos on how I created some yummy food with my Philips Airfyer.
Hello Fresh was amazing and so easy to make yummy & quick meals. It was perfect for Father’s Day, any day actually as it meant that I didn’t have to go shopping and worry about what was for dinner.

I have always wanted to make my own energy bars but had no way of mixing all the ingredients. I’ve had equipment failures with my blender and food mixer. Currently,…