Indulge in the Marvel: A No-Bake Oreo Blackberry Tart! You’re Gorgeous, Yes You Are! Make this showstopper dessert today!

Gorgeous Easy No-Bake Oreo Blackberry Mousse Tart
Continue reading
0 Comments
A blog with a little bit of everything for parents
Indulge in the Marvel: A No-Bake Oreo Blackberry Tart! You’re Gorgeous, Yes You Are! Make this showstopper dessert today!
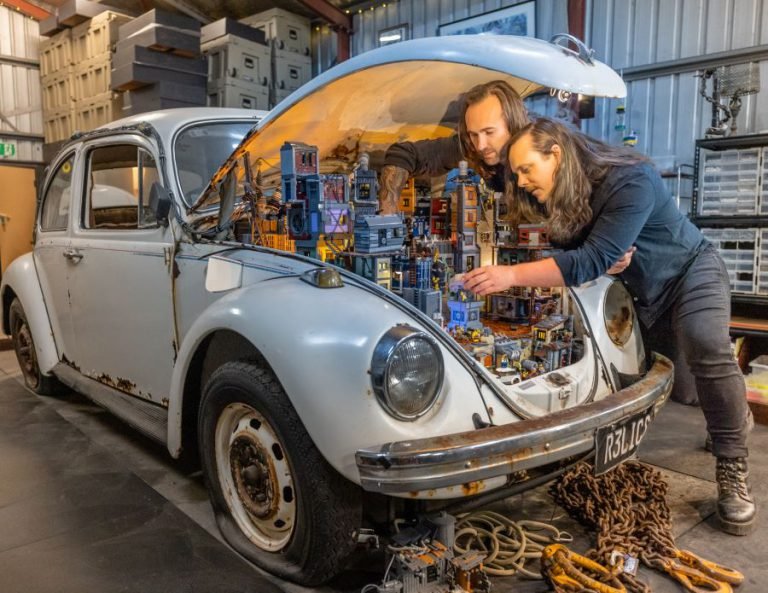
We can’t wait to explore RELICS: A New World Rises with our family! Dive into this incredible LEGO® exhibition by former LEGO® Masters champions, where everyday objects are transformed into imaginative miniature worlds packed with Minifigure mischief. Perfect for the school holidays, RELICS promises fun for all ages, interactive builds, scavenger hunts, and a futuristic story you’ll never forget. Hurry—tickets are selling fast and the exhibition ends 26 January 2026!
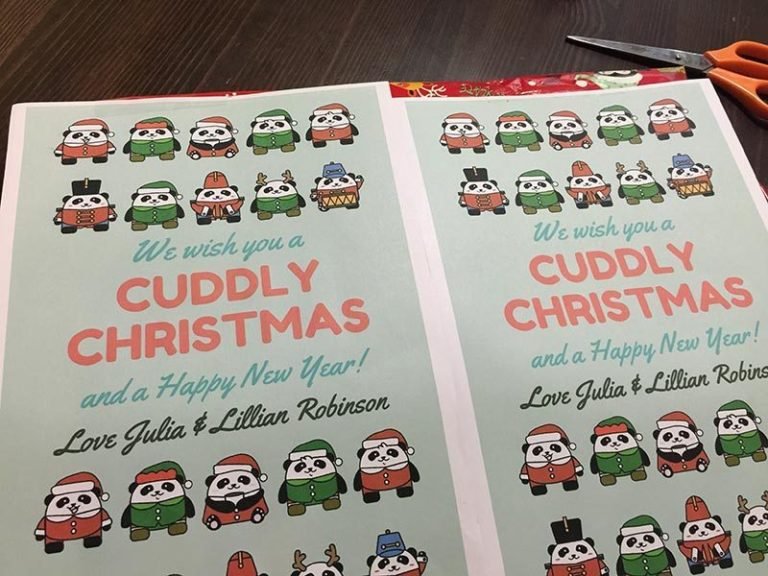
Need a cheap, easy and special teachers gift? This is something that you can do quickly and will be treasured by your favourite teacher.

Get ready for a LEGO® adventure like no other! RELICS: A New World Rises opens 16 August 2025 at the Australian Museum, featuring immersive LEGO® worlds, interactive build zones, and tiny Minifigure stories around every corner. Perfect for LEGO®-obsessed kids – and adults – it’s a fun, creative day out for the whole family.
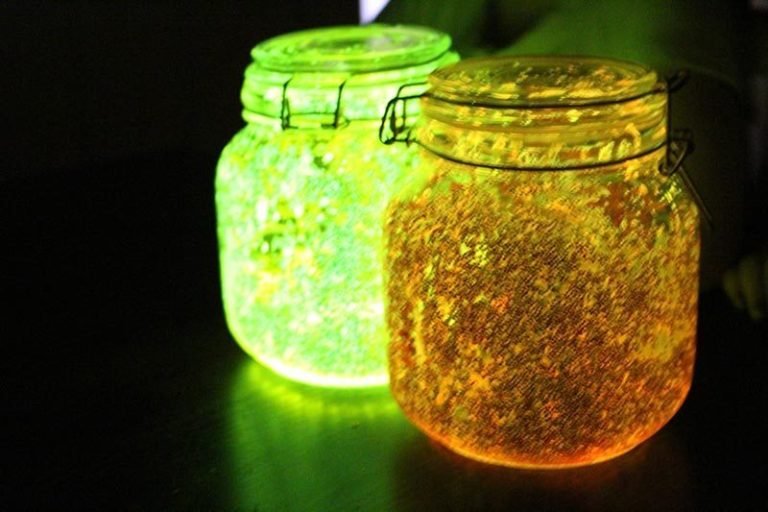
Would you like to create fairy lights? Need a great activity to do with the kids? I have seen this on the web and thought “Does it really work?” “Will…
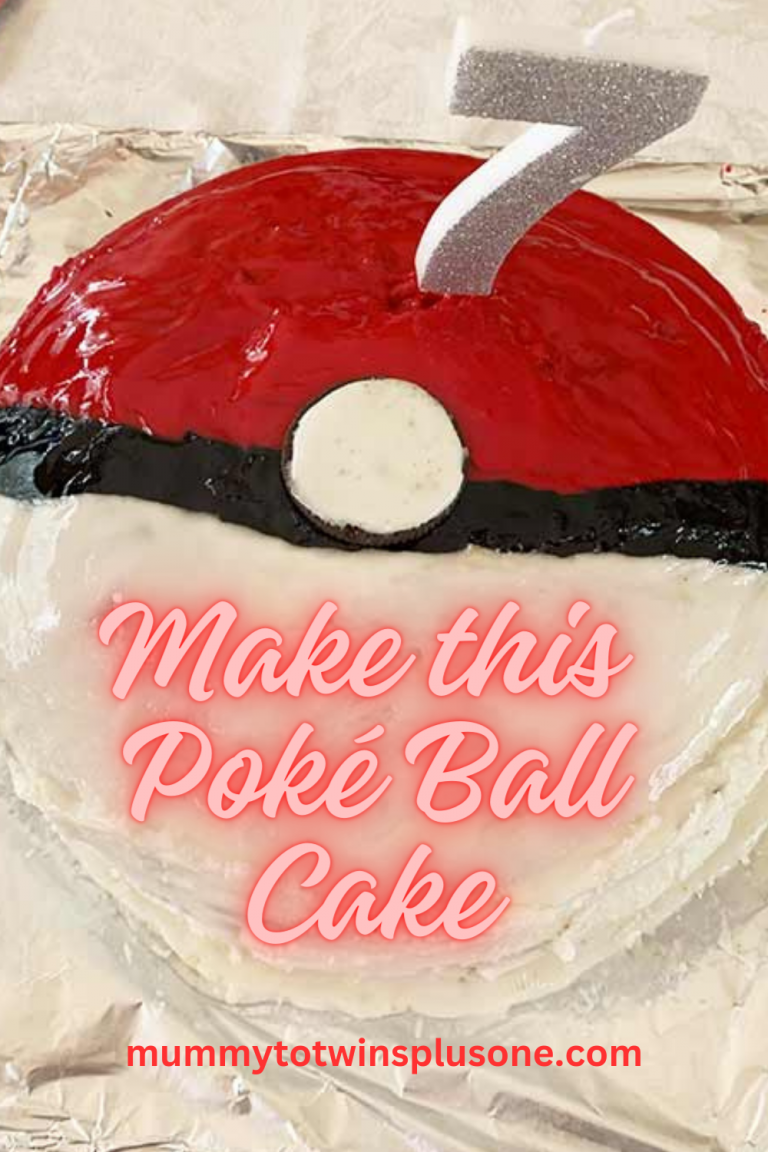
Got a Pokémon superfan in your life? Someone whose love for those pocket monsters knows no bounds, whether they’re a kid or a kid-at-heart adult? Make them an epic Poké Ball cake.
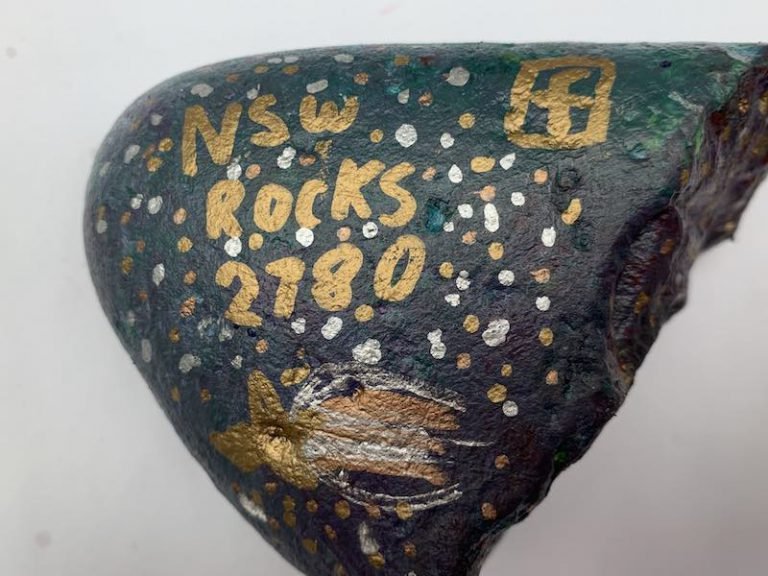
🎨 Paint, play, and get messy!
Turn ordinary rocks into sparkly space scenes or rainbow bugs—then hide them in your local park! It’s creative fun that gets kids outdoors and away from screens. Just don’t forget the old clothes!
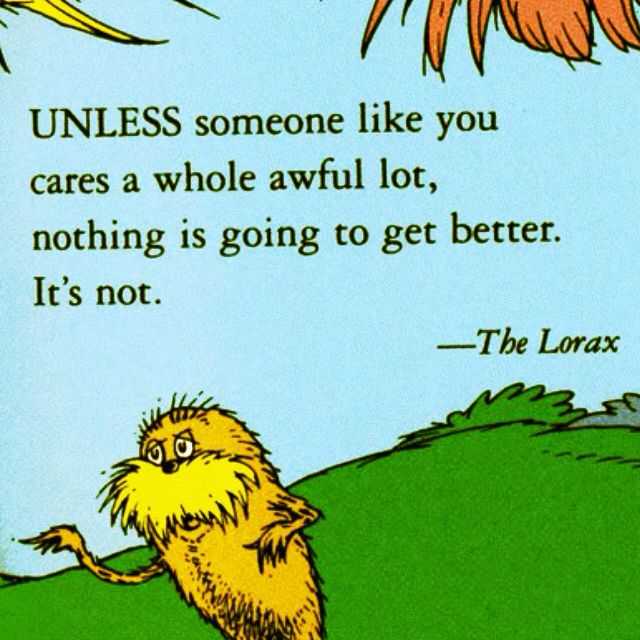
Missed Earth Day? No worries—let’s make every day Earth Day! Download FREE Lorax resources from Twinkl, featuring colouring sheets, crafts, and writing activities to help kids learn about protecting our planet. Plus, check out my 31 tips to celebrate and care for the Earth all year round!
Twinkl offers fantastic resources to help kids learn about autism, from the Autism Awareness Week PowerPoint to the Autism Strengths Poster, highlighting unique abilities. With engaging activities like Minds of All Kinds and Celebrate Neurodiversity Bookmarks, it’s easy to spark meaningful conversations about inclusion and acceptance. Check out Twinkl’s resources and celebrate neurodiversity today!
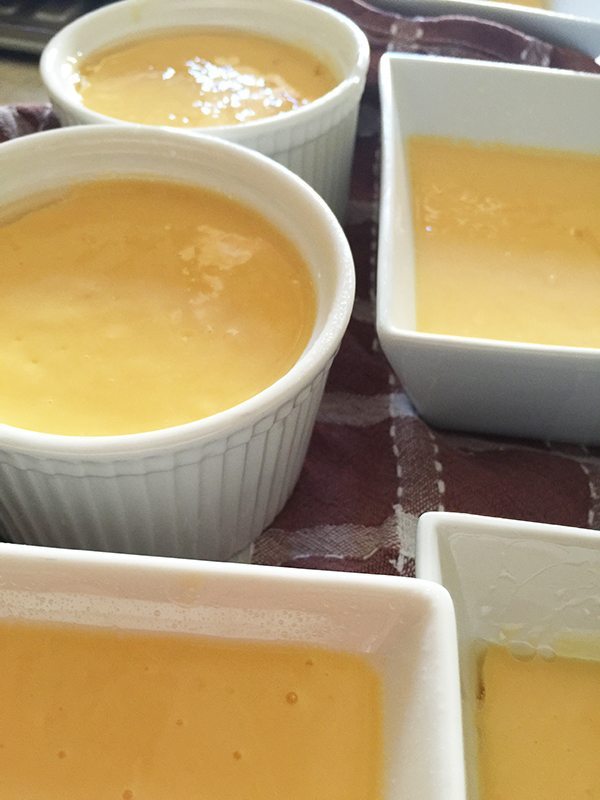
I love mango pudding and always order it when I have yum cha. What is your favourite dessert to order? Nothing finishes off a nice meal than a lovely pudding…

Hey parents, teachers, and little learners! 🌟 Are you ready to sprinkle some educational magic into this year’s back-to-school routine? 🚀✨ Look no further than Twinkl – your ultimate partner in making learning a joyous adventure! 🌈🎒

Get 5 tips to help you purchase gifts for twins and triplets. Make the next birthday party easy with this simple gift guide.
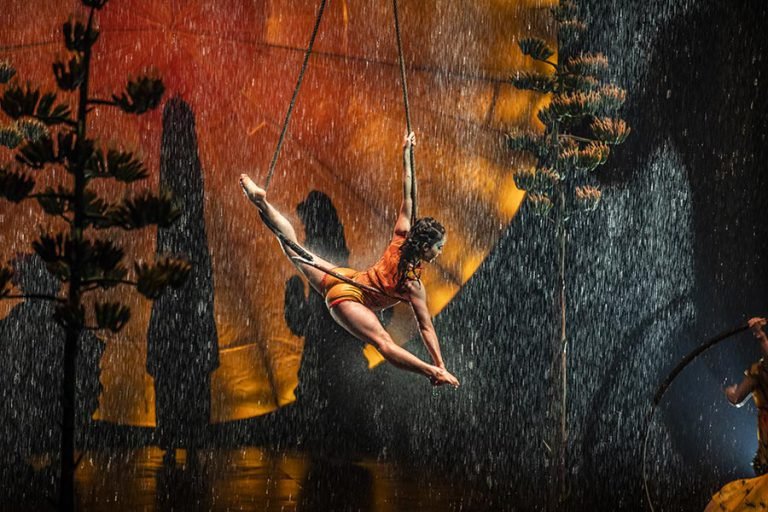
We absolutely loved every moment of LUZIA by Cirque du Soleil! From the mesmerizing performances to the vibrant visuals, it was an unforgettable experience for the whole family. Running until February 9, 2025, this is one show you don’t want to miss—grab your tickets and see the magic for yourself!

Step into a world of wonder as Cirque du Soleil’s LUZIA brings its breathtaking blend of acrobatics and artistry to life! Running from November 24, 2024, to February 9, 2025, this one-of-a-kind show promises an unforgettable journey inspired by the vibrant culture and landscapes of Mexico. 🌟 Grab your tickets now and experience the magic under the Big Top!

Looking for ways to create unforgettable memories instead of clutter? Check out this exciting lineup of family-friendly shows! Enjoy the whimsical adventures of Emma Memma, dance along with The Wiggles, and join Andy and the Odd Socks for a fun-filled experience. Plus, don’t miss the chance to see amazing artists like Katy Perry and Coldplay in concert! These events make perfect gifts for loved ones, creating lasting memories. Grab your tickets now!
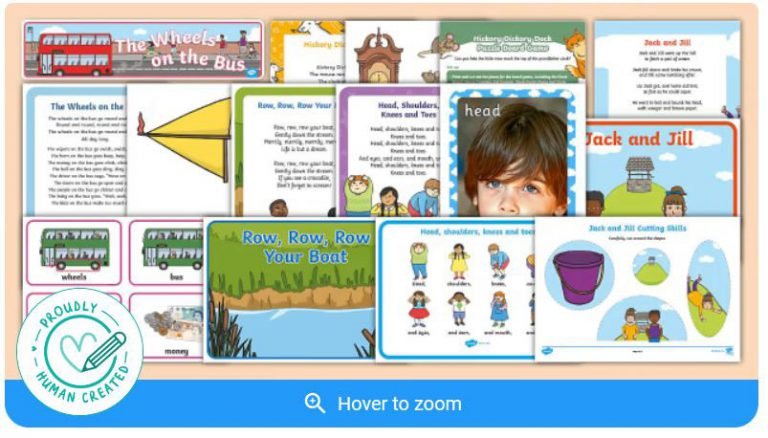
From November 11th-15th, dive into a week of fun and learning with Twinkl’s exciting resources! Sing, play, and create with nursery rhymes like “Wheels on the Bus” and “Hickory Dickory Dock.” Download crafts, games, and lesson ideas to make every day magical! Join the Rhyme A Day Challenge and let the learning begin—perfect for kids, parents, and teachers alike
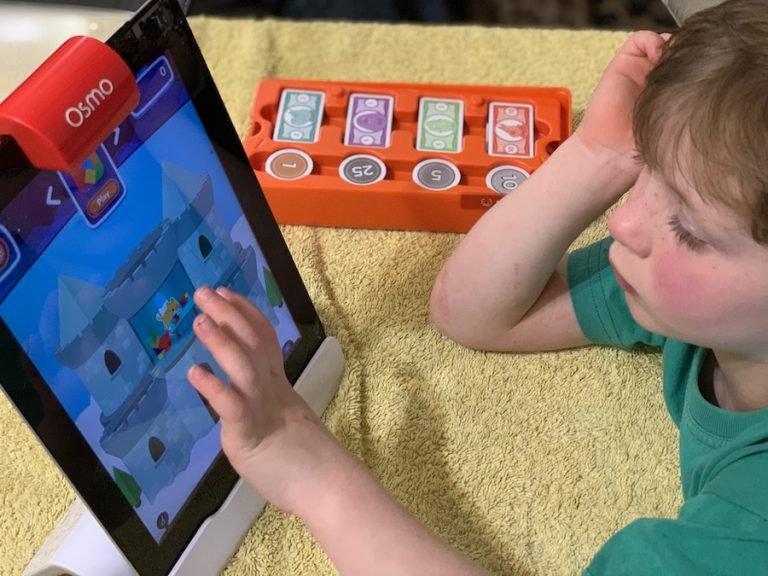
See how amazing the Osmo Pizza Co game is. Perfect for kids to learn about money, business and just have fun! It’s a totally interactive game and not just played on the iPad.
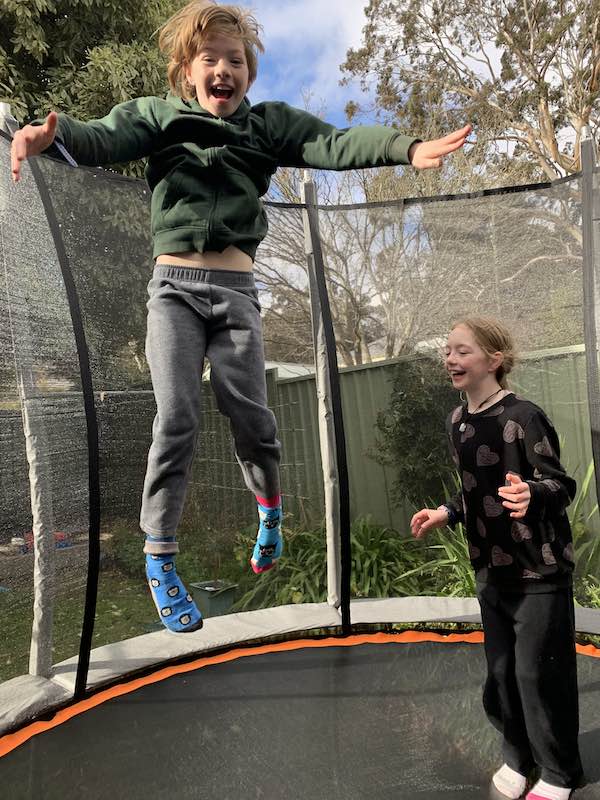
Keeping your kids entertained in the holidays is hard especially if you have different ages to think about. However, with a Vuly trampoline, it is super easy as all kids regardless of age love bouncing and having fun. Learn about what we love about our new Vuly Ultra Medium Trampoline.