Indulge in the Marvel: A No-Bake Oreo Blackberry Tart! You’re Gorgeous, Yes You Are! Make this showstopper dessert today!

Gorgeous Easy No-Bake Oreo Blackberry Mousse Tart
Continue reading
0 Comments
A blog with a little bit of everything for parents
Indulge in the Marvel: A No-Bake Oreo Blackberry Tart! You’re Gorgeous, Yes You Are! Make this showstopper dessert today!
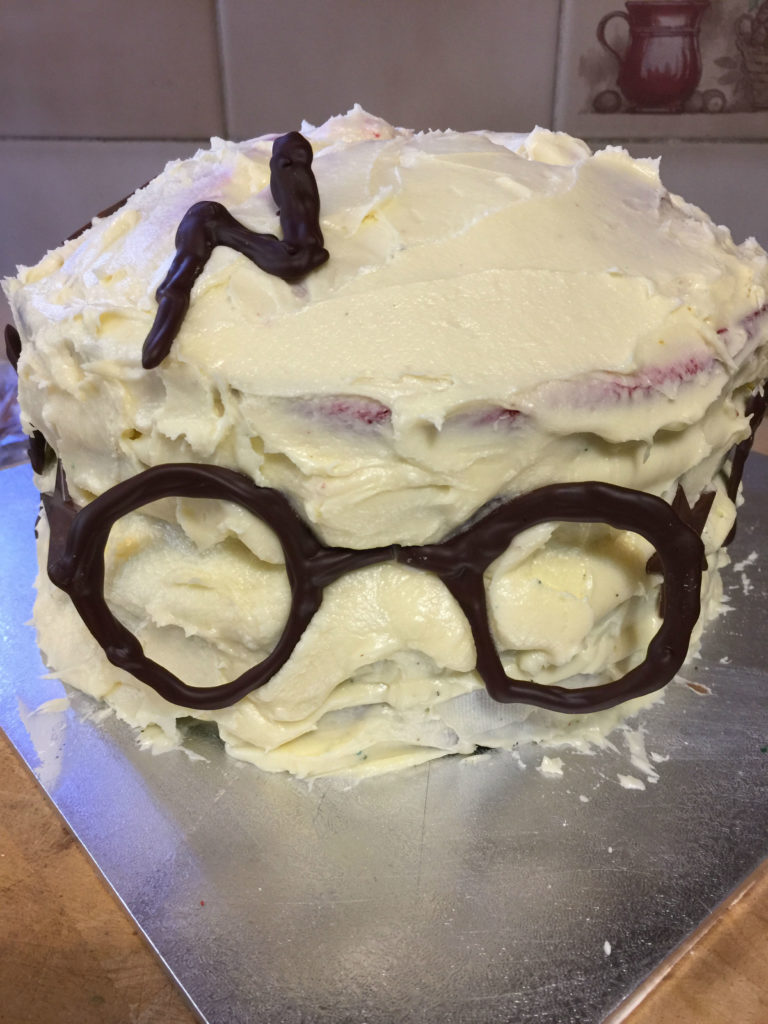
This year the girls wanted a Harry Potter or Wizard themed birthday party. (Read on to get the free takeaway – Harry Potter Cupcake Toppers) I thought how do I…
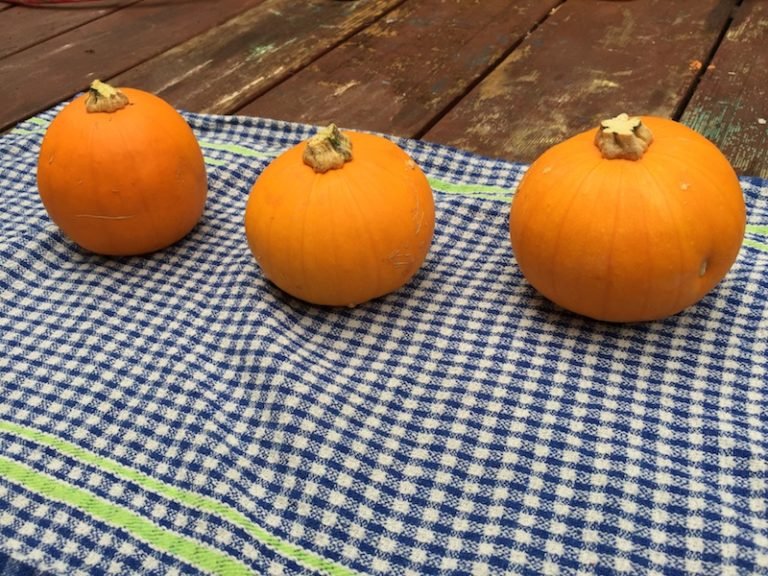
Yesterday the kids and I created mini Jack O’Lanterns. Three mini pumpkins, just the right size for kids to carve and also the right number for each child. Also, they…
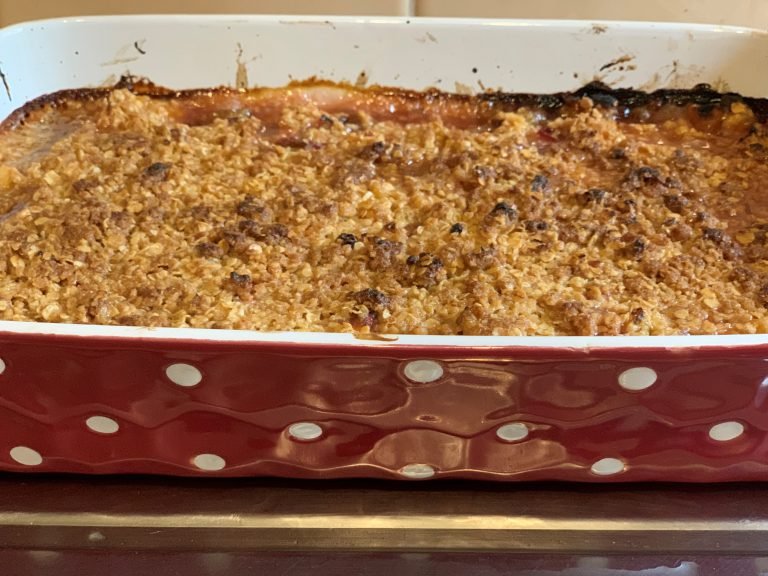
Make a yummy mandarin and rhubarb crumble today. Everyone will love it and it will certainly impress if you are having a dinner party. Easy and quick to make. Download the FREE recipe card as well to make cooking easier.
Make passionfruit recipes that are not just cakes or slices. How about salad dressing, stir-fry sauce, and a dessert flummery? Download the free recipe eBook.
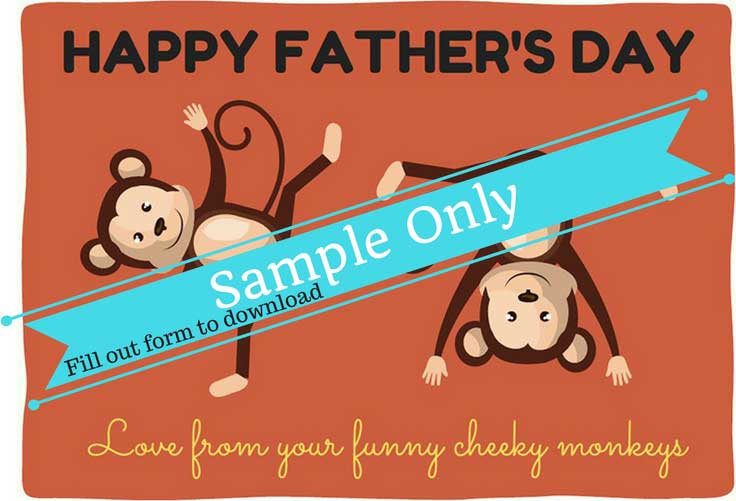
Are you busy getting things organised for dad or your husband for Father’s Day? Do you wish you had the perfect card? Would you like to get a nice free…
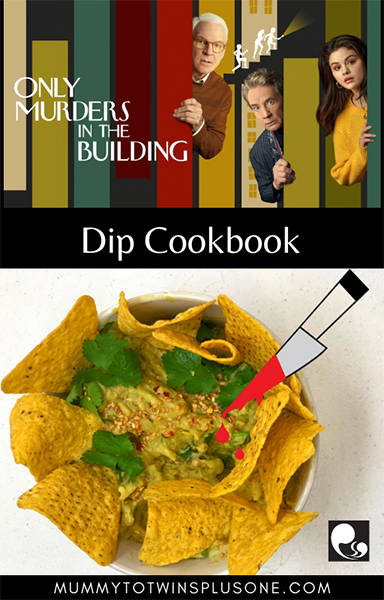
Season 2 of Only Murders in the Building starts June 28th. To celebrate download my Only Murders in the Building Dip Cookbook. Eat dip just like Oliver Putman (played by Martin Short) and help Mabel, Oliver and Charles find the murderer and continue their podcast.
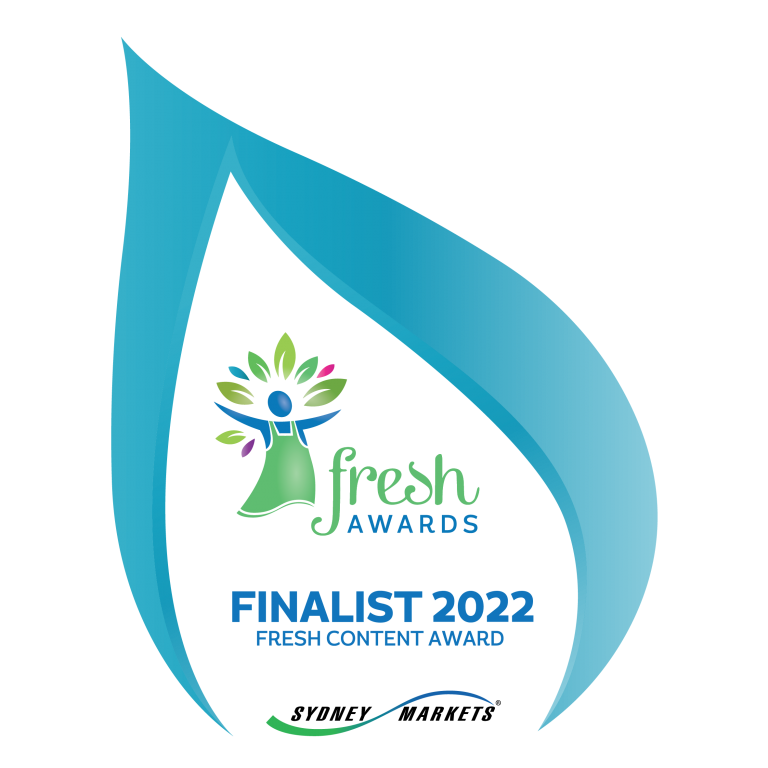
I am very happy and excited to announce that I have been named 1 of the 4 finalists for the Sydney Markets Fresh Content Awards for 2022.
Download FREE Mother’s Day Cards, you don’t just get 1 you will get 5! Get yours today.

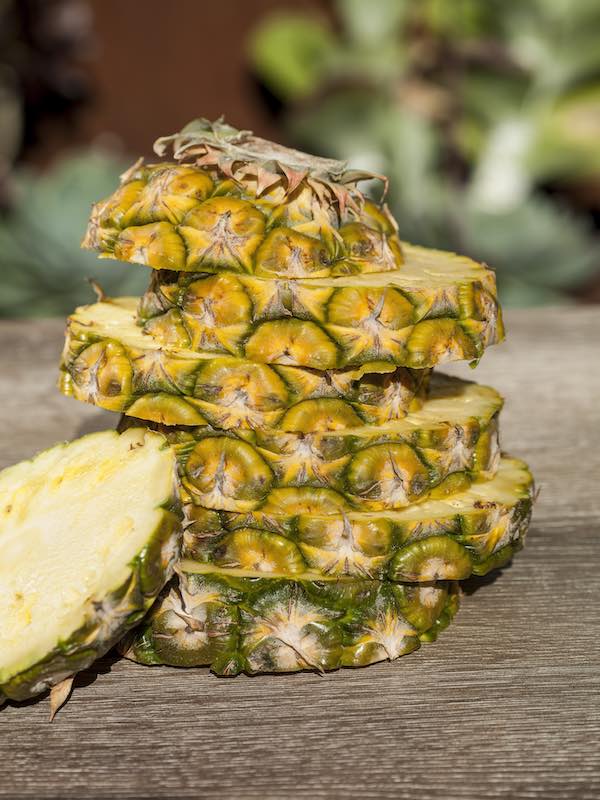
Pineapples are so good for you. I really think they should be called a SUPERFOOD! Also, download the free pineapple recipes today. Read on to see why they are so amazing for you.
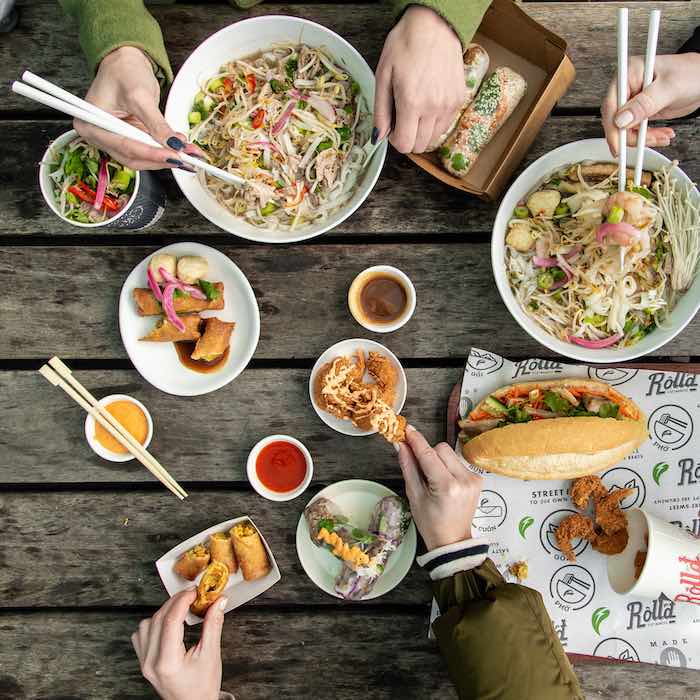
Happy Chinese and Vietnamese Lunar New Year. Learn about what the Year of the PIg has in store for you and what to watch out for in 2019. Please see all events listed throughout Australia and great deals and competition from Roll’d.
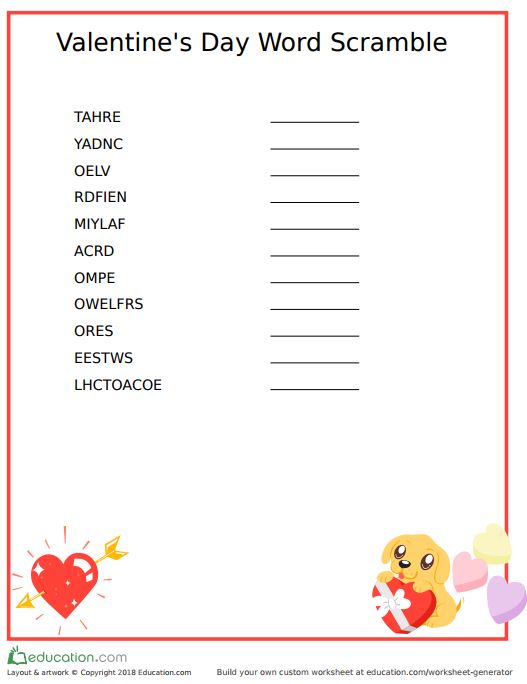
Do your kids love to do word scrambles? Since Valentine’s Day is around the corner a Valentine’s Day inspired worksheet is ideal. Do you love giving your children more worksheets…
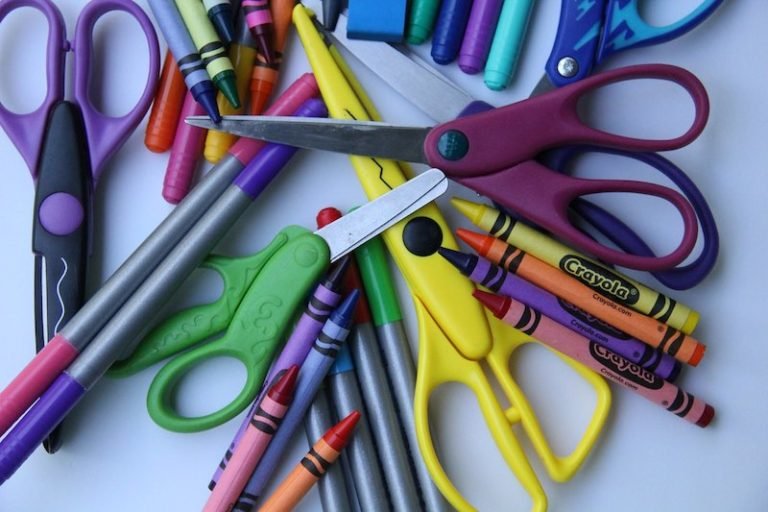
School goes back for my twins at the end of January. Part of me is excited that they will be starting a new year of learning, and part of me…