Make Marbled Easter Eggs this Easter. It is easy and so much fun.
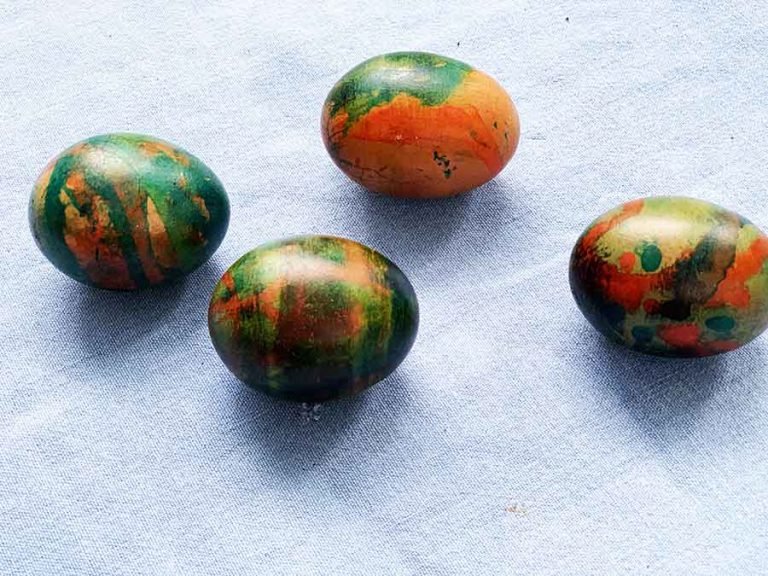
Marbled Easter Eggs
Continue reading
0 Comments
A blog with a little bit of everything for parents
Make Marbled Easter Eggs this Easter. It is easy and so much fun.
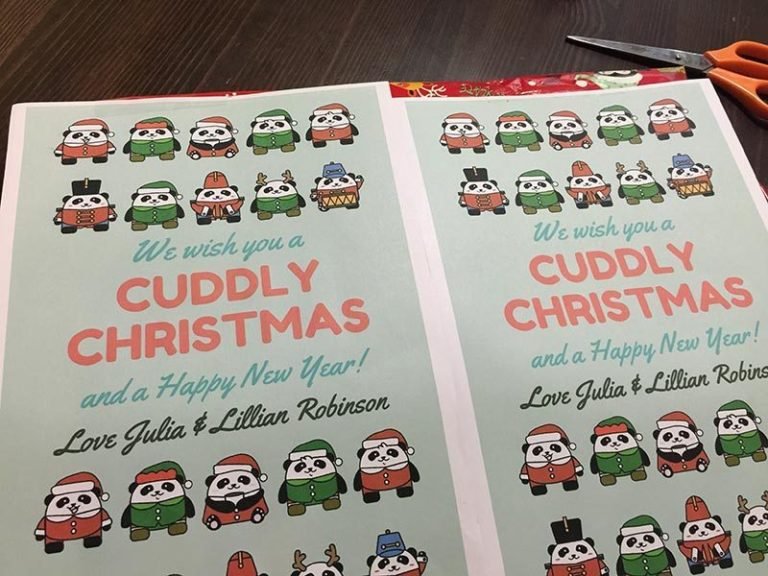
Need a cheap, easy and special teachers gift? This is something that you can do quickly and will be treasured by your favourite teacher.
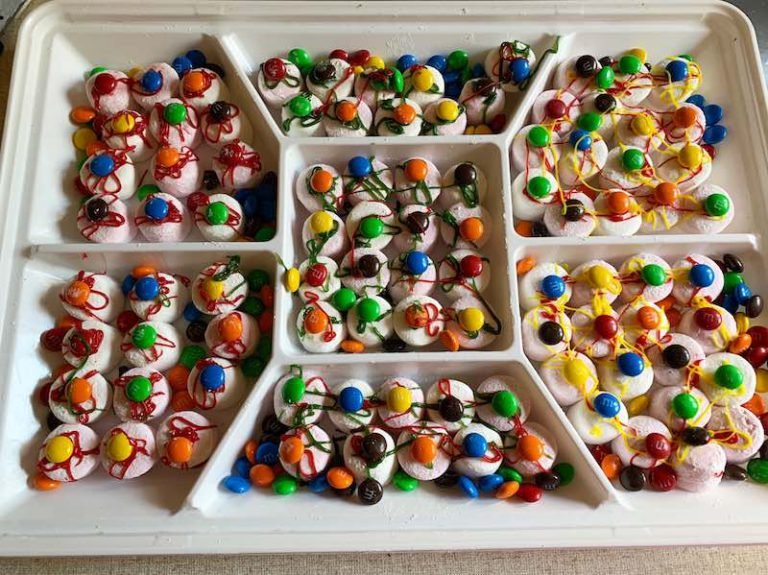
Make a quick no-bake spooky treat – Zombie Eyes! Make a batch today.
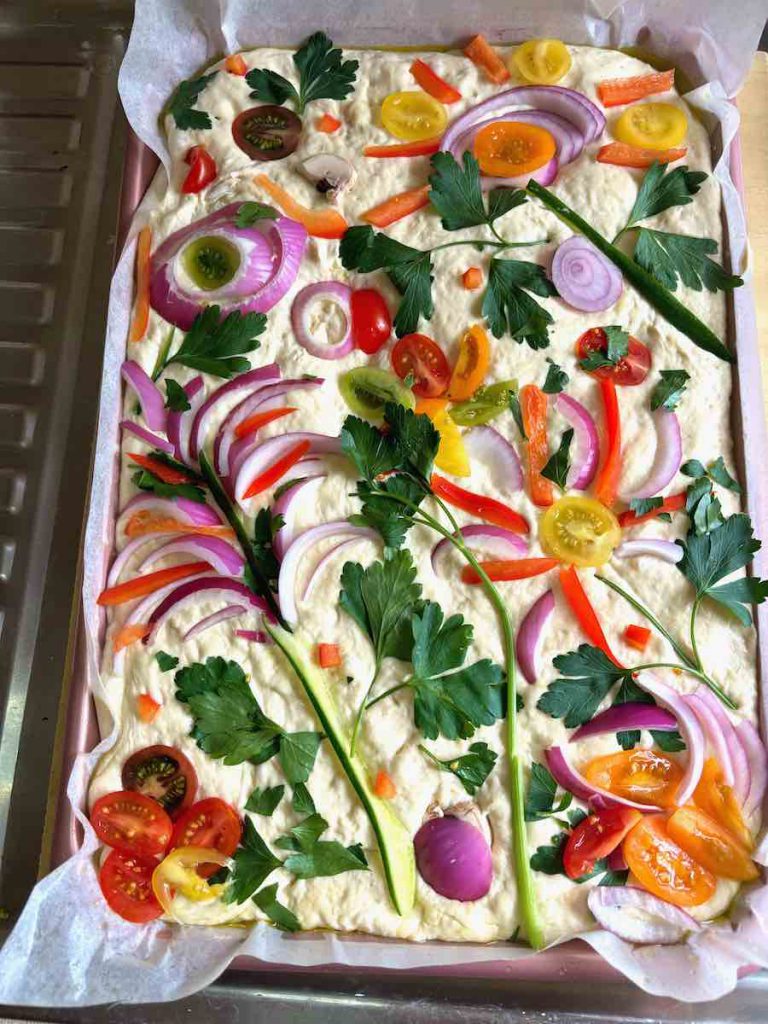
Get ready to bake the prettiest focaccia ever, complete with veggie flowers and garden-inspired decorations! This stunning, mouthwatering masterpiece is as fun to make as it is to eat. Perfect for impressing guests or treating yourself, this focaccia will have everyone asking for the recipe. Don’t miss out on this showstopper bread – your taste buds (and Instagram feed) will thank you!
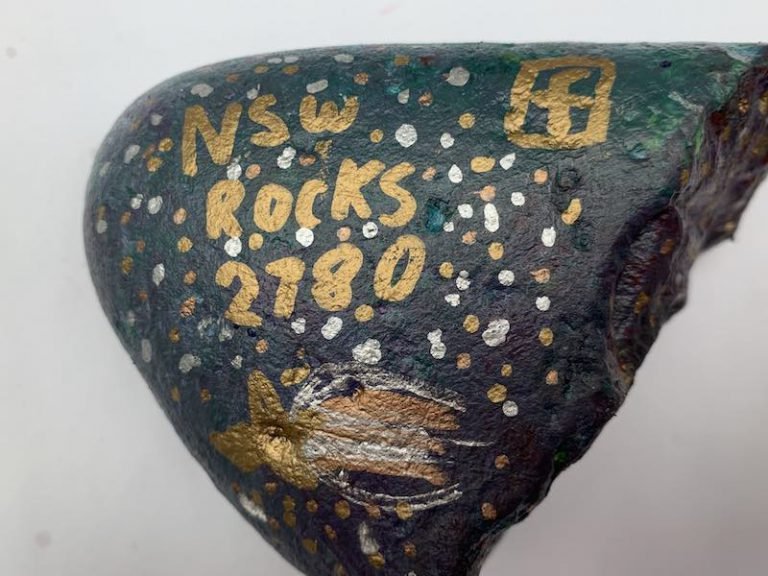
🎨 Paint, play, and get messy!
Turn ordinary rocks into sparkly space scenes or rainbow bugs—then hide them in your local park! It’s creative fun that gets kids outdoors and away from screens. Just don’t forget the old clothes!
See what an easy and cheap art project this is to do, and it also keeps kids busy and also gets them outdoors. Watch the video and create one today!

Make this amazing smelling raspberry play dough! It smells fabulous and is also so soft. Have fun with this great play dough recipe. Read my post to find out what the mystery ingredient is.

Take the kids outdoors to mine for crystals and diamonds…it is so much fun and a marvellous adventure. Learn more about how to do this fun activity.
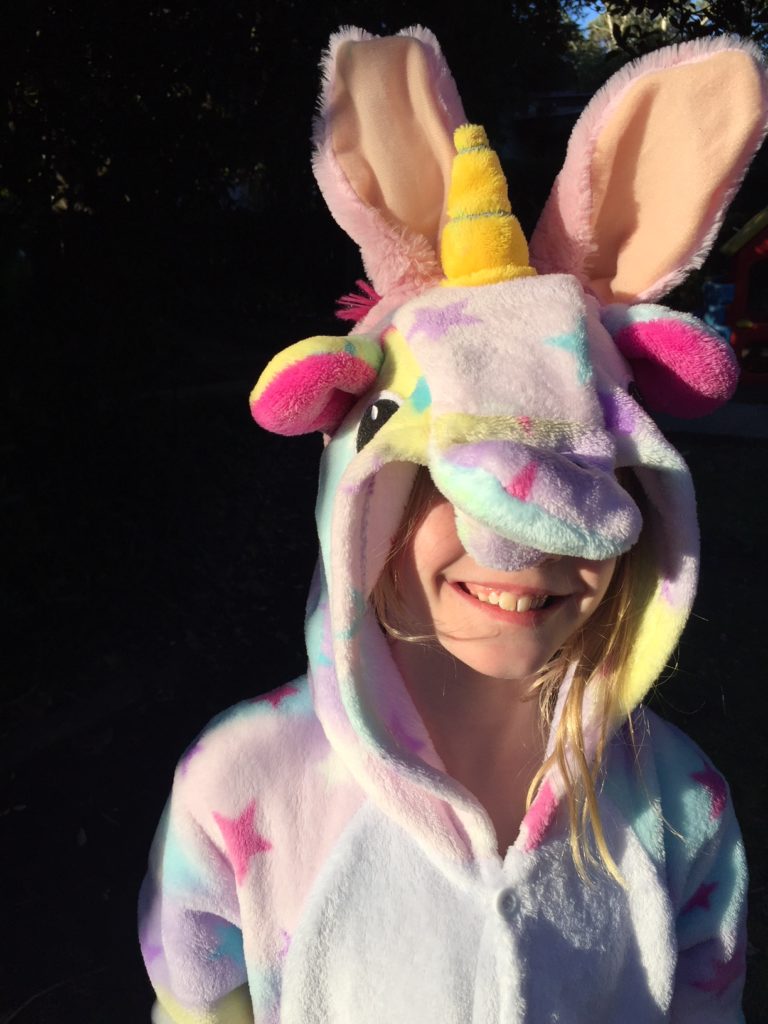
The Unibunny is real. It is an animal that is a unicorn and bunny all in one. I know many dear readers had no idea, but now you are aware…

Easter will soon be here and so will the Easter Hat parade at your local school. If this is shocking, then I might have freaked you out. Breathe it is okay! Read on to find out how to make the most amazing Easter Hat!
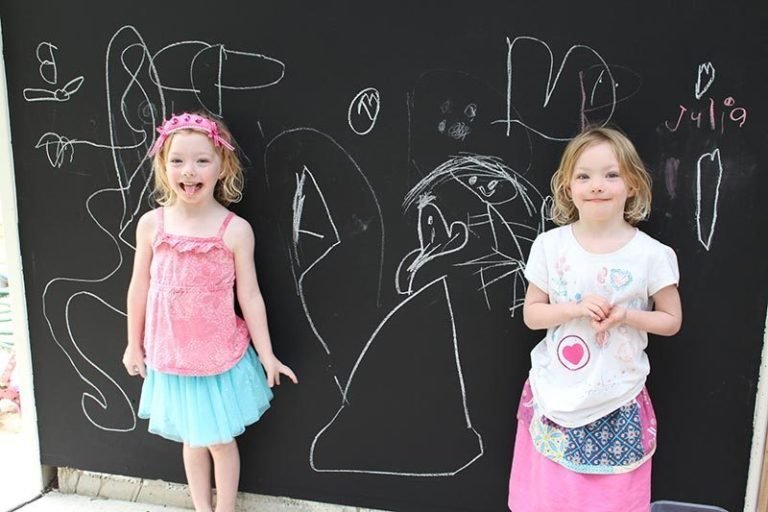
🎨 DIY Blackboard in 3 Easy Steps! Unleash Your Kids’ Creativity! 🌟
Looking for a fun project? Create a DIY blackboard in just 3 steps! 🖌️ Transform any wall into a canvas for your little artists! 💡 Get started now and watch their creativity soar! Read more here!
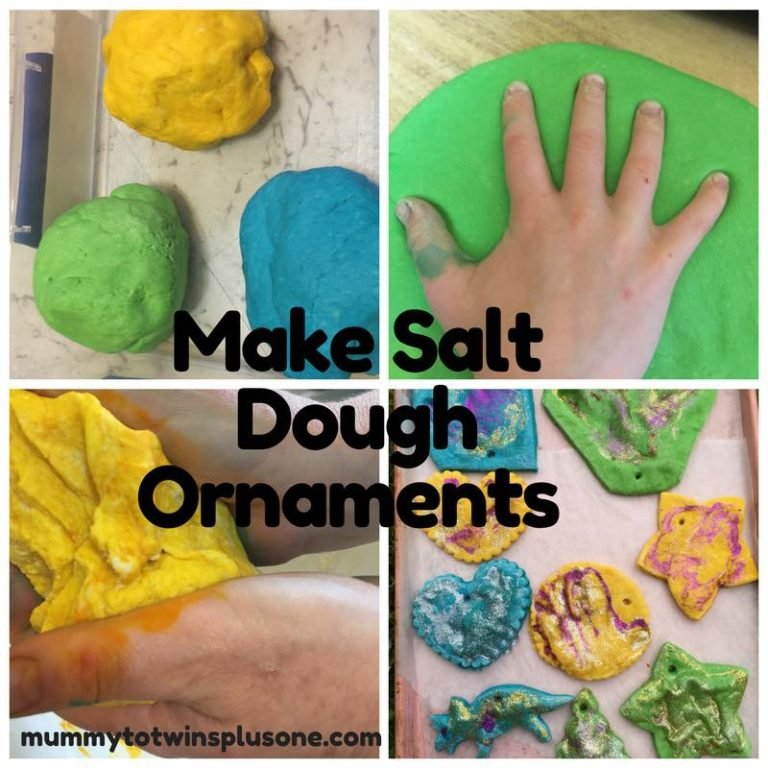
Salt Dough Ornaments are a perfect craft project to do with the kids. They are fun and you can make whatever your heart desires. Your imagination can run wild. My…
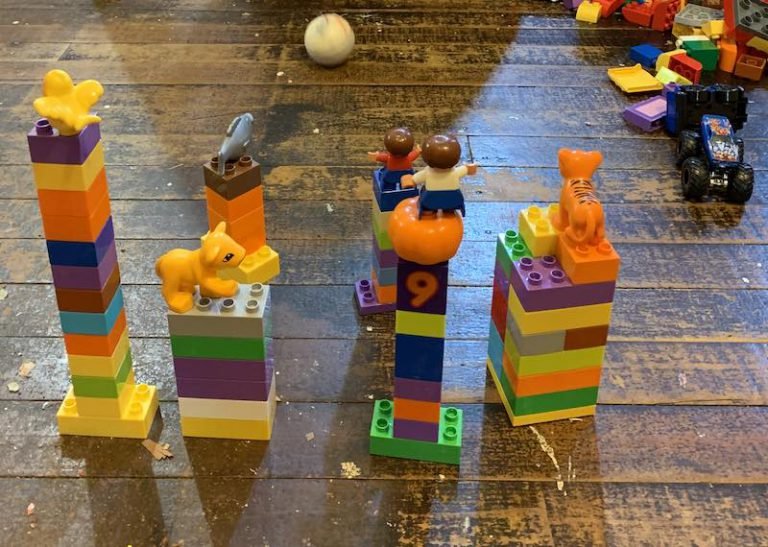
Make your own skittles out of LEGO, super fun and creative. It’s also the perfect activity for wet weather.


Happy Chinese and Vietnamese Lunar New Year. Learn about what the Year of the PIg has in store for you and what to watch out for in 2019. Please see all events listed throughout Australia and great deals and competition from Roll’d.
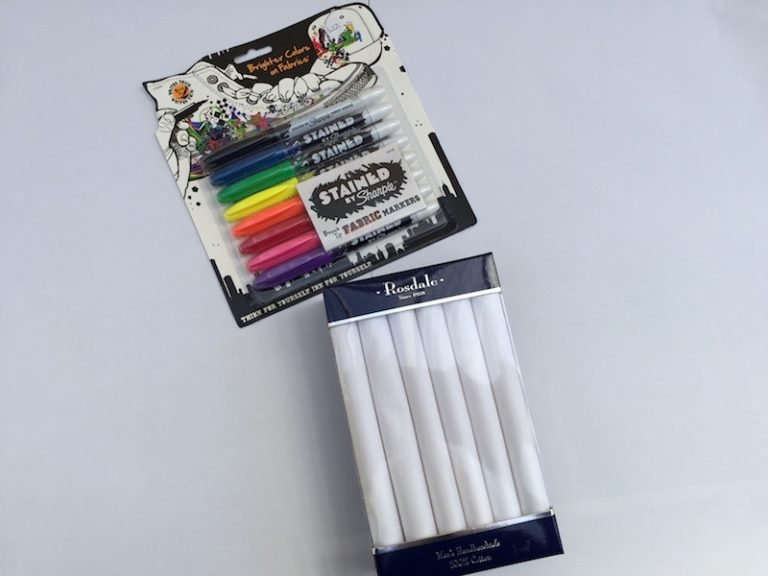
It is always nice to have gifts that are unique. A gift that has meaning, and of course is special to you and others. Creating a gift that is a…
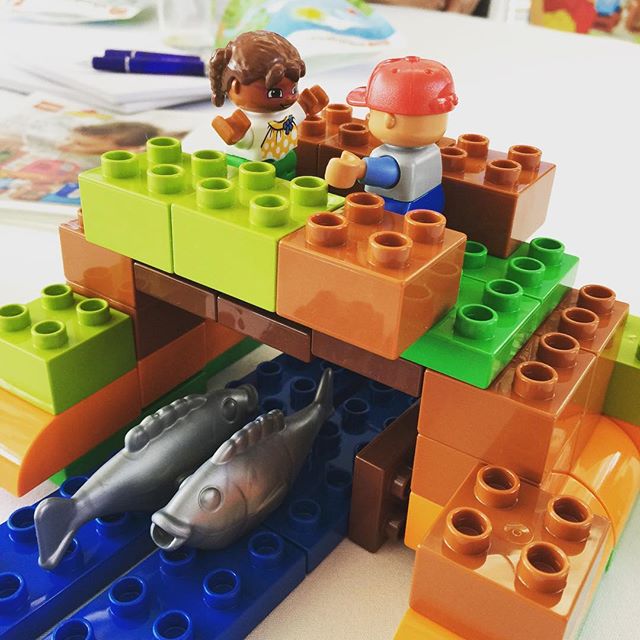
I was lucky to go to The LEGO® DUPLO Creative Play workshop. We as a family love LEGO. Yes, rather a strong word to use for a toy but it…
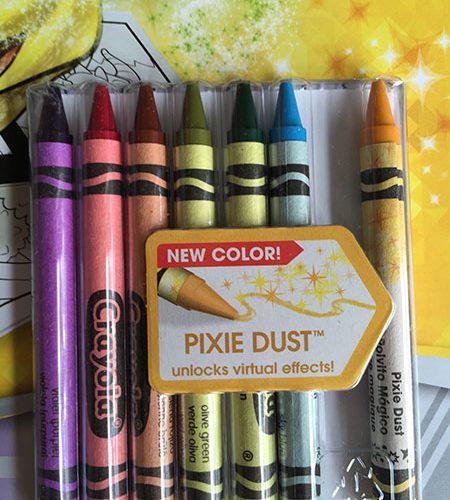
Brought to you by Nuffnang and Crayola Do your kids love to colour? Do they love to draw and do art? Mine do and they create copious amounts of art it…