Zen Green Tea sent me some Green Tea Matcha to try. They had no idea that I just love green tea… actually it is so yummy the smell of the…
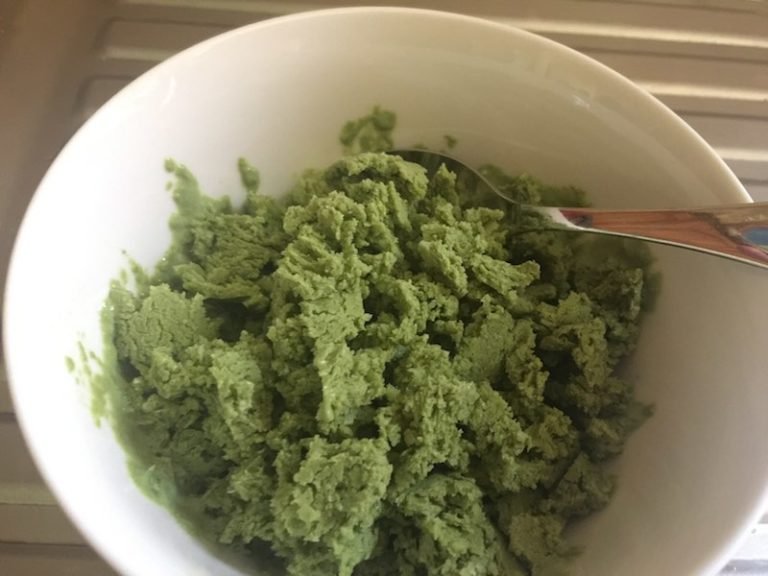
Matcha Green Tea Frozen Yoghurt
Continue reading
0 Comments
A blog with a little bit of everything for parents
Zen Green Tea sent me some Green Tea Matcha to try. They had no idea that I just love green tea… actually it is so yummy the smell of the…
Gong Xi Fa Cai to everyone! The YEAR OF THE ROOSTER is going to be wonderful for all! Well I hope so. Don’t you. What do you do to celebrate…
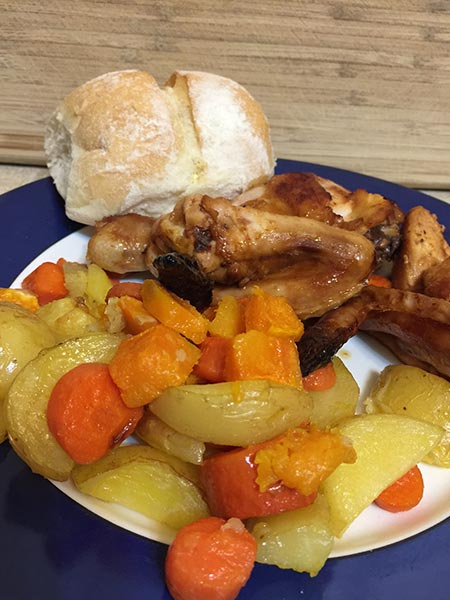
When I left the Kids Business Bloggers Brunch Steggles gave me a chicken for dinner. Yes I left with dinner all taken care of. How amazing is that. Due to…
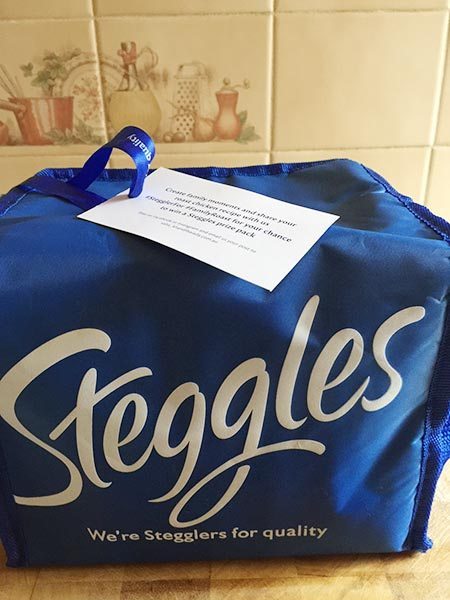
When I left the Kids Business Bloggers Brunch Steggles gave me a chicken for dinner. Yes I left with dinner all taken care of. How amazing is that. Due to…

IGA sent me a bag of goodies to say Happy Easter. It was a lovely bag that I can reuse and it was filled with baked goods to make a…
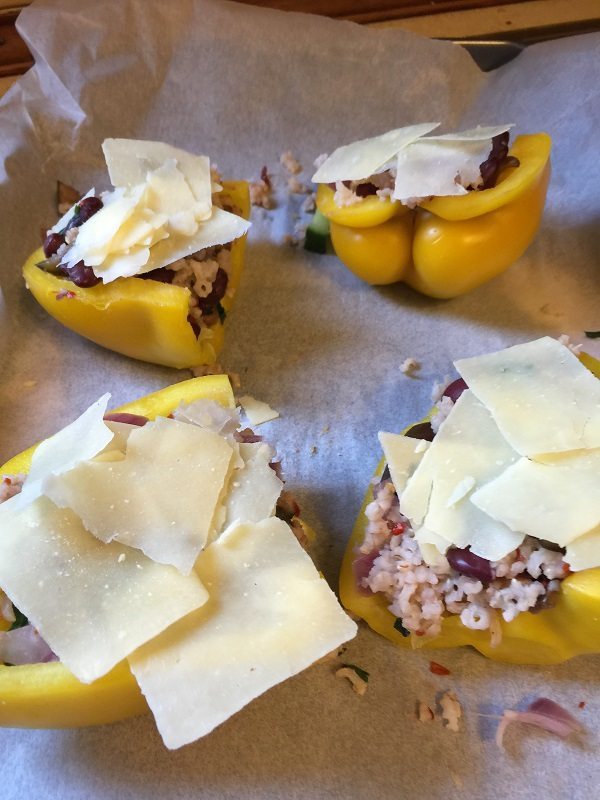
Do you need a healthy idea for dinner or a side dish? This recipe can either be a main or a little something extra. As you know I am undertaking…
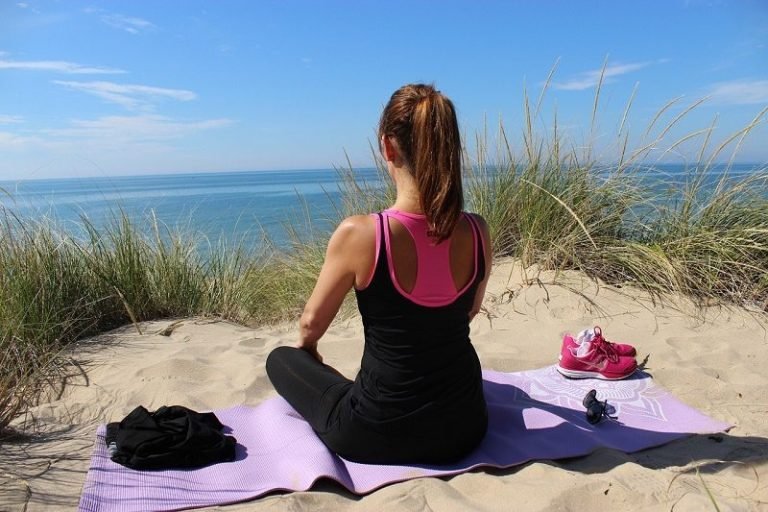
The last few days I have been a bit lax, yes I started with great intentions to do my stretches but things got out of hand. Headache, Kids not getting…
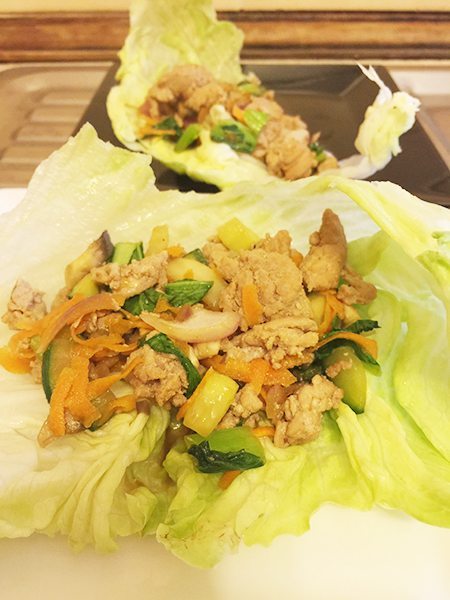
This was to celebrate Chinese New Year but can be made at any time. This is a fast and quick recipe to make, it is also healthy and also very…