Mission: To turn store-bought sponge cakes into a stunning wedding centrepiece.
Challenge accepted!
Armed with creativity, a vision, and a few store-bought sponge cakes from Woolworths, I ventured into the world of cakeovers to craft a delightful masterpiece fit for a dreamy wedding. Plus, with the help of gorgeous fresh flowers from Fine Flowers in Katoomba, the transformation was truly enchanting.
What is a “cakeover”?
A “cakeover” is a playful term used to describe the process of transforming an existing or store-bought cake into a more elaborate or personalized creation through decoration, embellishments, or alterations. Think of it as a cake makeover.
It involves taking a pre-made or basic cake and enhancing its appearance or flavour to suit a specific occasion or personal preferences better.
Cakeovers are often chosen for various reasons, such as time constraints, budget considerations, or simply to showcase creativity by customising a store-bought cake to suit a particular celebration, whether it’s a wedding, birthday, anniversary, or any other special occasion.
The Quest for Cake Perfection
Step 1: Cake Acquisition
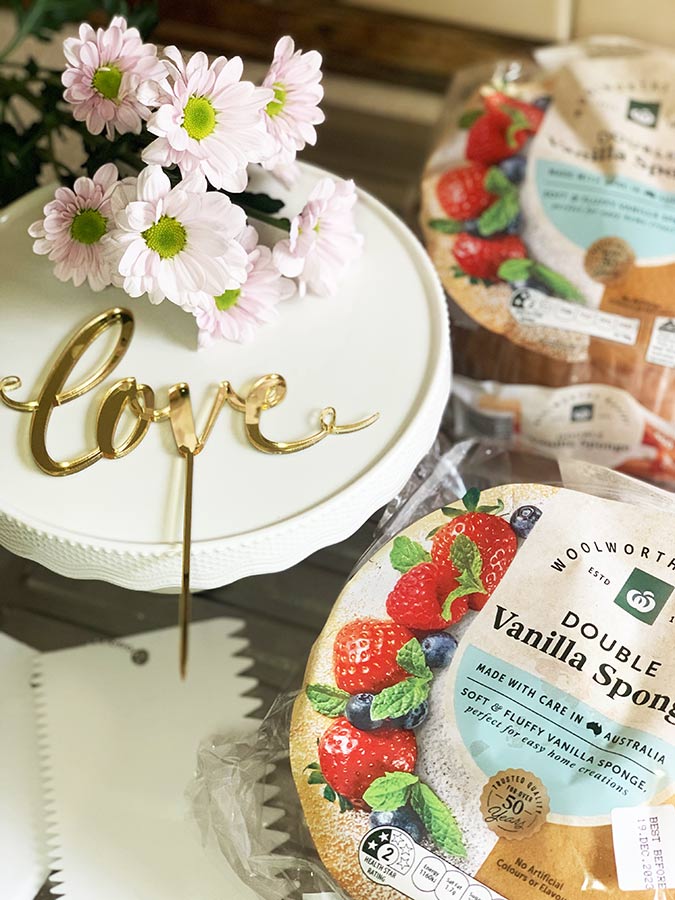
A trip to my local Woolworths store presented an array of sponge cake options. Opting for simplicity, I chose plain sponge cakes – the perfect blank canvas for my cakeover project.
Step 2: Visionary Designs
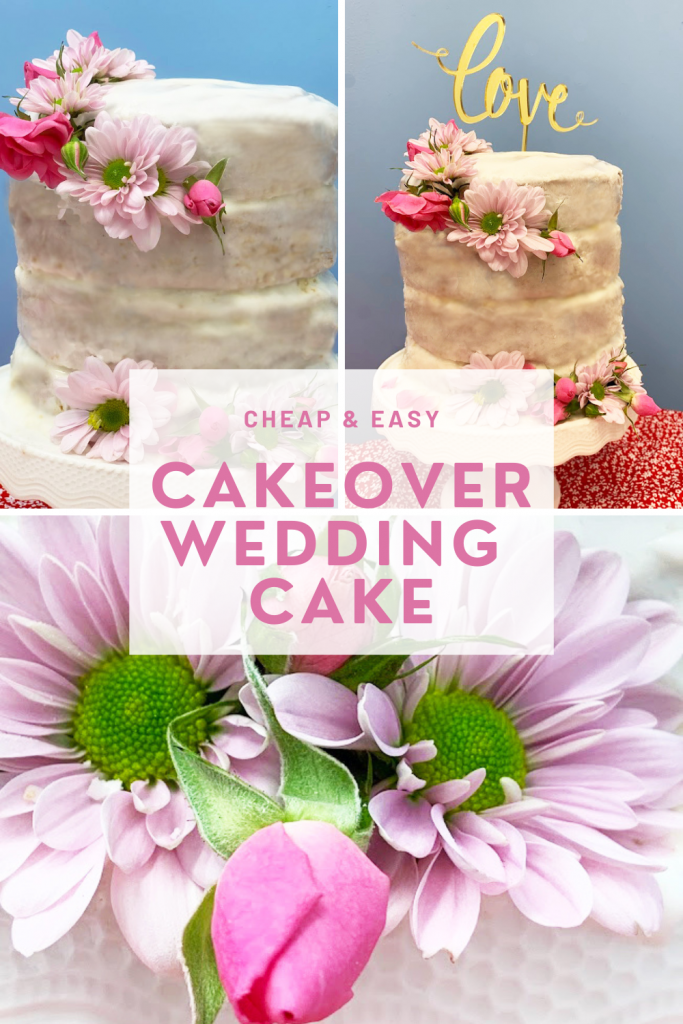
Inspiration struck as I envisioned a multi-tiered cake exuding elegance. With a touch of whimsy in mind, fresh flowers were to be the pièce de résistance. The flowers allowed for a touch of colour and made the cake look so pretty.
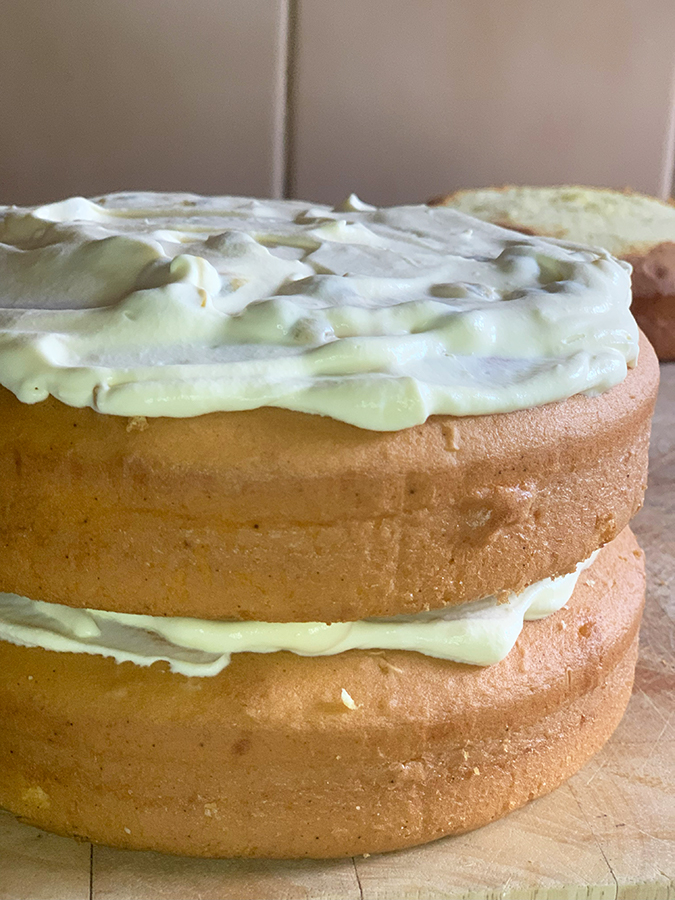
Step 3: Assembly Time
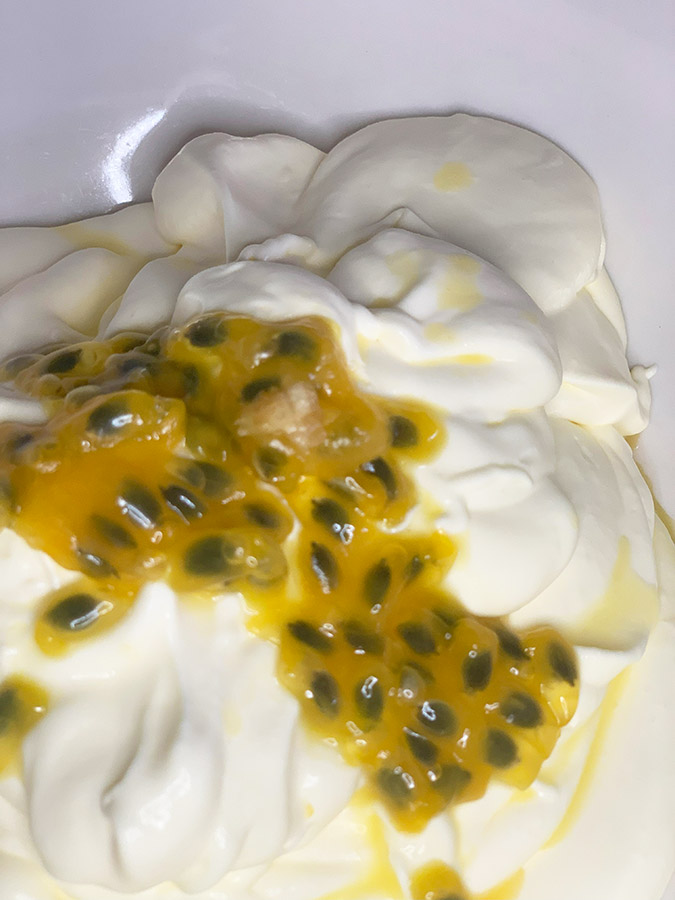
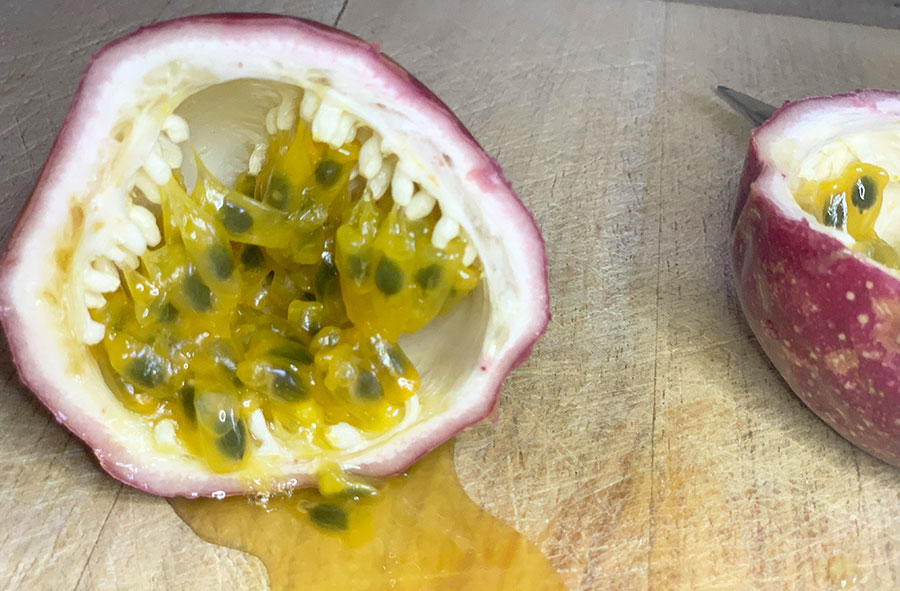
Stacking the sponge cakes, I sandwiched them with layers of luscious cream and fresh Panama passionfruit from Todarello’s Katoomba Village Fruit Market. The passionfruit gave a great flavour and added a summer feel to the wedding cake.
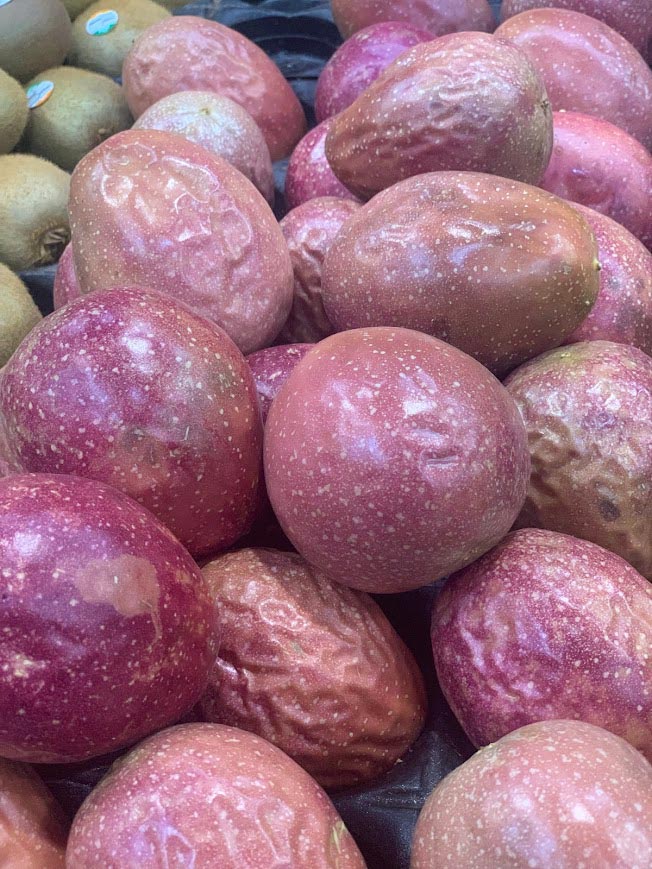
Katoomba Village Fruit Market
Creating the white icing
Mix the below ingredients in a bowl. You can mix with a fork or a mixer to ensure you get fluffy icing.
- 2 cups of icing sugar
- 2 egg whites
- A few drops of lemon juice
- A teaspoon of vanilla essence
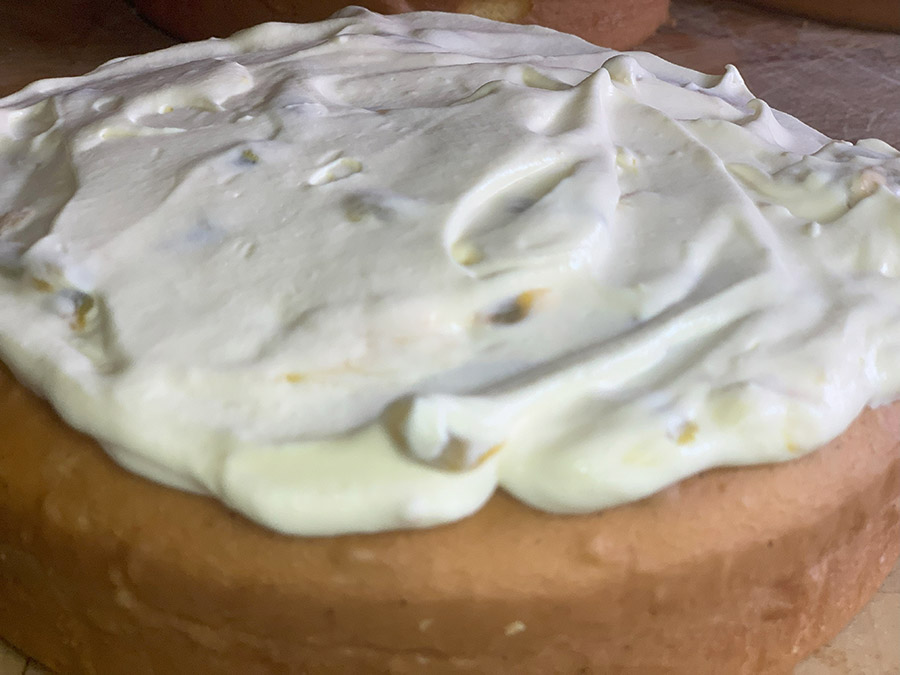
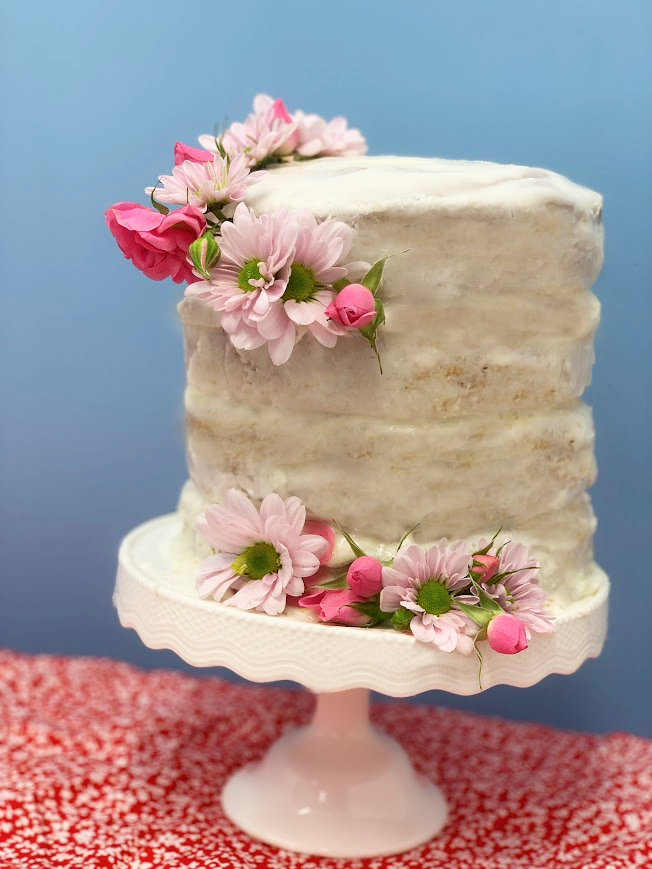
Once all cakes are staked then ice all the cake as smoothly as you can. Use a scraper to have the icing on the cake look smooth and if you have parts of the sponge cake showing that is fine, this will allow you to have the naked cake look. If you don’t want the naked cake look make sure to cover the cake with the white icing and smooth it out with the scraper. If you want a wavy pattern, you can have a scraper that will do that too.

Step 4: The Flourishing Finish
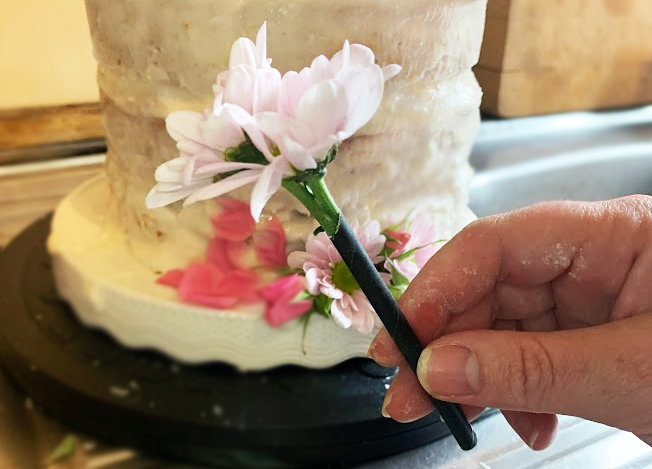
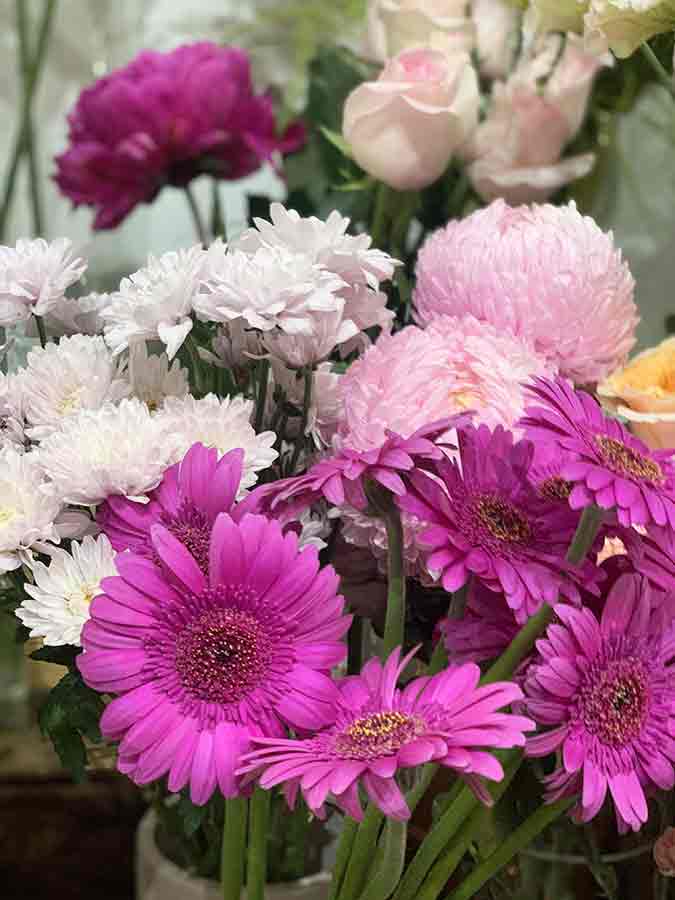
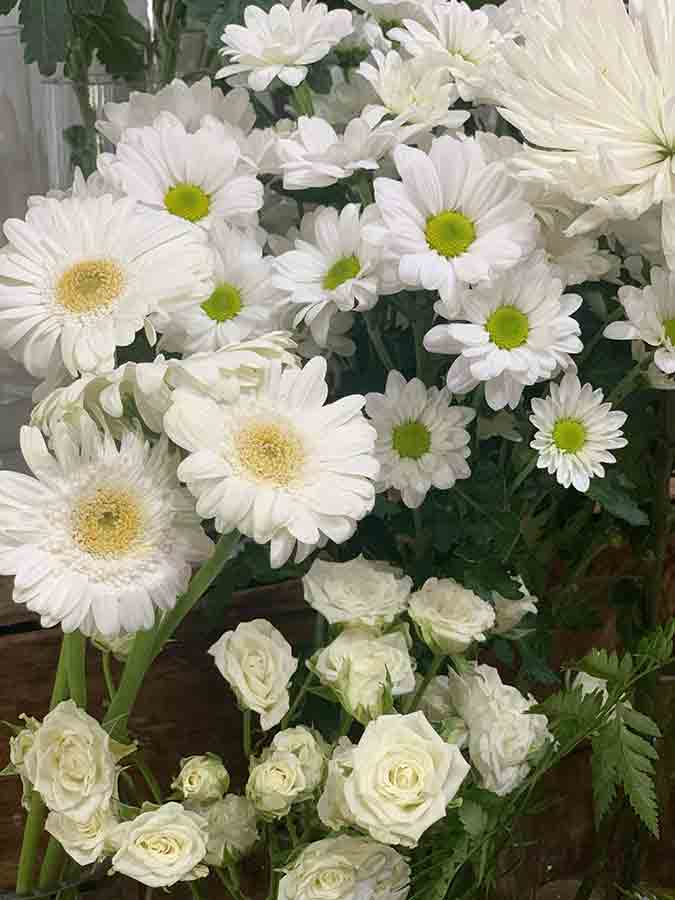
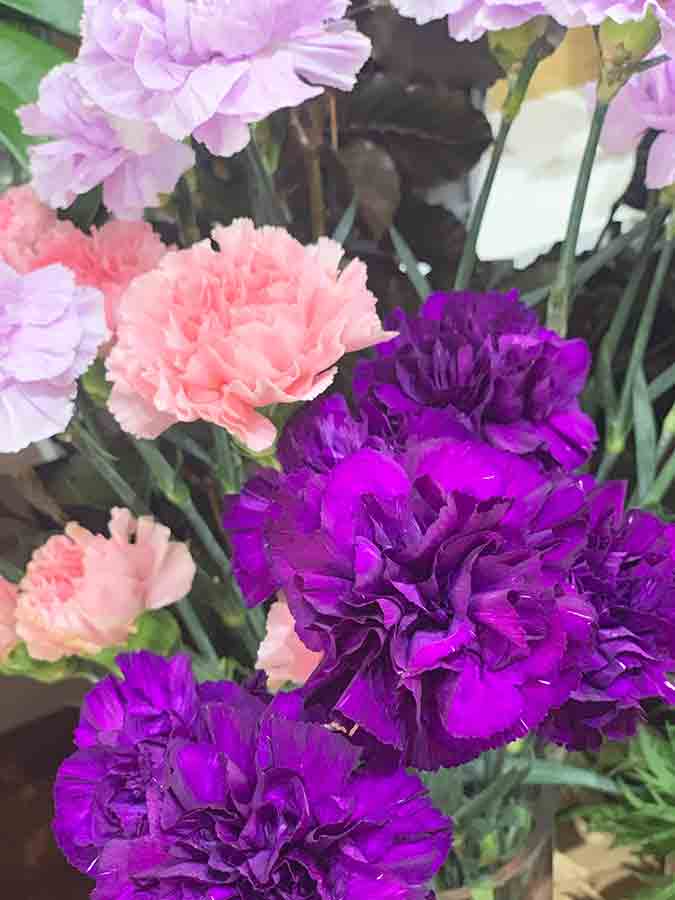
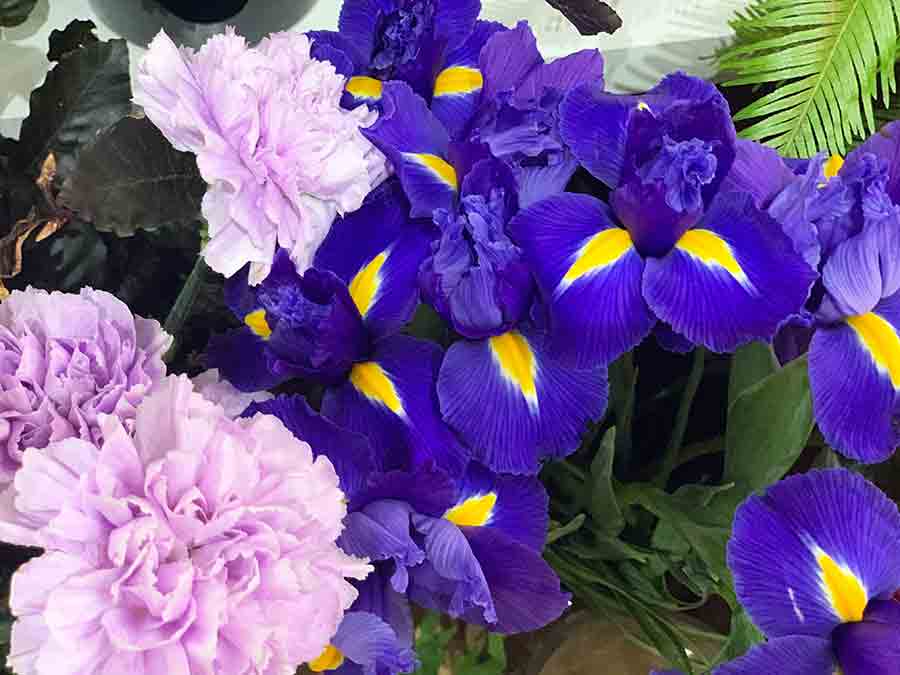
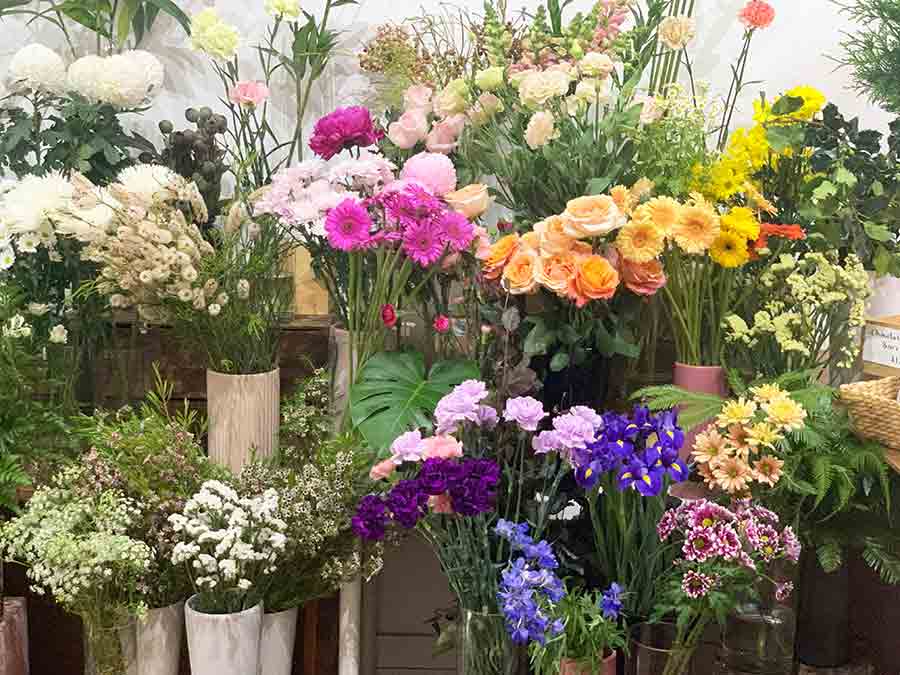
Here’s where the magic truly unfolded. Fresh blooms from Fine Flowers in Katoomba were carefully placed atop the cake tiers, infusing vibrant colours and natural beauty into the creation. The flowers were added with paper straws to make sure the stem wasn’t put into the cake. The flowers would then be easily removed to allow the cake to be cut for serving.
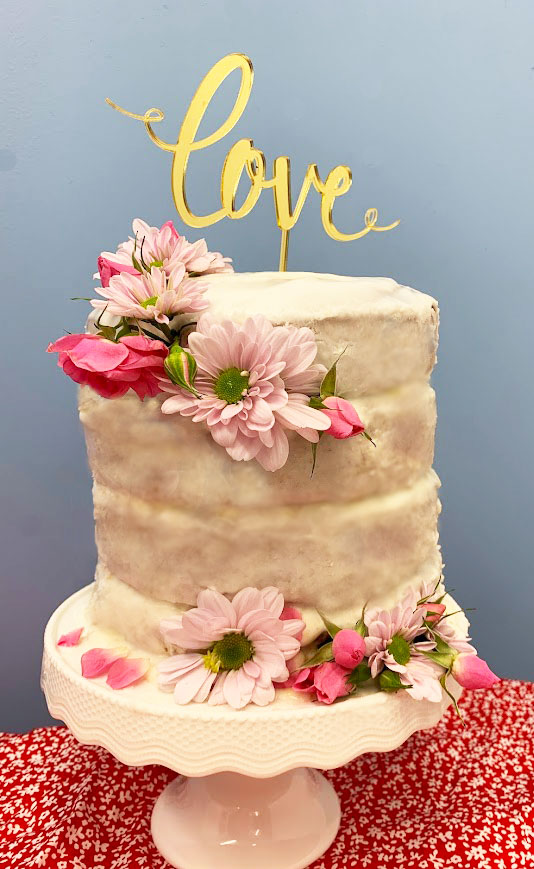
I put the flowers on one side of the top of the cake and then on an angle to have some flowers on the bottom of the cake. This allowed more decoration for the top of the cake if needed. I also added a gold “love” cake topper.
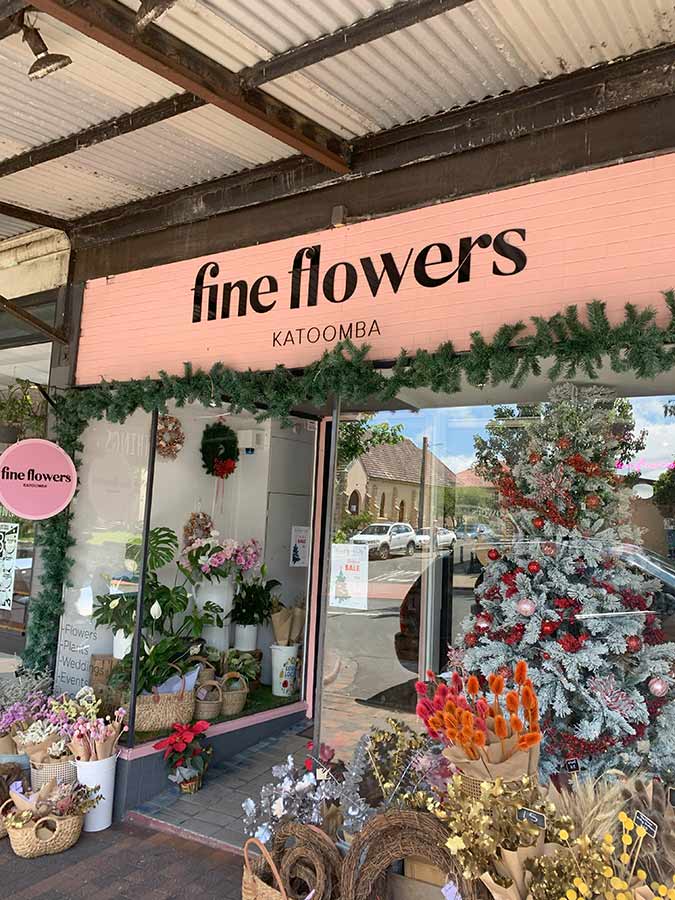
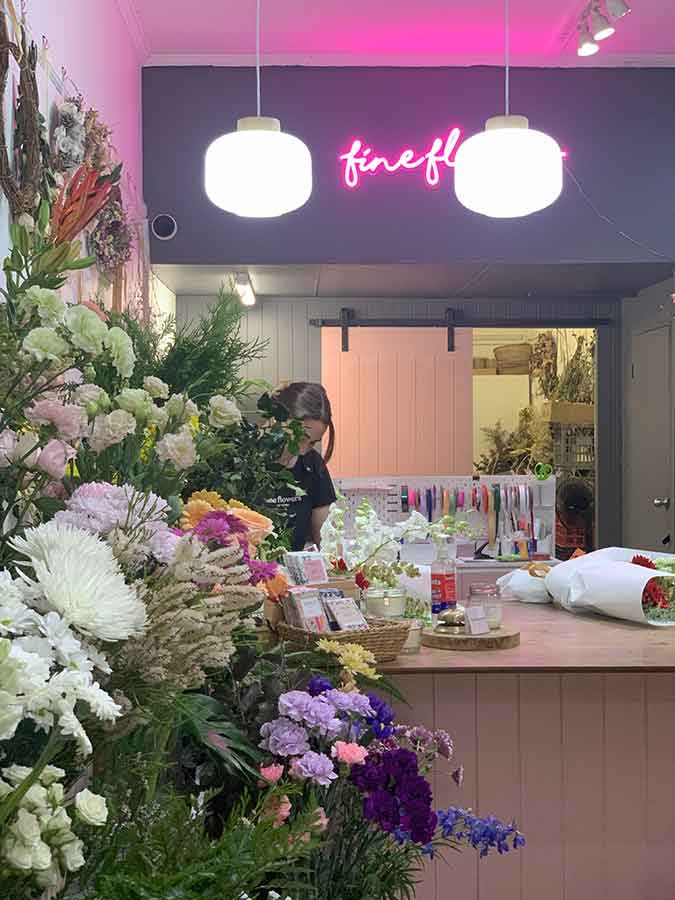
I adore visiting Fine Flowers in Katoomba. They always have stunning flowers that put a smile on my face.
The Splendor of Cakeovers
Personal Touches
Though the base was store-bought, the personalised touch came through the decorations. The flowers’ choice, arrangement, and overall design spoke volumes about the couple’s style and taste.
Budget-Friendly Brilliance
By utilising ready-made cakes, the focus shifted from baking stress to creative embellishment, ensuring a stunning outcome without breaking the bank.
Time-Efficient Elegance
Crafting a cakeover was a swift process, perfect for those in need of a last-minute, yet spectacular, dessert for a special occasion like a wedding.
Lessons Learned & Tips Shared
- Be Resourceful: Embrace store-bought items as a canvas for your creativity. A little transformation can yield exceptional results.
- Freshness is Key: Utilise fresh flowers or edible decorations for an instant upgrade to the cake’s aesthetics.
- Keep it Simple: Sometimes, simplicity speaks volumes. Focus on a few key elements for a striking overall effect.
- Practice Patience: Attention to detail is crucial. Take your time arranging the decorations to achieve the desired look.
Conclusion
With a stroke of creativity and a sprinkle of resourcefulness, a store-bought sponge cake evolved into a mesmerizing wedding centerpiece. The cakeover journey not only showcased the potential of simple elements but also highlighted the beauty of personalisation and affordability in crafting a memorable dessert. So, whether it’s a wedding or any special occasion, remember, a store-bought cake can be the perfect canvas for your cakeover dreams!
Costs
So what are the costs associated with creating a cakeover wedding cake?
It might not surprise you that a cakeover will really save you money and still create a yummy and fantastic-looking cake for your special day.
You will see from the table below that creating a wedding cake from an existing cake is the cheaper option.
A simple search online found that if you had a cake that had four tiers and above you would generally pay between $420 – $650.
| 2 x Woolworths Double Unfilled Sponge 460g | $12.00 ($6 each) |
| Icing | $2.50 |
| Flowers | $13.00 |
| Cream | $2.80 |
| 2 egg whites | $1.25 (based on 6 eggs that cost $3.75) |
| Panama passionfruit | $4.60 ($2.30 each) |
| Icing scraper | $4.40 (VIP Spotlight price) |
| Love cake topper decoration | $11.20 (VIP Spotlight price) |
| Total: | $51.75 |
If you already had eggs, icing, the icing scraper or didn’t want the love cake topper decoration (all of this would take $19.35 off the amount above) the new cost of the cake would be: $32.40
As you see, you can make the cake cheaper if you wish.

“Pink chrysanthemums represent longevity, attraction, and romance, making them a great choice for a first date or a new love. In general, chrysanthemums are believed to represent happiness, love, longevity, and joy.”
https://blossmcart.com/blog/chrysanthemum-meaning-and-symbolism/
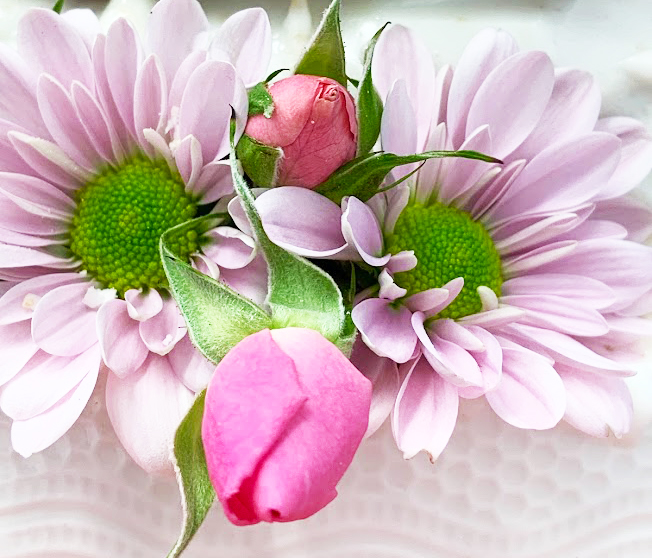
Pink Roses mean Happiness, Grace, and Thankfulnes
Perfect flowers for a wedding cake!
for the big event
Sign up for my newsletter
Stay current with all the things that are happening on Mummy to Twins Plus One. Don’t miss a thing by signing up for my newsletter. This newsletter will list all giveaways and fabulous things that are happening.
This post has affiliate links
This post was originally published on December 19, 2023