I made a fabulous and yummy batman cake for Alexander’s 4th Birthday. I also tested out my new Sunbeam handheld mixer, watch my video to learn more!

Batman 4th Birthday Cake
Continue reading
0 Comments
A blog with a little bit of everything for parents
I made a fabulous and yummy batman cake for Alexander’s 4th Birthday. I also tested out my new Sunbeam handheld mixer, watch my video to learn more!
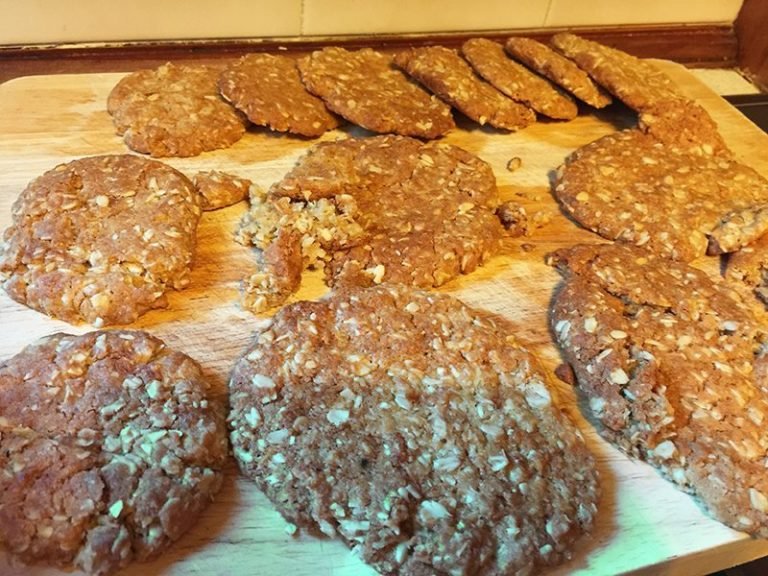
I used the ANZAC Biscuit recipe from the Wiki Cookbook – ANZAC Biscuits, however, if you wish to do the more traditional method it is available from The Australian War Memorial…

Make passionfruit recipes that are not just cakes or slices. How about salad dressing, stir-fry sauce, and a dessert flummery? Download the free recipe eBook.
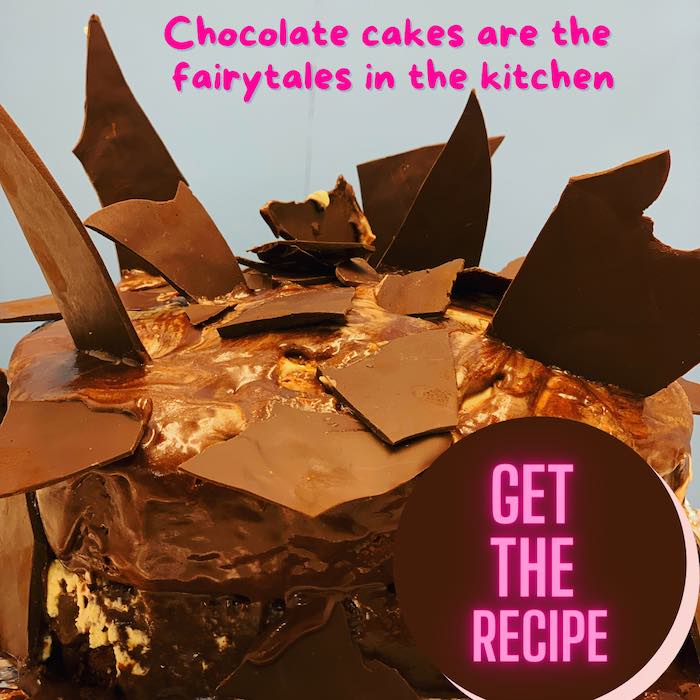
Have the urge for a very dark chocolate cake? If you said yes, then this recipe is for you. See how I made a Marble Dark Chocolate Cake.
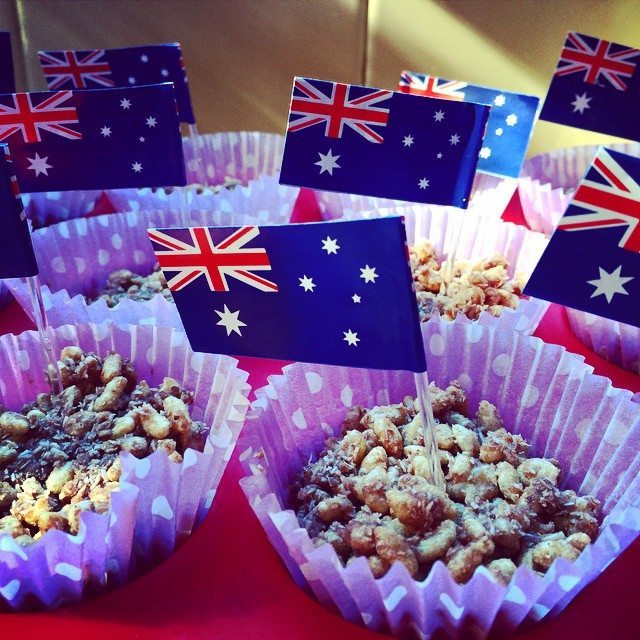
Need a quick item to create for Australia Day? How about Chocolate Crackles. It is an easy recipe and the kids will love it too!

Did you know how easy it is to make orange syrup? How about making it even more orangey? Read on to see how I made orangey orange syrup.
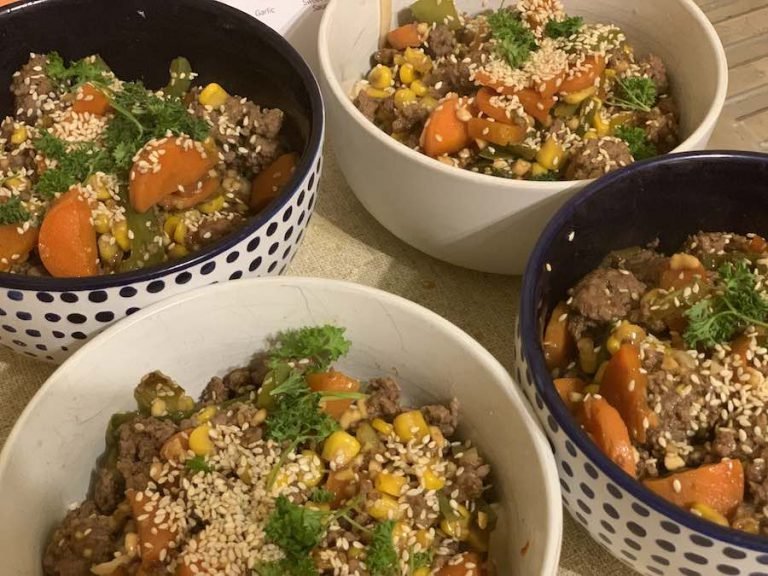
If you are like me you sometimes run out of things for dinners. Yes sad but true. This tasty recipe that I’m about to share only uses some items from…
Learn what I thought about EveryPlate and find out the meals I cooked with my EveryPlate Box…oh and you can get $115 off your next 4 EveryPlate boxes.
Make easy mini pies for dinner, lunch or for Australia Day. You will be so amazed at how easy they are to make, and how yummy they are.
If you are a fan of Ted Lasso? If you are then you might be interested in making his biscuits. I have given it a go and they were very yummy and easy to make. Make yours today.
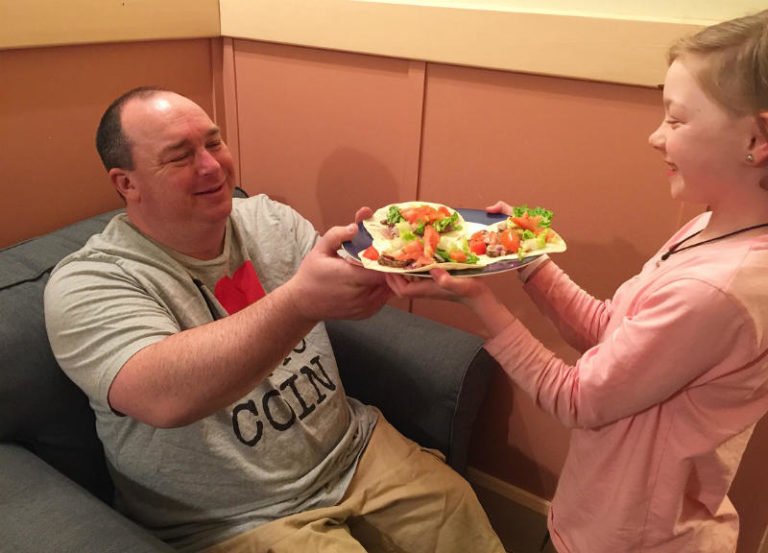
Hello Fresh was amazing and so easy to make yummy & quick meals. It was perfect for Father’s Day, any day actually as it meant that I didn’t have to go shopping and worry about what was for dinner.

I have always wanted to make my own energy bars but had no way of mixing all the ingredients. I’ve had equipment failures with my blender and food mixer. Currently,…
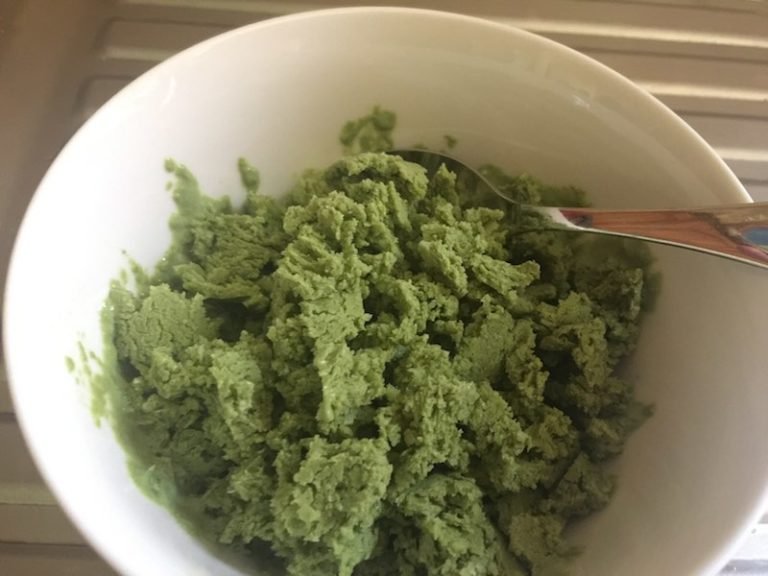
Zen Green Tea sent me some Green Tea Matcha to try. They had no idea that I just love green tea… actually it is so yummy the smell of the…
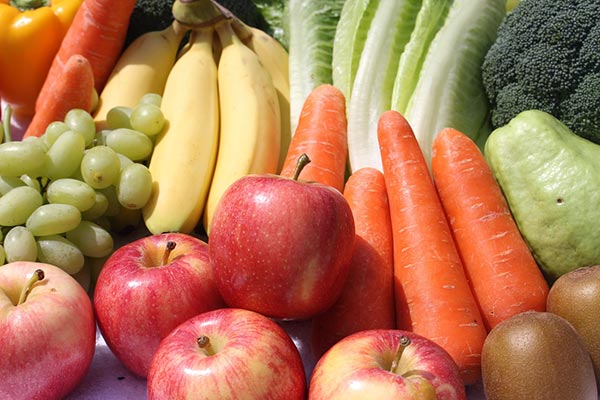
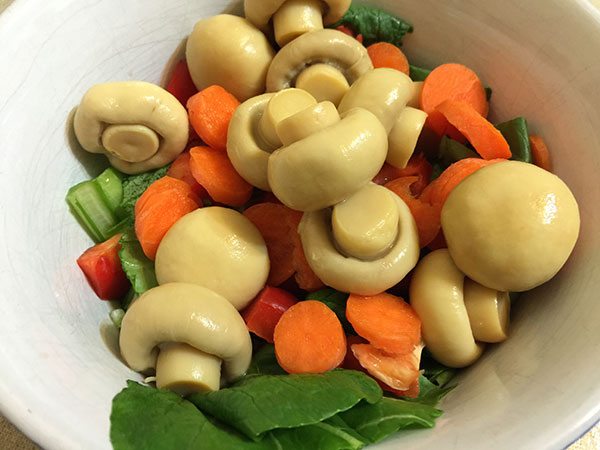
It is National Nutrition Week – 16th of October to 22nd October, and the aim is to increase the amount of veggies and fruits we eat each day. Did you…

The kids have asked to have an Adventure Time themed birthday party this year. So of course I said yes. However then they both asked for a Lumpy Space Princess…
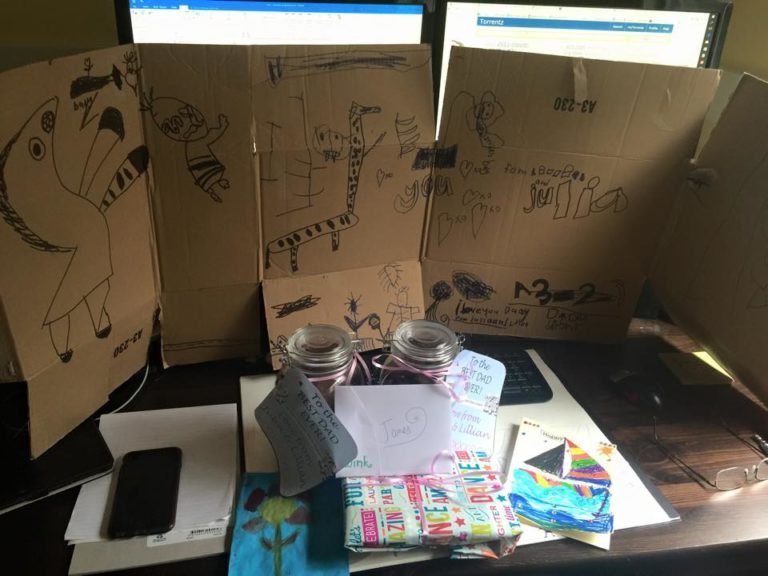
Today is Father’s Day. Today it was seven years ago I went off to hospital to have the twins. It was more like waiting a week to have them but…
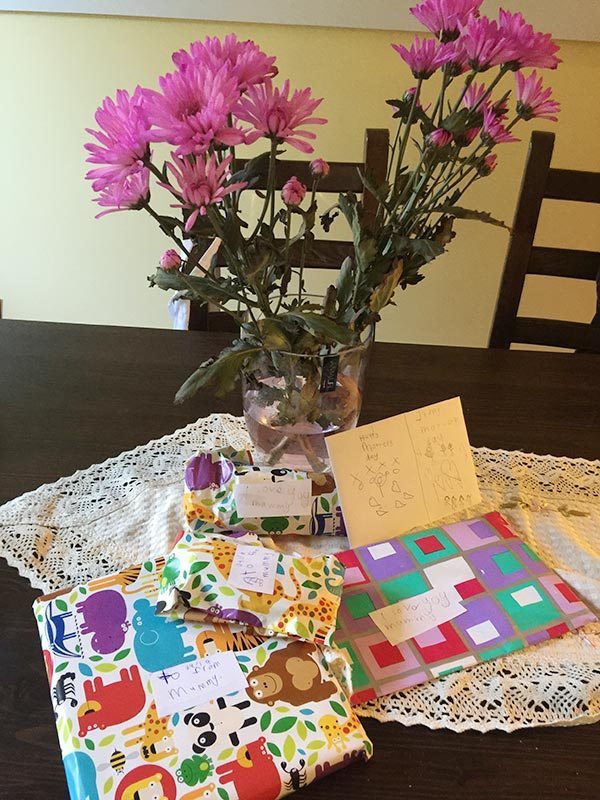
Today was Mother’s Day and I’m sure you called your mum, did family things with the kids and spoilt the wife, and just had a great day. We did a…

IGA sent me a bag of goodies to say Happy Easter. It was a lovely bag that I can reuse and it was filled with baked goods to make a…