Indulge in the Marvel: A No-Bake Oreo Blackberry Tart! You’re Gorgeous, Yes You Are! Make this showstopper dessert today!

Gorgeous Easy No-Bake Oreo Blackberry Mousse Tart
Continue reading
0 Comments
A blog with a little bit of everything for parents
Indulge in the Marvel: A No-Bake Oreo Blackberry Tart! You’re Gorgeous, Yes You Are! Make this showstopper dessert today!

Want to add some sunshine to the traditional shortbread recipe? Just add Valencia orange juice and zest and enjoy zesty orange shortbread.
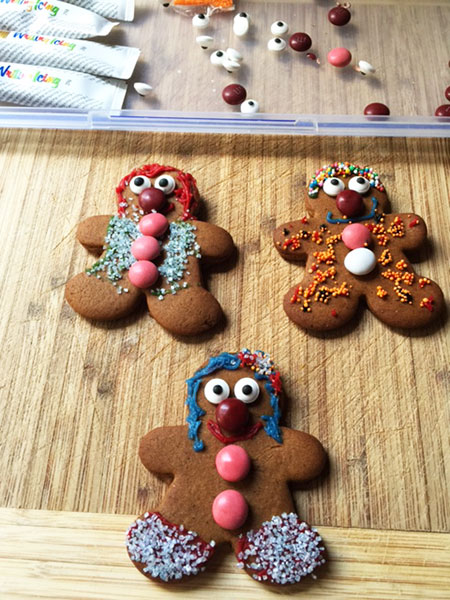
Do you love to make Gingerbread? Would you like to have one of the yummiest recipes there is for gingerbread? Then read on to download the recipe and to see my versions that I created.
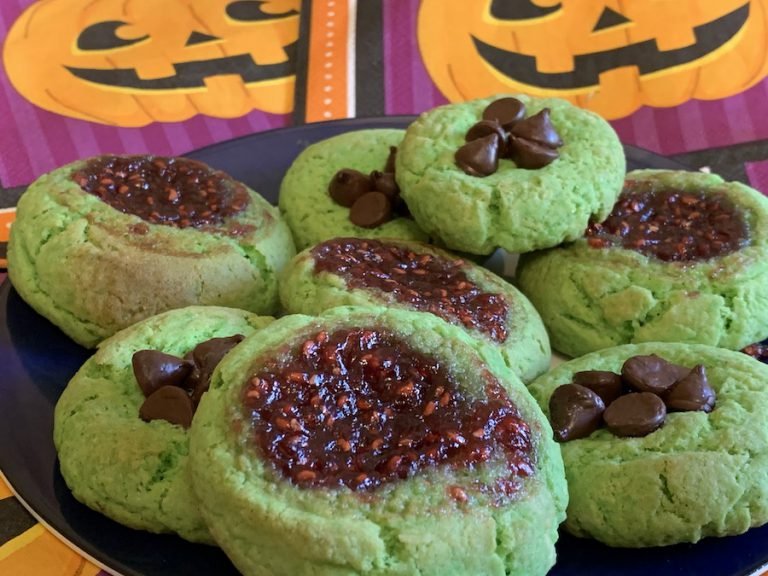
Make Snot Drops for Halloween. Download the recipe card to make your own snot drops today!
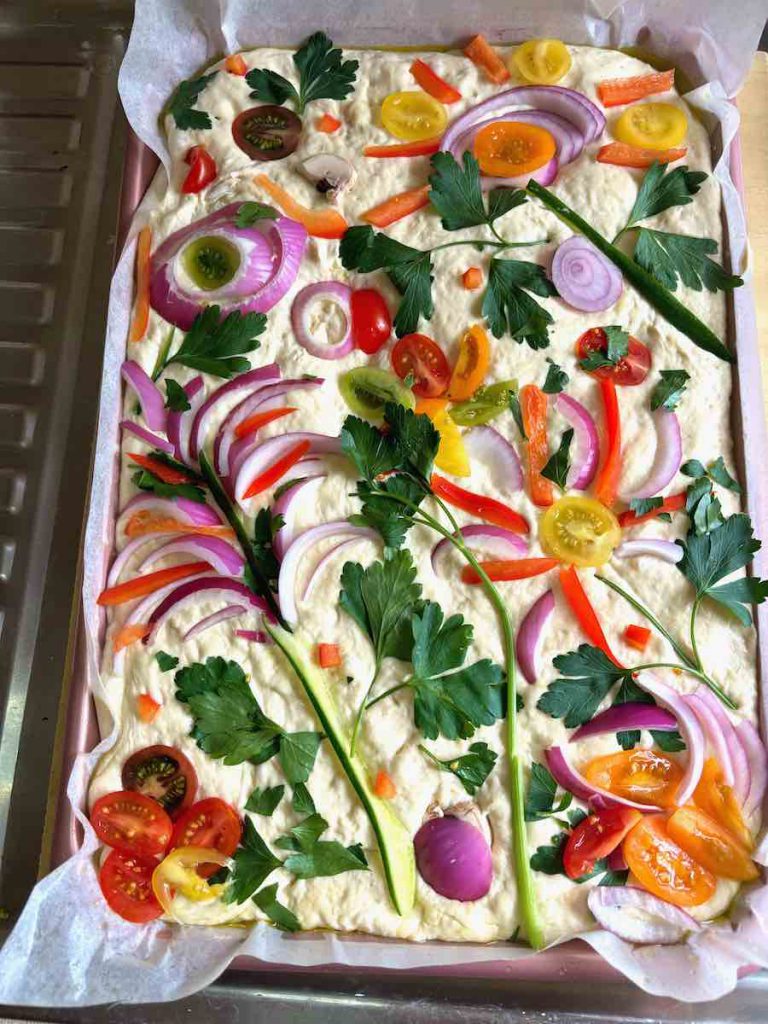
Get ready to bake the prettiest focaccia ever, complete with veggie flowers and garden-inspired decorations! This stunning, mouthwatering masterpiece is as fun to make as it is to eat. Perfect for impressing guests or treating yourself, this focaccia will have everyone asking for the recipe. Don’t miss out on this showstopper bread – your taste buds (and Instagram feed) will thank you!
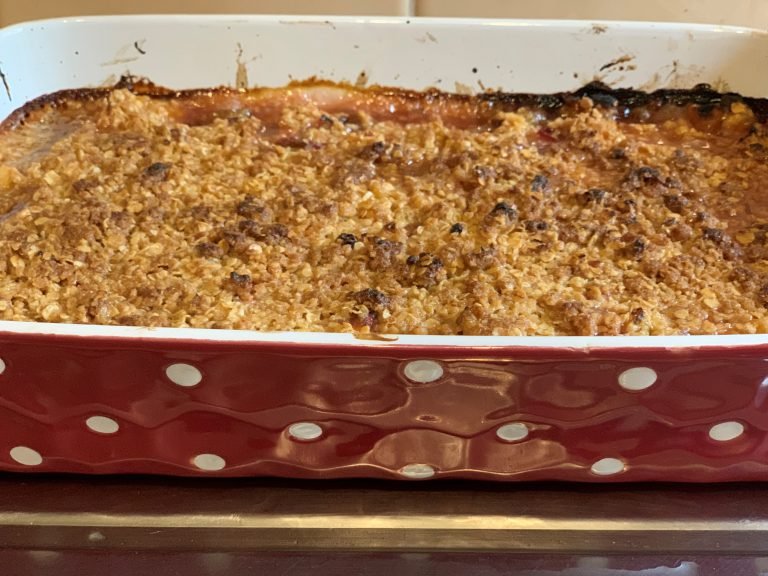
Make a yummy mandarin and rhubarb crumble today. Everyone will love it and it will certainly impress if you are having a dinner party. Easy and quick to make. Download the FREE recipe card as well to make cooking easier.
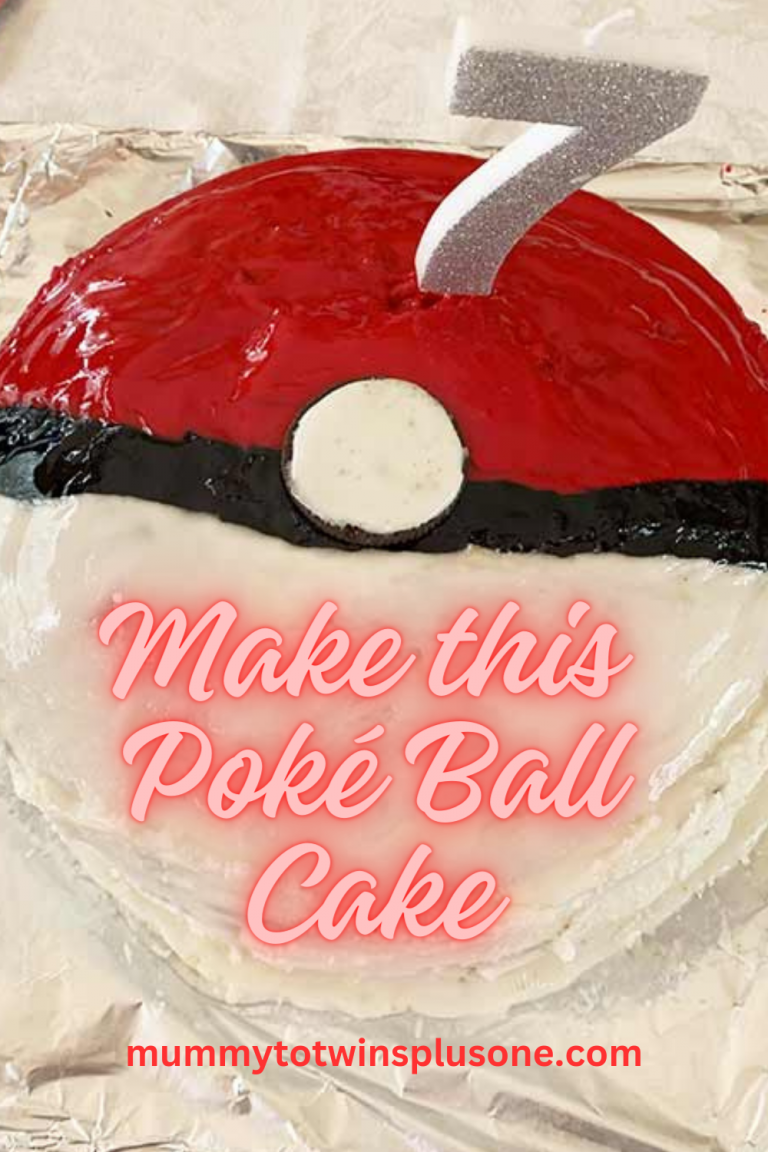
Got a Pokémon superfan in your life? Someone whose love for those pocket monsters knows no bounds, whether they’re a kid or a kid-at-heart adult? Make them an epic Poké Ball cake.
Make Hong Kong Egg Tarts to celebrate the Lunar New Year. I made mine with brown sugar so they look a little bit darker than the standard egg tart, but still taste amazing.

Ever wondered how to make a truly unique pizza? I had an idea for a Blackberry, Fetta, Sweet Chilli, Rocket, and Pistachio Pizza, and it turned out amazing! Follow the recipe, create your own dough, and you’ll be on your way to making this deliciously unexpected pizza that’s sure to impress!
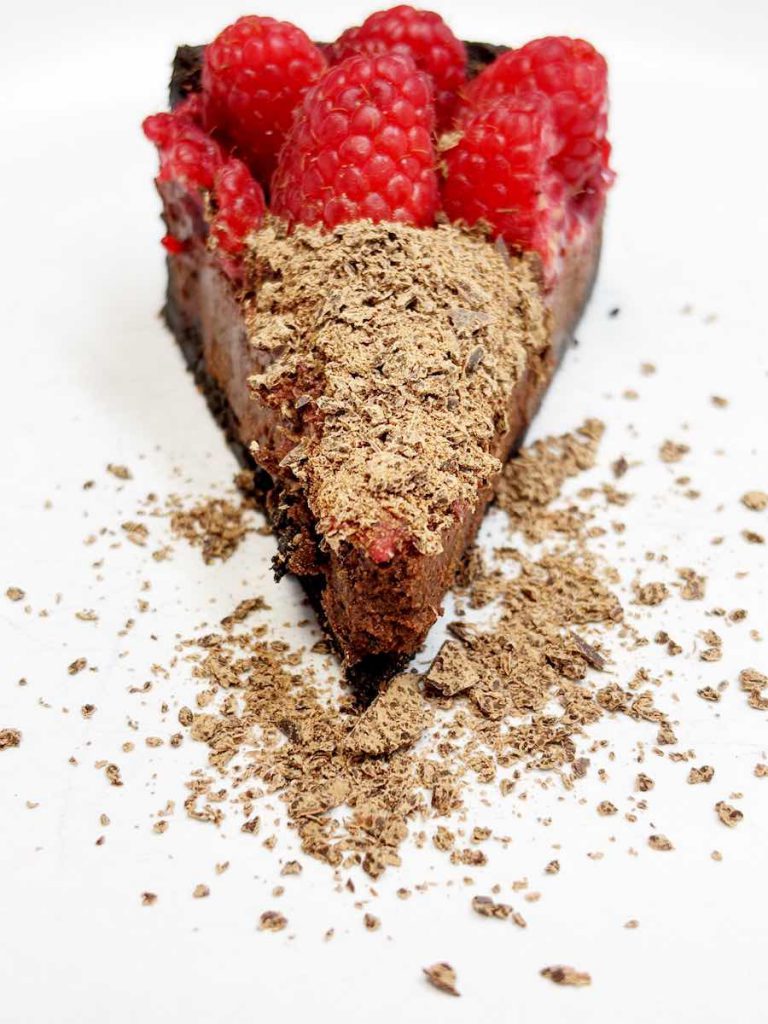
Ready to wow your guests with minimal effort? This tart is the secret weapon you’ve been waiting for! Think rich dark chocolate, zesty raspberries, and an Oreo crust that’s easier than pie. Whether you go big or mini, this dessert will steal the show at your next dinner party, birthday bash, or any special occasion. Trust us, you’ll want to make it again—and again!

Hey there, wonderful readers! I have some exciting news to share—I’m a finalist for the 2024 Fresh Content Award! 🎉 This is my third time being nominated, and I couldn’t be more thrilled. The excitement is even sweeter this year because my twin girls will be by my side to celebrate this special night. Can you believe it’s just one week away now? 🌟
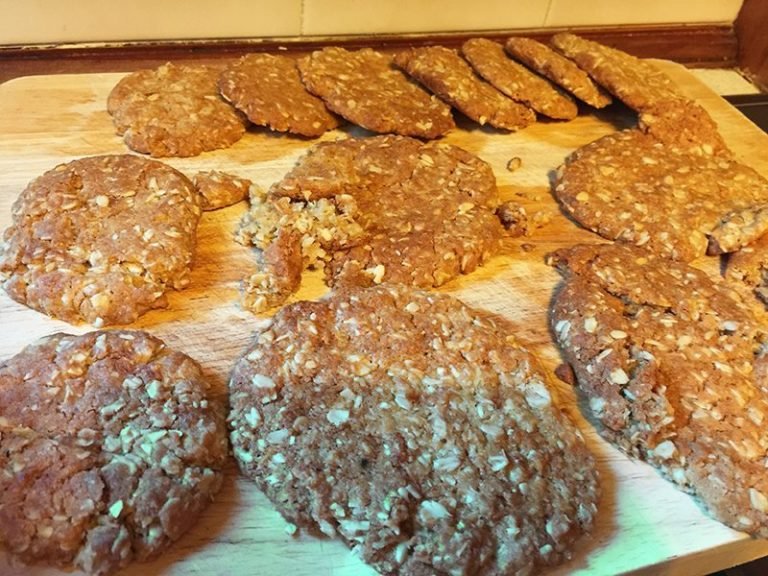
I used the ANZAC Biscuit recipe from the Wiki Cookbook – ANZAC Biscuits, however, if you wish to do the more traditional method it is available from The Australian War Memorial…
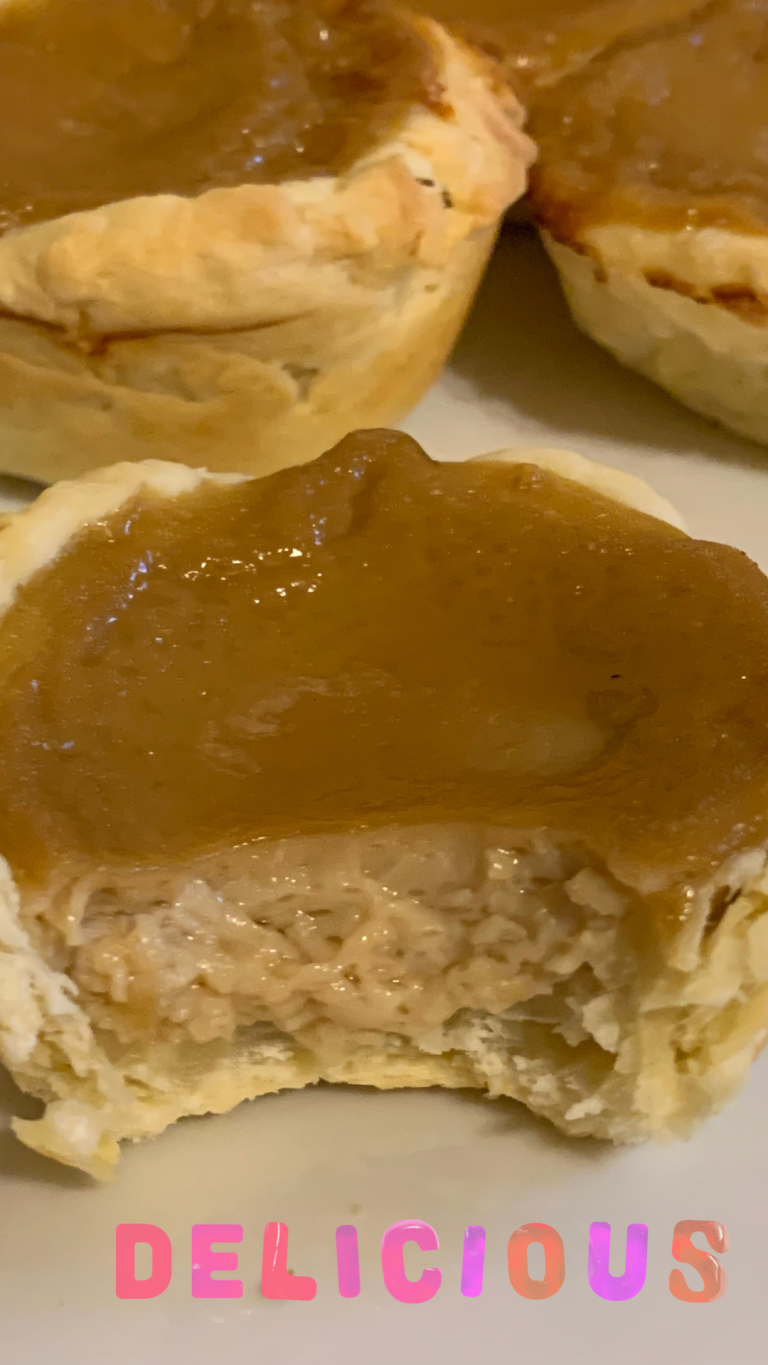
Make easy mini pies for dinner, lunch or for Australia Day. You will be so amazed at how easy they are to make, and how yummy they are.
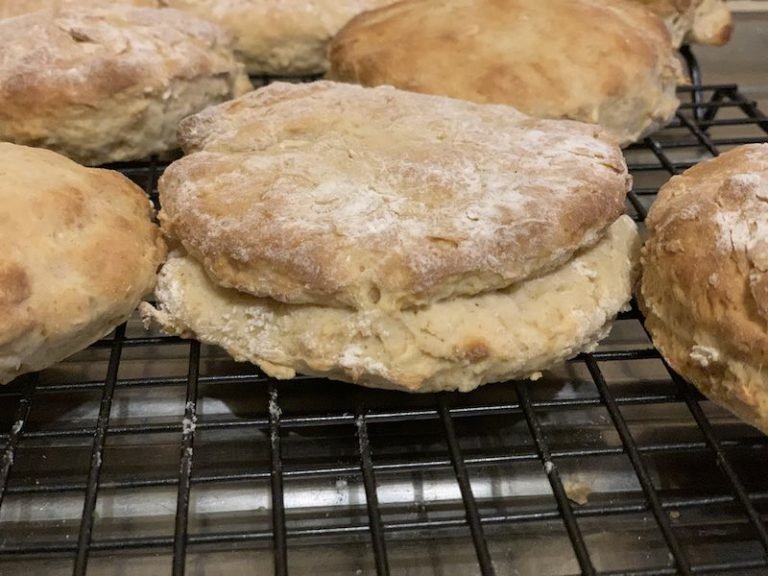
Make a batch of yummy clone scones for Star Wars Day. Also check out some great ideas for how you can celebrate at home.
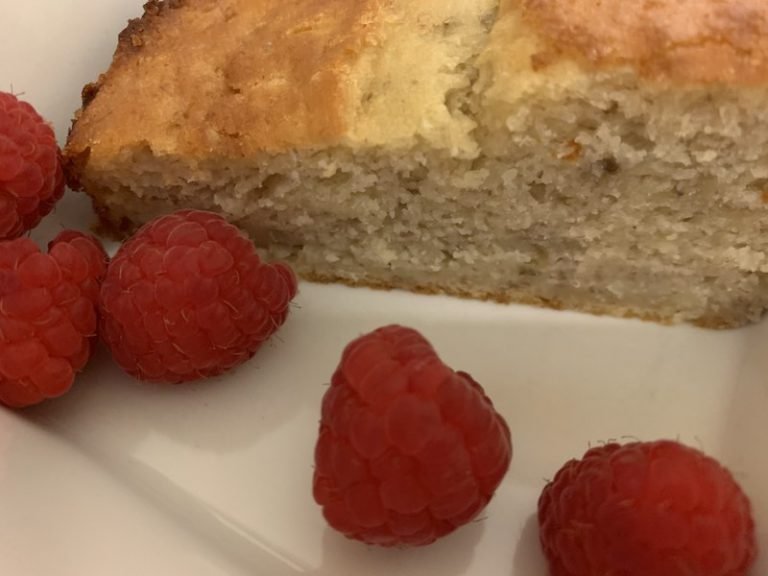
Make a super yummy and secretly healthy cake for afternoon tea or the school lunch box. Read on to find out how easy it is to make.
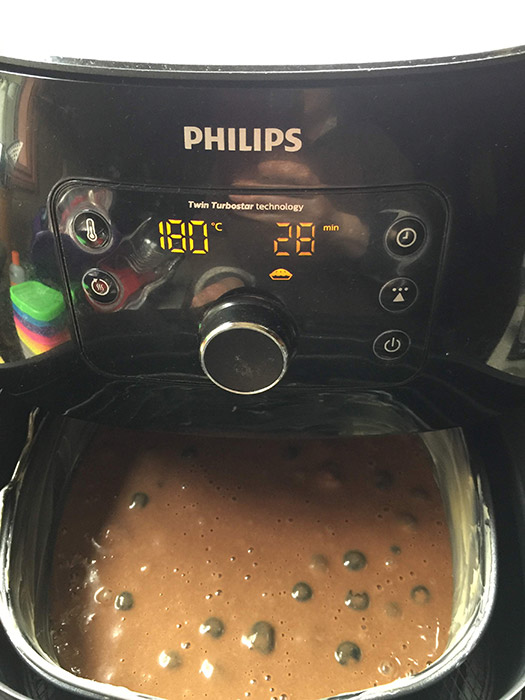
Cooking and Entertaining is super easy with the Philips Airfryer XXL. Cakes come out perfectly and taste amazing, plus cook a whole chicken for the family this holiday season. Learn more and watch my videos on how I created some yummy food with my Philips Airfyer.

Today my lovely twins, Julia and Lillian are eight! Yes they are eight years old already! How it has flown by so quickly. I remember when they were little babies…
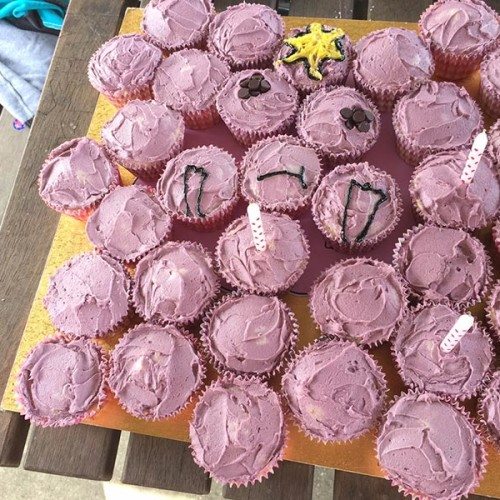
As you already know I was madly preparing for the kids birthday party. I had also baked cupcakes for school and then did it all again the next day to…