
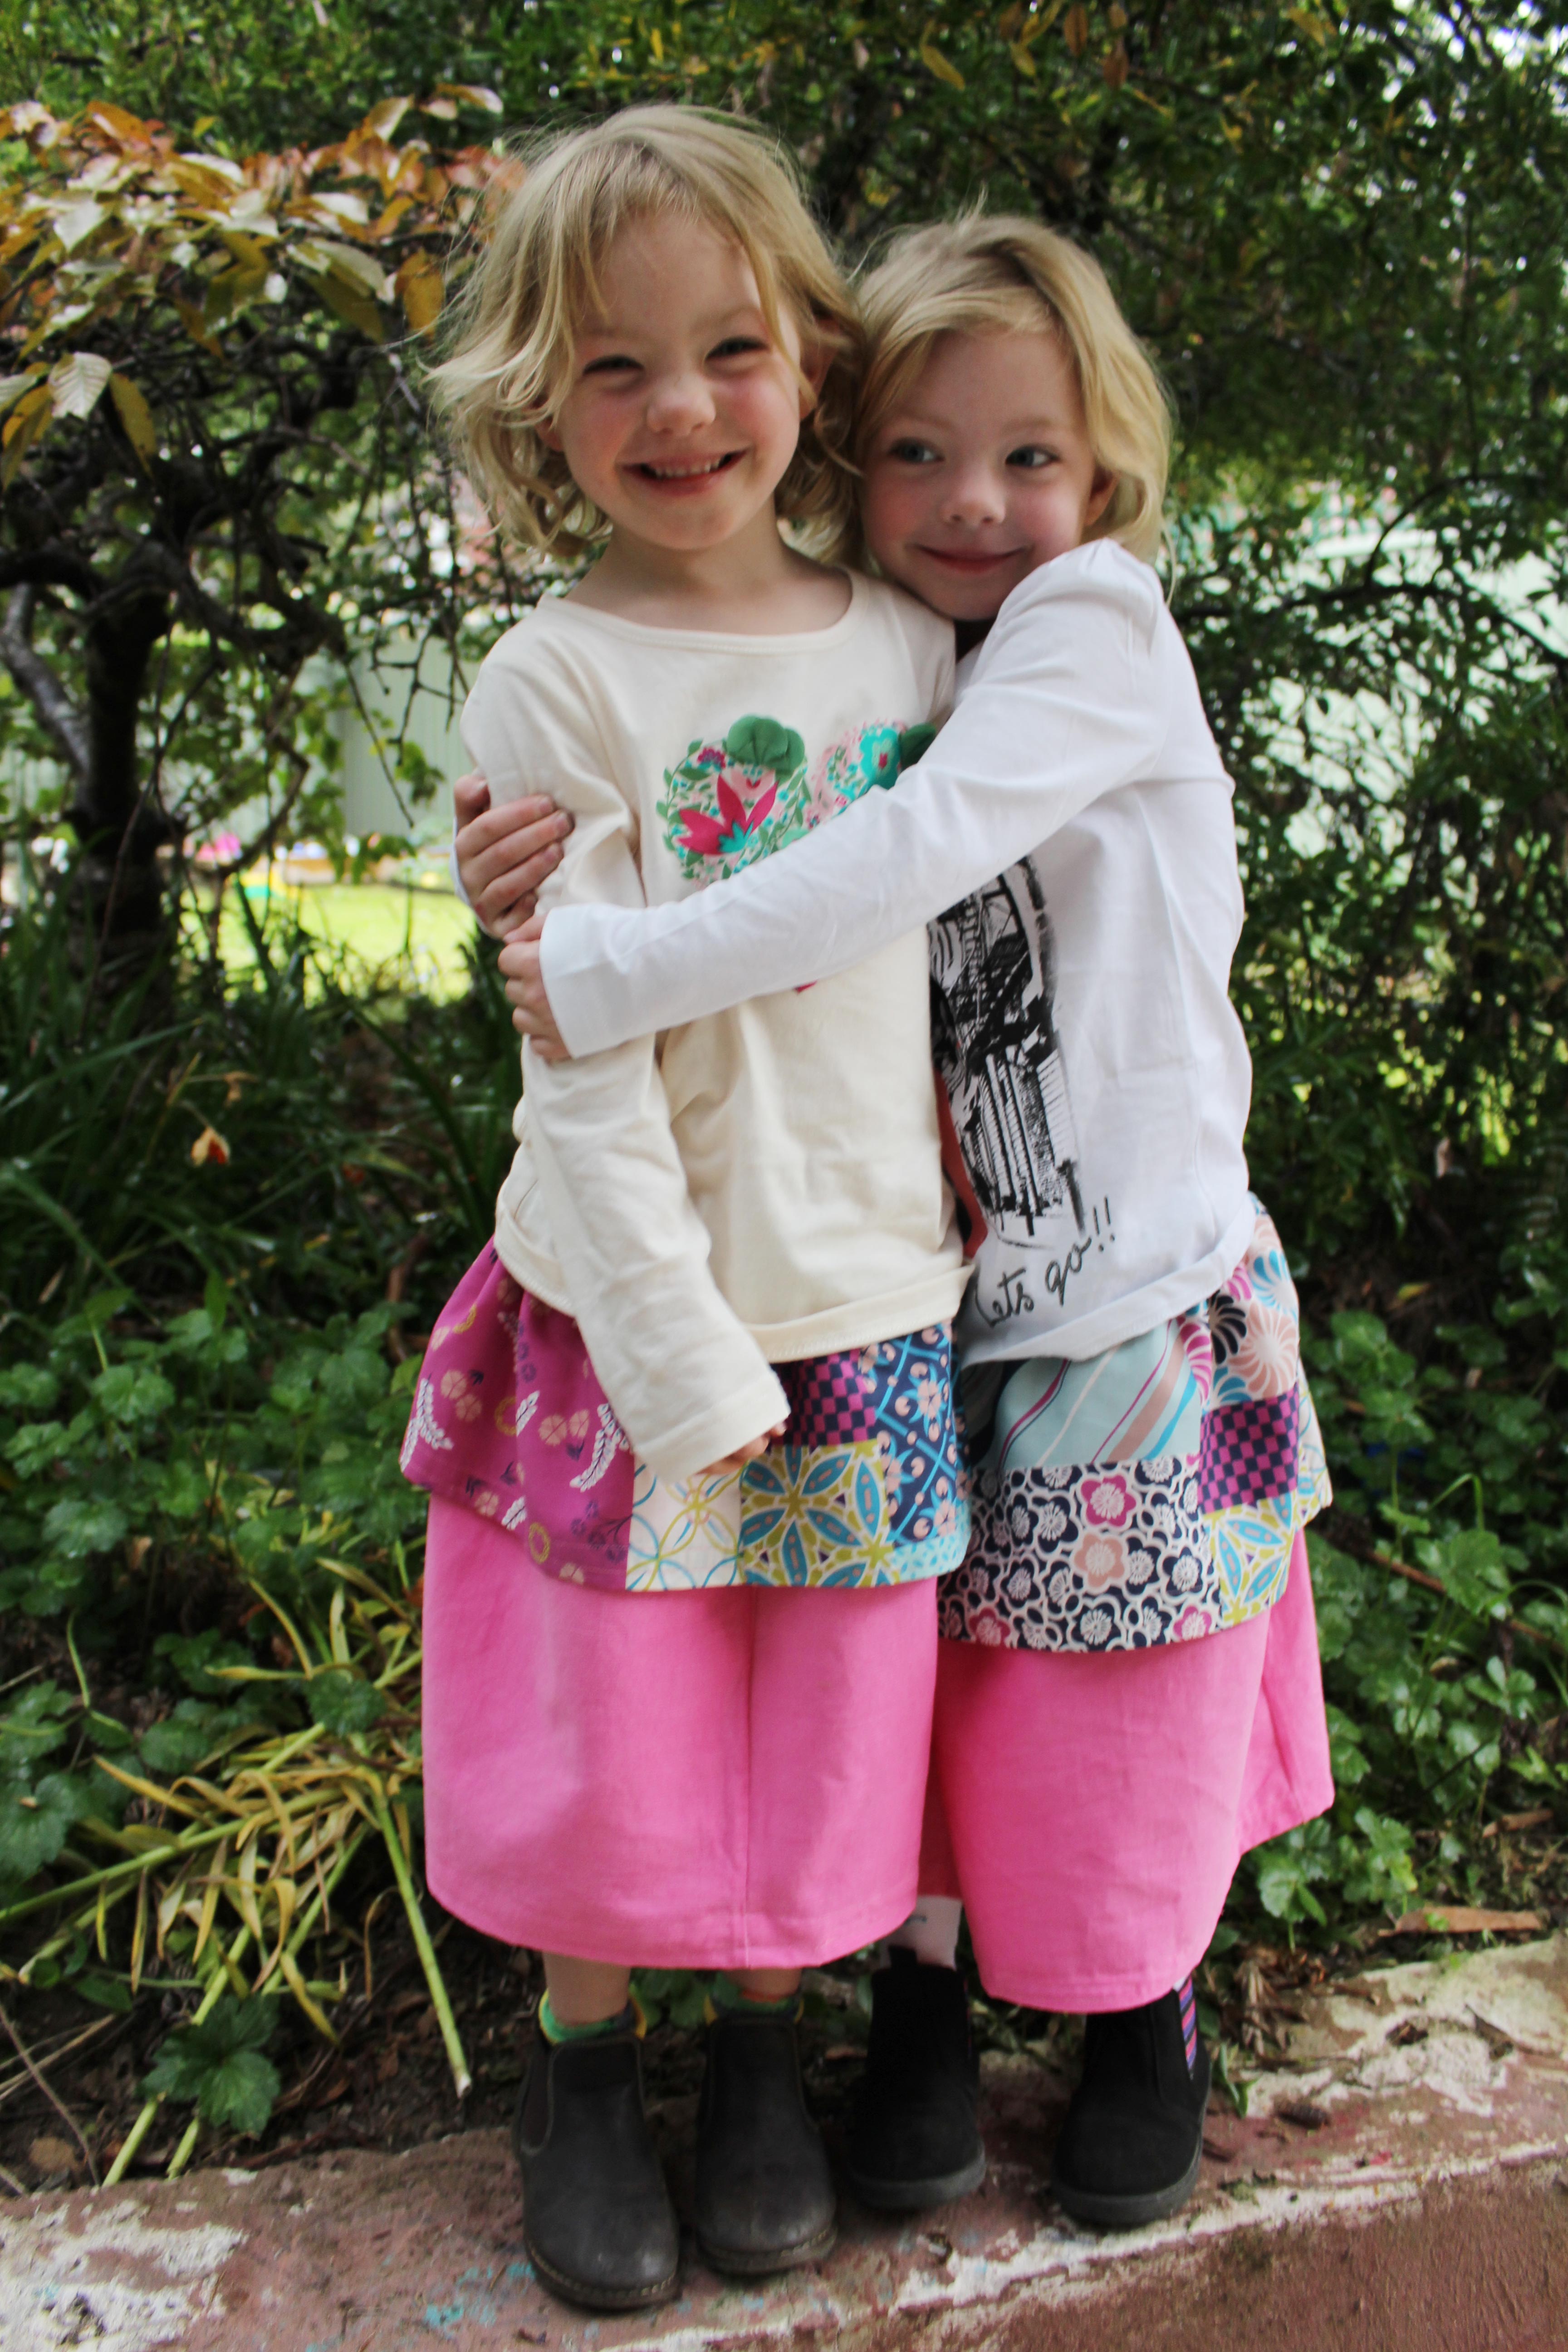
The twins love wearing skirts and due to them being small and very petite they are hard to fit. So I have decided to make them. Yes more skirts and outfits are on their way soon due to my new sewing machine I got for my birthday. However this skirt was made with my old one.
I also love dressing the kids in different one of a kind clothes. It is great to have something no one else does.

So how do you make a layered skirt?
It is just like a normal skirt with an elastic waist, however you had a layer to it. For the layer that sits on top you need it to be shorter than the overall length of the skirt.
You can also have one layer on top, the second layer being the main part of the skirt and make a third for the border or accent trim for the end of the skirt. I have chosen not to do the third addition to this skirt and only did the two layers. I was thinking of using a border of the first layered fabric to hem the skirt and by using the same fabric on the top of the skirt, tying in the pattern.
What material did I use?
I used fine cord material for the main part of the skirt, which is the pink material and cotton for the top patterned layer. I chose this as we live in the Blue Mountains and it is getting colder. The kids love skirts but I would like them to be warm, hence the warmer cord. Using cotton for the top part of the layer works well as it has more flow and movement being a lighter fabric.
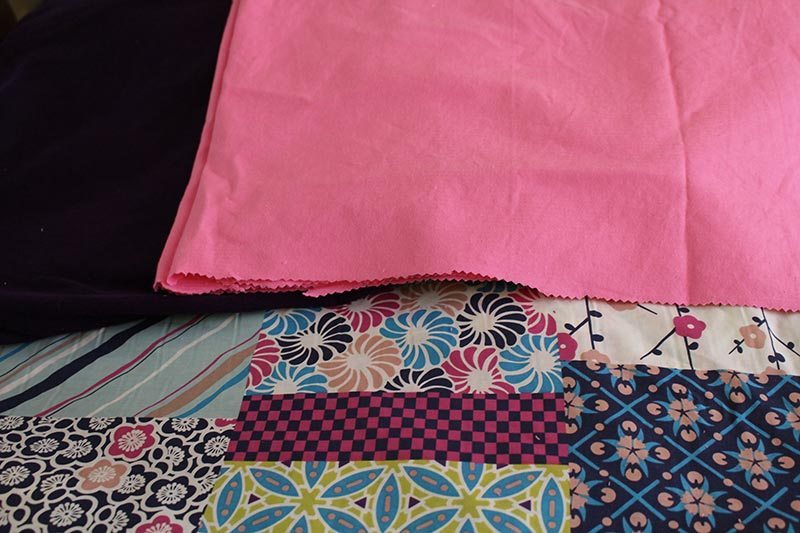
You can use whatever fabric you have available. One thing to remember is to make sure that each fabric blends and goes well together. You don’t want to pick something that does not match very well. I like to choose materials that have similar colours but not all of them and to have eye catching patterns. I use patterns on some material and not on others as too much pattern will be overwhelming and hard on the eye. Again, whatever you wish to use is fine. It is your creation and art here.
Also the type material is dependent on the weather so light cottons obviously for summer and heavier fabrics for cooler weather.
Note: Make sure to wash all fabric before use. This will make sure no colours bleed or fabric shrinks. You don’t want to make the perfect skirt to find it shrinks later.
What do you need?
- 2 contrasting fabrics that work well together.
- A big table to stretch and put all the fabric out, trust me this is great if you can have it.
- Elastic for the waist.
- A big safety pin to not lose the elastic.
- Matching cotton for the fabric.
- Binding or trim if you did wish to give the skirt a fancier finish/you could use the other fabric and make your own. Have not done this but know this can be done.
How do I measure my fabric for the skirt?
Well my kids are small so it might not be right for you if you have taller and bigger kids. This is what I did to get the measurements right.
For the top layer I needed to make this shorter but not too much as I had to allow for the hem and the waist band.
The top layer: 30cms that includes hem and waist allowance
The main and bottom layer: 45cms that includes hem and waist allowance.
Note: If you have a wider waistband for the elastic you will need to make sure you allow extra in the fabric or else the length will be shorter than anticipated.

You need to measure your child to see where skirts are sitting and for the length. I made a layered skirt before and it was all about 30cms. These skirts still fit the twins, however as they don’t have many I would make more. Since I looked at the old ones I realised that they had grown and I needed to make them longer so they could get more wear out of them.
With my kids the waist has not changed much just the length needed changing.
At least with this skirt if you have the wrong length you can alter it and add a new layer or just do the hem and be done with it. No one will know if you don’t tell them. I will keep your secret!
Step by Step Guide – Sew an Easy Layered Skirt
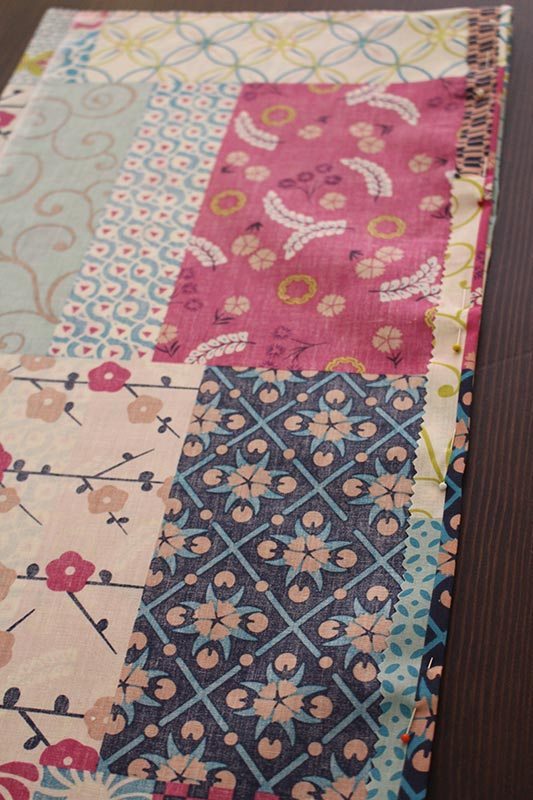
Step 1: Measure and cut out all your fabric. Make sure you have double fabric as it is for both sides of the skirt. I like to fold it over to make sure I cut double at the same time.
Step 2: Sew the edge for the top layer
Step 3: Hem the top layer as it will be harder to do it later when attached to the bottom layer
Step 4: Sew the both sides of the bottom/main layer of the skirt. Don’t do the hem yet as you will want to make sure that you have the right length when your child tries it on.
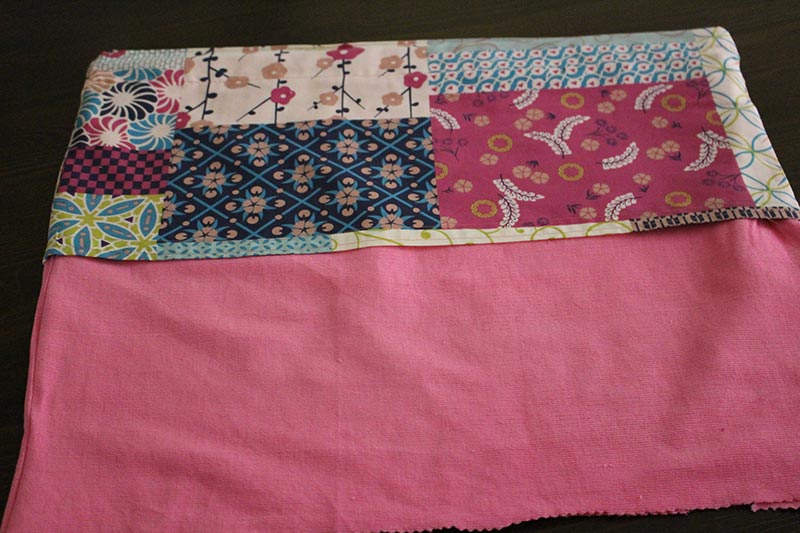
Step 5: Join both layers together. To do this you need to put both layers inside each other so they both meet together at the top. Once they are both lined up and pinned you can sew the top area together.
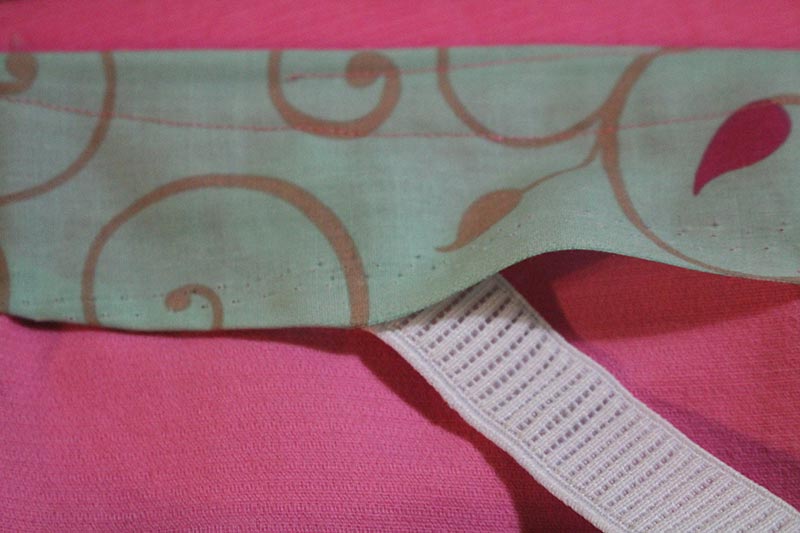
Step 6: Fold over just enough for the waist band up the top of the skirt. Depending on how wide the elastic is you might need a wide waist or it could be narrow. When you sew around the waist band make sure to leave a gap so you can add the elastic.
Step 7: Put the elastic in and make sure to check the size on your child before you sew it off and finish the waist. It is a good idea to get the size right first then you can close the gap in the waist and move onto the hem.

Step 8: Put the skirt on your model (otherwise known as your child) and see if it is the right length. If all good, do the hem. If not, take it up the right amount to make sure it sits correctly.
Now you have a finished layered skirt. I told you it would be easy. I am sure that this will be a hit at the next party or outing.
Now to see the finished product


Leave a Comment