Salt Dough Ornaments are a perfect craft project to do with the kids. They are fun and you can make whatever your heart desires. Your imagination can run wild. My…
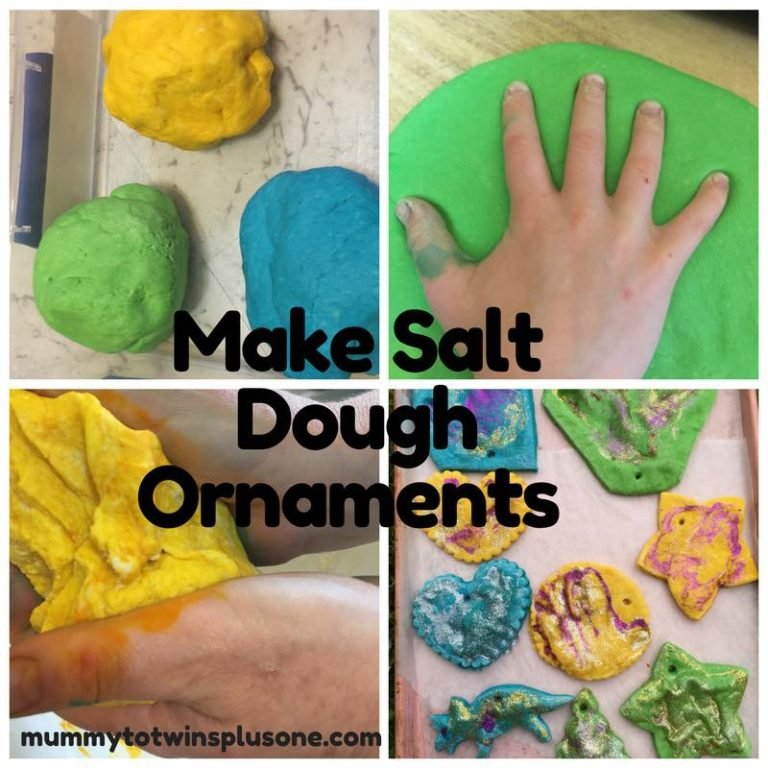
Make Salt Dough Ornaments
Continue reading
2 Comments