Happy Halloween! I hope you have a fun and spooky time.
Have you created your Ghost Pumpkin or otherwise known as a Ghost jack-o’-lantern yet?
You might be wondering why I am referring to the pumpkins as Ghost pumpkins. Well, Coles was selling lightly coloured pumpkins as Ghost Pumpkins and I thought how cool. I have never seen a pumpkin that is not orange. I thought it would be fun for a change and also loved the genius from the Coles marketing department by labelling them Ghost Pumpkins.

You can just picture the conversation around the board room…. it might have gone something like this.
“We have a whole batch of pale coloured pumpkins”
“Geez, how are we going to sell them?”
“Halloween is coming up, if we call them ‘Ghost Pumpkins’ they will fly off the shelves!”
I really don’t know what was said behind the closed doors of Coles and especially from the marketing team but maybe it did go down as I suggested. I went back the other day and they seemed to have sold out of these Ghost Pumpkins so calling them ghost pumpkins was a brilliant idea.
Since I purchased the pumpkins at Coles they also said that they had more info on how to decorate them on their website. I downloaded the Halloween Stencils to allow me to create the correct shapes and pictures. Do you use stencils or do you just create something on the fly? We have done a bit of both over the last few years so thought I would give the more complicated pictures on pumpkins a go.
What do you need to carve a pumpkin
- A pumpkin or two. Yes, I know it is obvious you need to have a pumpkin to carve it.
- An ice cream scoop helped us clean out the inside of the pumpkin and made it so much easier.
- A couple of very sharp knives. You might want to have a bigger one to do the initial cutting of the top of the pumpkin and a smaller one for the actual carving of your design. (THIS IS SOMETHING THAT AN ADULT SHOULD DO AS KNIVES ARE DANGEROUS AND YOU DON’T WANT TO HAVE YOUR OWN REAL-LIFE SPOOKY ACCIDENT HAPPEN. I am sure you can live without this added drama)
- Know the design you wish to create for your pumpkin. It helps to have an idea of what you would like to create, you will be less annoyed afterwards if you have a plan.
- If you are not excellent at cutting pumpkins and need to have a guide for the shapes it is an excellent idea to have a stencil to work with. You can trace the outline and then use this to cut out the shape.
- To help attach the stencil to the pumpkin I used toothpicks. I put the toothpicks into the area of the pumpkin that would be cut out.
How do you carve a pumpkin?
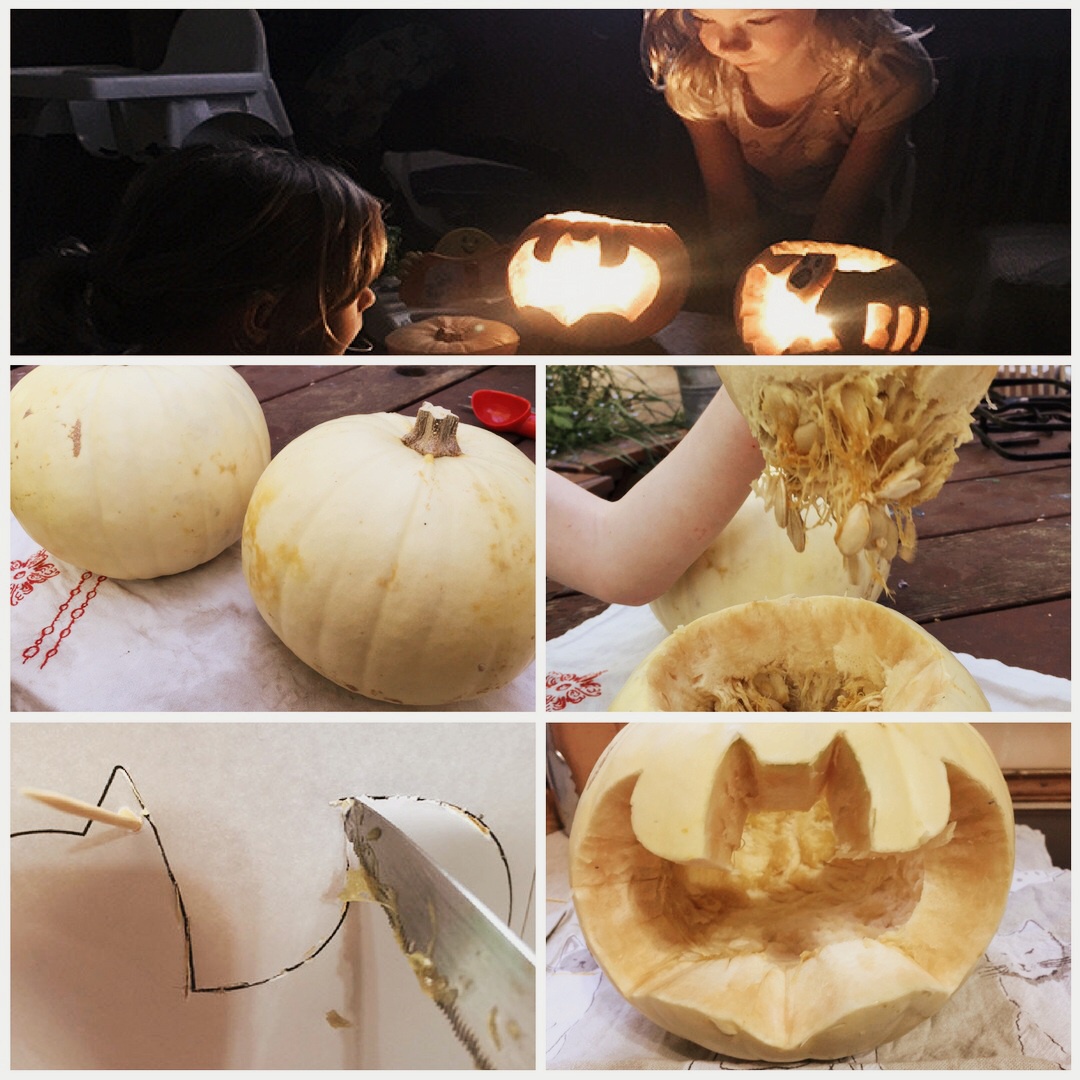
Step 1: You need to get the top off the pumpkin first. It is best to create an outline with your knife and go over it, again and again, to work it loose.


Step 2: Clean out the inside of the pumpkin. This might take a while and it is recommended to dry it out. If you are in a rush and would like to use the pumpkin that day and not wait too long to dry you can put it on the trays in front of the oven to get the heat but not cook it.


Step 3: Once you have cleaned and dried out the pumpkin it is now ready to carve. Remember it is best to have a good idea of what you are going to do. If you make a mistake you will have to start all over again with a new pumpkin.
I used stencils from Coles this time and they helped me get the right shapes for the characters. However, with the ghost, I should have made it smaller or put it on the bigger pumpkin (this was not possible due to one child claiming the bigger pumpkin and wanting the bat on it, I could not tell her otherwise) due to the fact that the head was missing and I thought it would not be an issue. I did think that a headless ghost would be great but it did not give you an idea of the character. I ended up adding a new head with the cut out from the stencil for the eyes and mouth.


Step 4: Now you have the outline the work begins to cut out the bat image from the pumpkin

Step 5: After cutting out for a bit and removing the excess pumpkin a bat is born!

So now both the pumpkins are complete and the girls were keen to see them with candles in.

I even added a little bit extra to the ghost one. I put the word BOO! Not my best work but it was done freehand and I thought it might turn out better than it did. Still does a good job and gives a nice spooky impression.


If you don’t have a ghost pumpkin just use a regular orange one.
MONSTER CUPCAKES FOR HALLOWEEN OR BIRTHDAY PARTIES
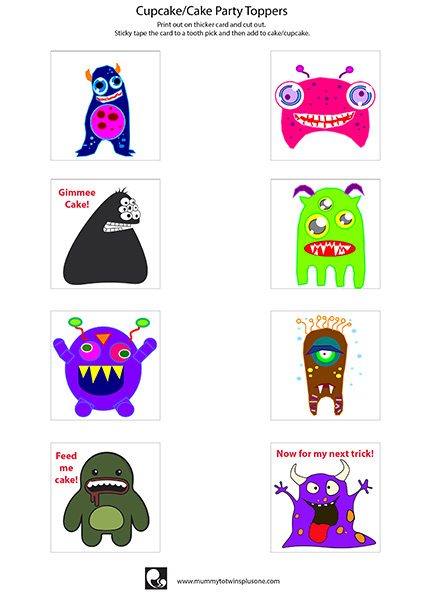
If you are in a partying mood and wish to have some spooky monsters on the top of your cupcakes, I have the perfect download for you.

You get 2 pages of cupcake toppers with fun and scary monsters. Just right for a spooky celebration.
Originally published: Oct 30, 2016
Sign up for my newsletter
Stay current with all the things that are happening on Mummy to Twins Plus One. Don’t miss a thing by signing up for my newsletter. This newsletter will list all giveaways and fabulous things that are happening.
Note: This post contains affiliate links.
