Summer has been extremely hot and finding ways to stay cool is tough. It has been very difficult in nearly 50 degree heats that some areas have faced in the current heatwave. Yes you read that right, some areas got to 47 degrees.
Ice cream and ice blocks have been a good way to try and reduce the temperature although a temporary fix, it is a yummy and fun solution that adults and kids enjoy.

As you might imagine we have consumed more ice creams and ice blocks than we usually do and that was due to the fact that this summer has been a scorcher.
How do you make having a cool treat not bad for you?
One thing you could do is to make your ow, and this way you know that the ingredients are all good and natural.
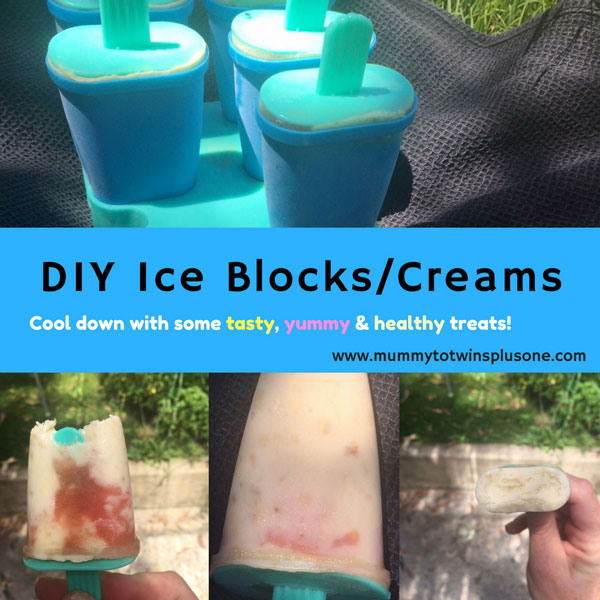
I decided to create a Banana Yogurt and Watermelon Ice Cream. I don’t know if it is 100% an ice cream but I’m using this term due to the creamy nature of the banana yogurt mixture.
You can put whatever you want into your ice creams/blocks it is up to your tastes and what you have available.
Some ideas are:
- Fruit juice ice blocks (you can even cheat and put store bought juice into the moulds). If you make your own juice just put the juice in the ice blocks molds and then you have a frozen orange one or apple one.
- Mango purée and yoghurt.
- Blueberries and strawberry purée if you wish you can add yoghurt or just leave it as the fruit mix and freeze these.
- Pineapple and Yoghurt or just the pineapple juice and pulp. This would be so refreshing.
You will need an ice block mould so that you can put your mixture in. They are easy to get hold of and very cheap. Check out the supermarkets or a shop that supplies kitchen products.

Ingredients
- 2 very ripe bananas
- 1 cup of watermelon de-seeded.
- Yoghurt 2-3 tablespoons, depending on how you like it. I did not want to over power the banana with the yoghurt but wanted it to help the creamy texture of the ice cream. I used Jalna Yoghurt but you can use whatever you like or have available.

Method
- Mash up bananas with a fork. I made sure they were mashed up pretty good but wanted to keep the texture of them. After they were well and truly mashed up I added some yoghurt.
- Add the yoghurt to the banana mixture. I added 2-3 heaped tablespoons and then mixed it all in.

The bananas and the yoghurt together. - I cut about a cup of watermelon and made sure that the seeds were removed.
- Mash up the watermelon. I used a potato masher as I did not just want juice but also the flesh as well.

The watermelon all mashed up and ready to go into the ice block mold. 
I used a potato masher to mash up the watermelon. This gave me some nice fleshy bits of the watermelon with juice as well. - I added the banana yoghurt mixture to the bottom, then added the watermelon mixture to middle and finally on top finished off with more banana mixture. You might find that you have more mixture over and therefore can do another batch. If so put some glad wrap over the container and put it in the fridge for the next batch.

Adding the banana and yoghurt mixture to the ice blocks moulds. 
Adding the watermelon mixture to the ice block moulds. 
All the mixture is in the ice cream mould. Now the rest of the lids need to go on and into the freezer to set. - Once all molds have the mixture in them put on the lids and pop into the freezer. Freeze overnight and then the next day you be able to enjoy your home made ice cream or ice block.

All ready to go into the freezer. Soon we will have 6 mini ice creams.

I hope this has inspired you to create your own ice blocks or ice creams at home. It was so easy to make and they tasted so yummy. I am now keen to try more flavours for my next creation.
Enjoy and happy eating your yummy ice creams.
