Download a FREE Year of the Pig Chinese Lantern. Perfect for Chinese New Year, and a fun craft activity for kids. Get yours today!
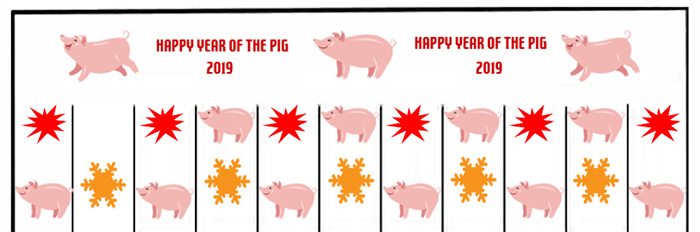
Year of the Pig Chinese Lantern – FREE PRINTABLE
Continue reading
2 Comments
A blog with a little bit of everything for parents
Download a FREE Year of the Pig Chinese Lantern. Perfect for Chinese New Year, and a fun craft activity for kids. Get yours today!
It is always nice to have gifts that are unique. A gift that has meaning, and of course is special to you and others. Creating a gift that is a…

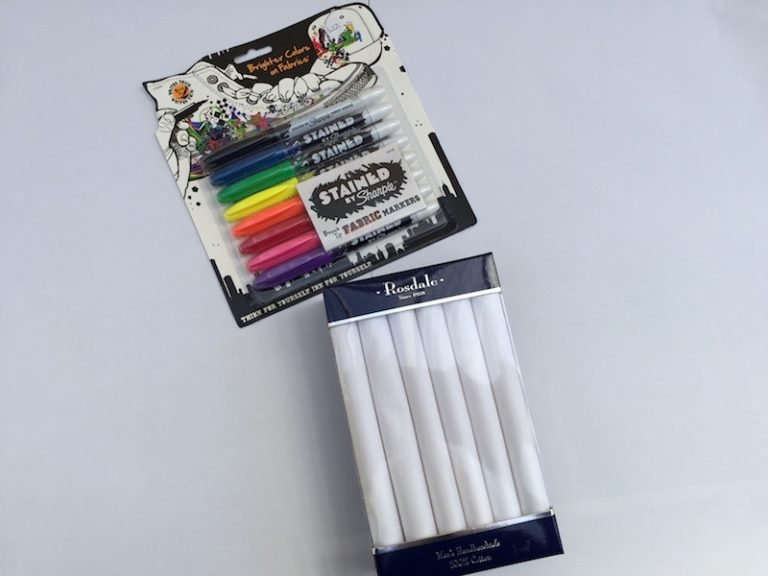
Need a unique gift for a family member? Don’t have heaps of money? Well this great project will give you a cheap gift and your family member will cherish the…
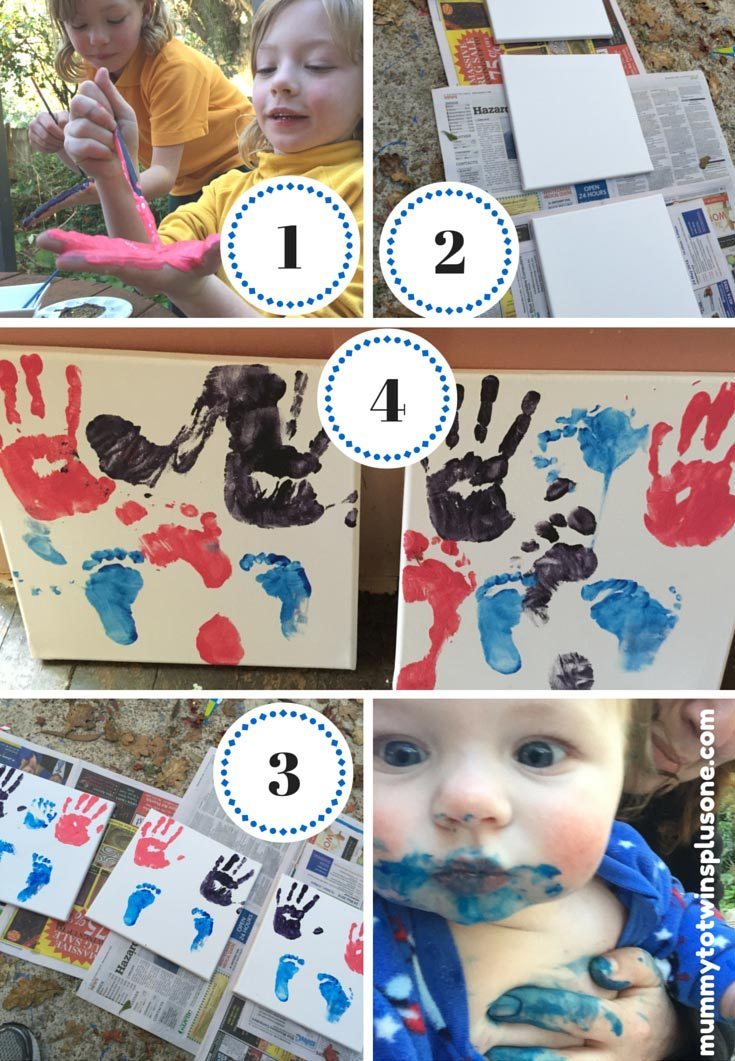
Make this easy and cheap gift for birthdays, Mother’s Day, Father’s Day, Celebrating being a new mum/dad, or even Christmas. Capture the feet and hands of your little ones on canvas. Warning this is a messy activity.
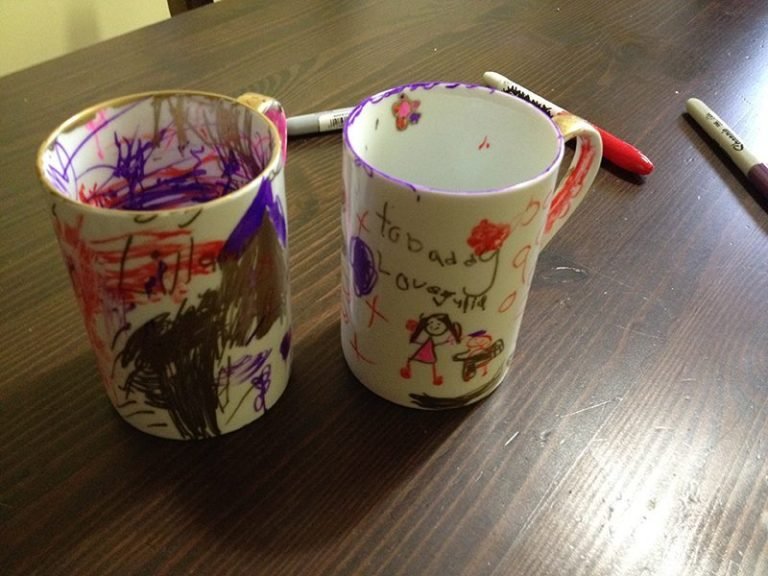
This post was originally created for a Father’s Day tutorial. However this could be applied for Christmas gifts, birthdays and anything at all. Use it to create some great presents…
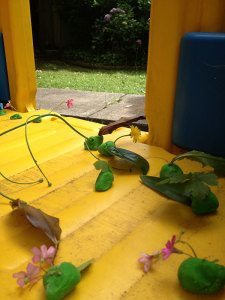
Do your kids love to play with play dough? Mine just adore it, they get very creative and it does get messy. So expecting mess I set them up in…
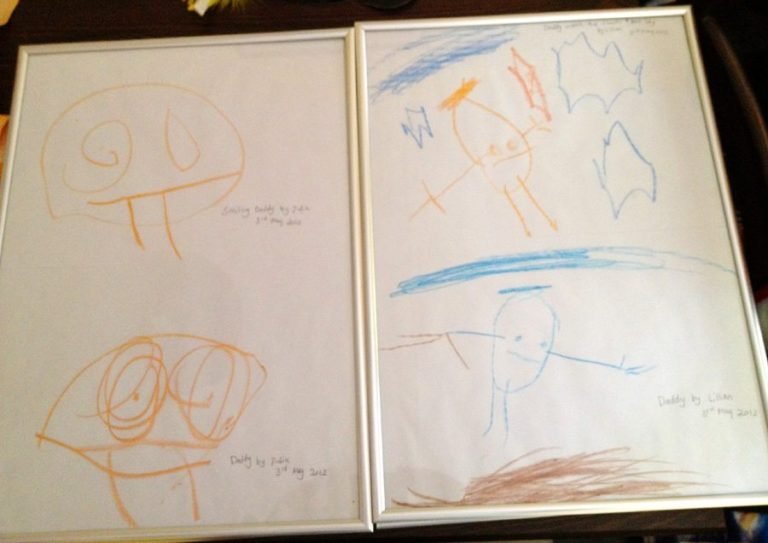
My kids create so many drawings and some have been just wonderful (Pre-school has told them that if they don’t put their names on their art it gets put in…
While searching Pintrest I stumbled accross this great list of craft ideas and activities for Thanksgiving. This find was brought to you by No Time for Flash Cards. I am…
Last week the girls and I were watching Play School, in the episode they did craft. I don’t know if you are like me, but when these crafty segments are…
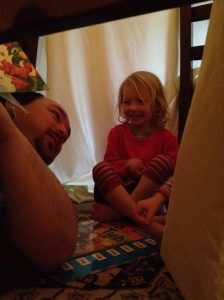
Today it has not stopped raining, so another indoor craft day I think. What to do to keep the little monkeys busy? The fun for today was painting and tent…

This June long weekend has been wet and cold. What do you do with kids with this kind of weather? Yesterday the hubby and I made some wonderful playdough, blue…
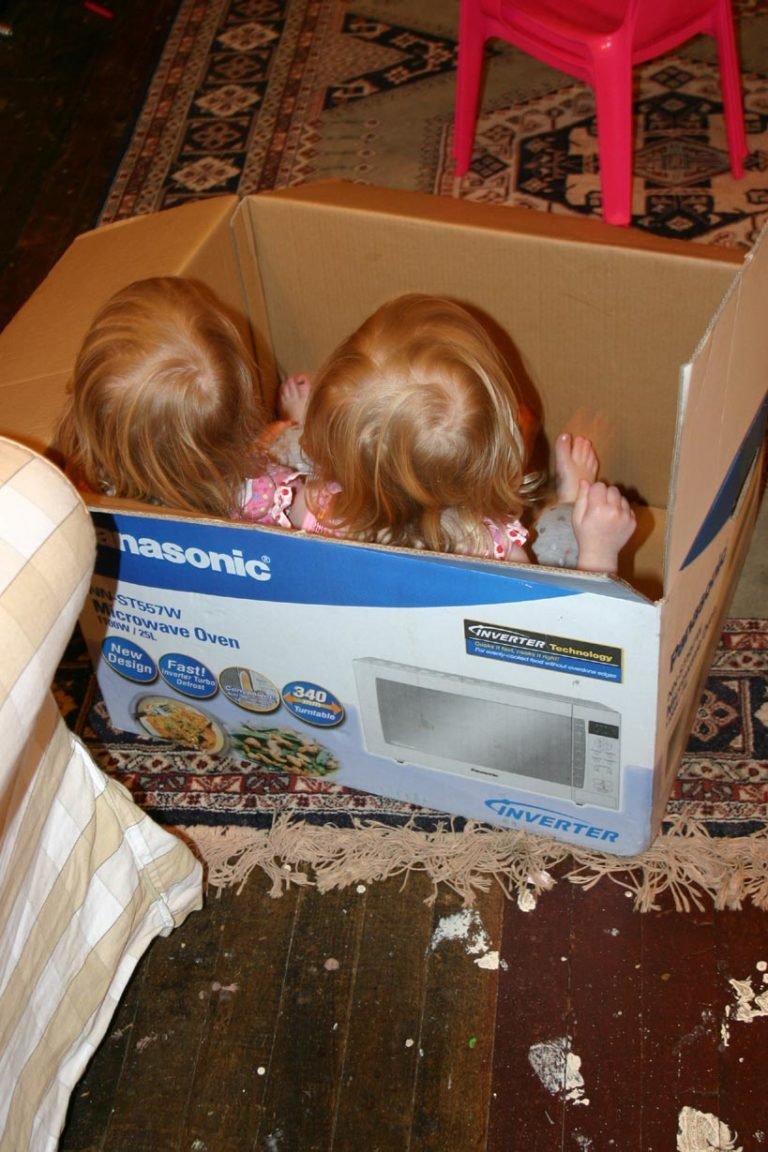
On Friday I visited some friends, and the girls were given a cardboard box to play with. The girls were pretending to be a Jack in the Box. This game…
Have you ever thought how do you make things more interesting for your child/children. The girls for a while have been wanting to do more artistic things so I searched…