I used the ANZAC Biscuit recipe from the Wiki Cookbook – ANZAC Biscuits, however, if you wish to do the more traditional method it is available from The Australian War Memorial…
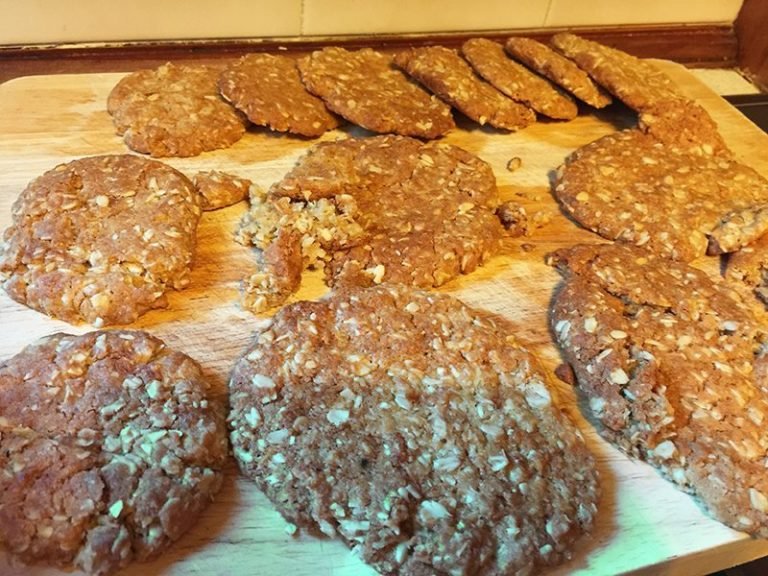
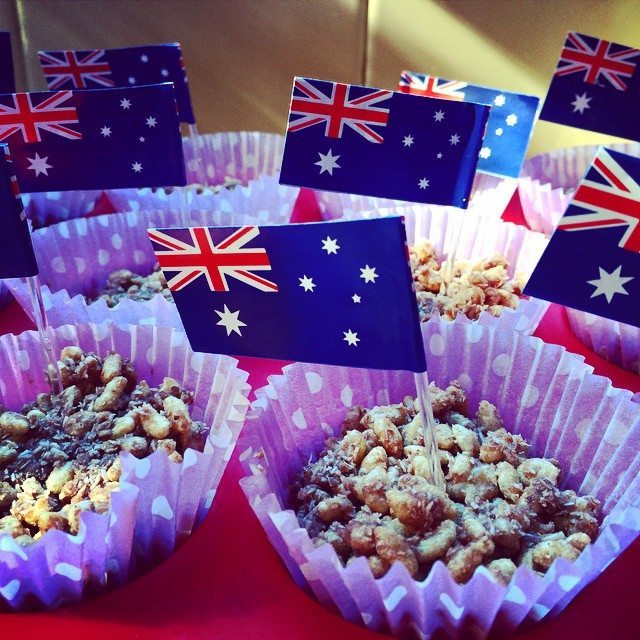
ANZAC Biscuits
Continue reading
2 Comments