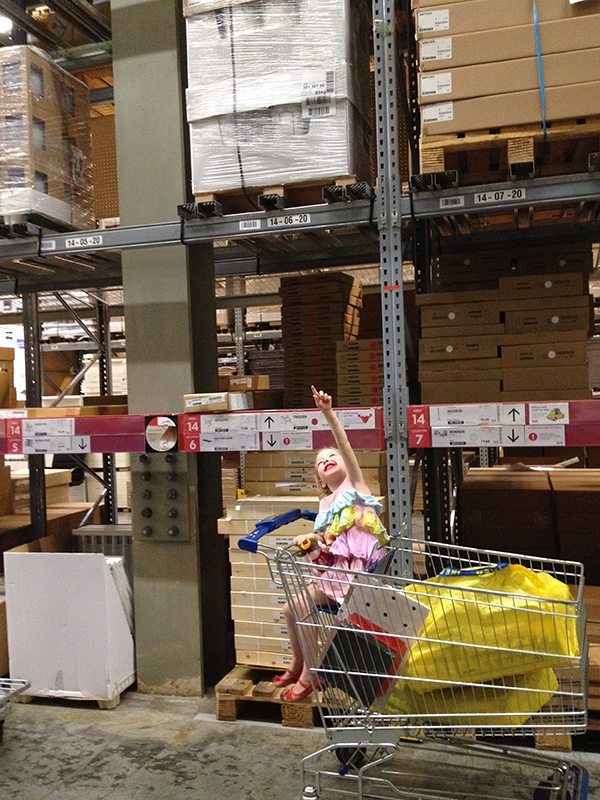
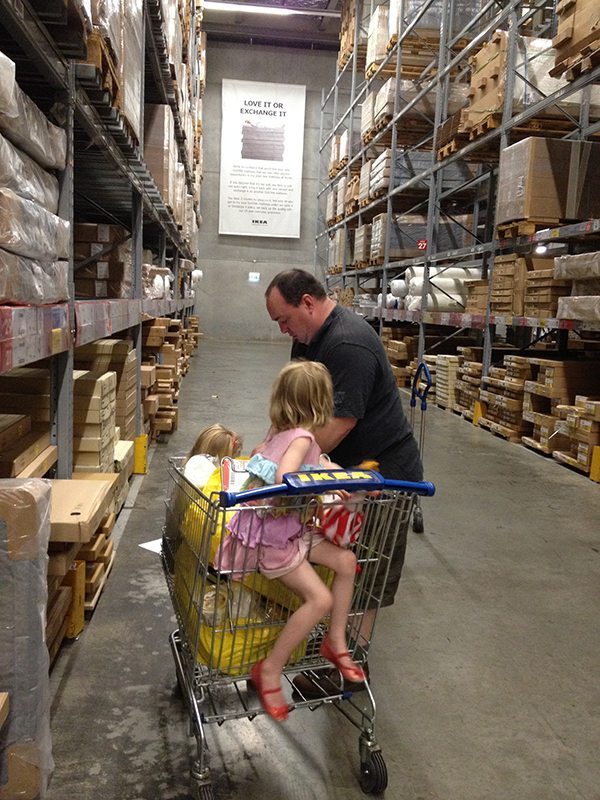
Today we ventured to IKEA. It was so busy, noisy and people were just everywhere. I suppose you should expect this on a public holiday and with school going back next week.
So why were we at IKEA?
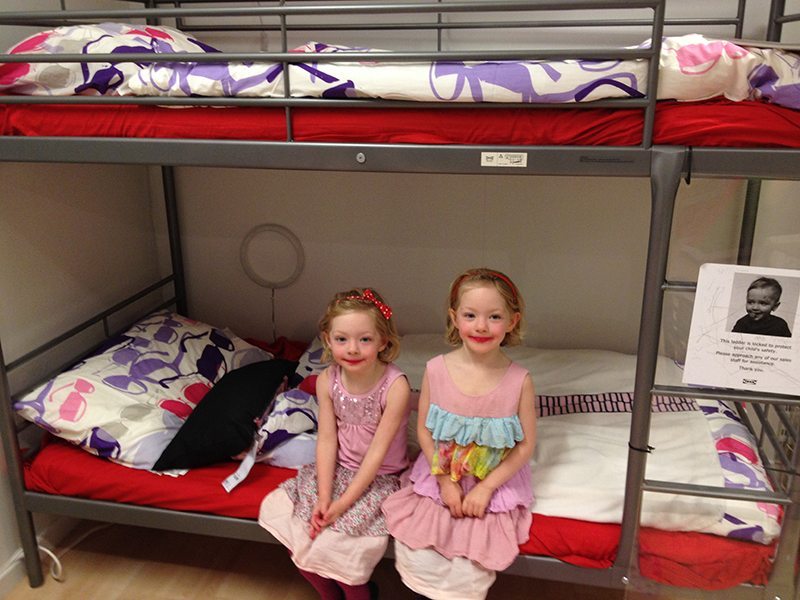
The twins are growing length wise so that means that we need bigger beds. They have also ruined a set of drawers and that is not helpful when I have school uniforms and clothes to put away, furniture that is failing is of course not helpful!
One other reason for getting the kids new furniture is that we need to maximize room in their bedroom and having a bunk bed, a reasonably sized wardrobe and drawers is going to help maximize space and help with storage options.
I wanted to do the revamp of the girls room before they start school to get things organized. It is a new year, new school and a fresh start for them. It is a big thing, and a nice new room with more grown up furniture will be a help. I cannot wait to get it all put together.
Here are some steps to make your trip to IKEA easier
- Check the IKEA website for exactly what product/s you are after. Take note of the codes, colours and style. We measured to make sure our choices would fit and sorted where they would be placed. As we are dealing with a small room making sure things fit and of course allow for more room for the kids is essential.
- You can either write them out, print it out or save it as a PDF to your iPad/Tablet or Smart Phone.
- When you get to the store go to the area that you would find your products in, for example, we were after a bunk bed and that was in kid’s bedrooms.
- When you are in the right section for the product you wish to buy there is some important info to get. The numbers for where the product is on the shelves in the warehouse. You need to have this info so that you can go and collect it, pay for it and take it home. There will be 2 numbers that you need: the first is an aisle number and the second is the article number. Copy this down and it will help you find the product/s
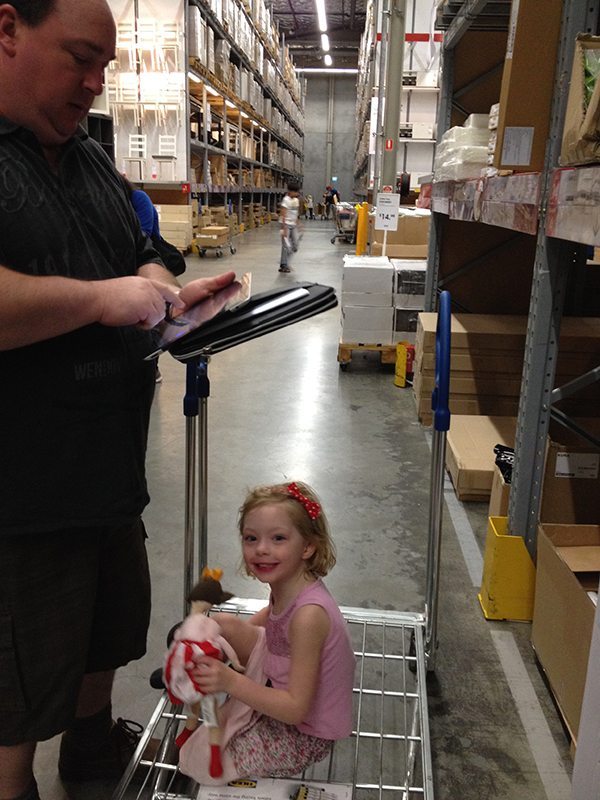
- We took pictures of it all on the iPad and used this to help us get to the products in the warehouse quickly. Don’t worry there is a computer if you are in doubt or things have been moved. You can enter the product into the computer and get the correct place for where it lives in the warehouse.
Have you struggled with furnishing a small space? How did you manage it? What were your tricks that you used to make it look bigger?
I am wanting to free up floor space to allow the twins to play more games in their room. The bunk bed will hopefully allow for this and give the kids more freedom to do more in their room.
The only other issue we have with a bunk bed is who is going to sleep up top?
This has been fixed by telling the girls that they will have a weekly roster. One kid gets to be up top for a week and the other on the bottom bed. Then after a week is over the kid who was on the bottom goes to the top bunk for the next week, and so on.
Now we have the flat packs on the spare bed in the study. Hubby goes back to work so the putting together of it all needs to wait till Saturday. I am not looking forward to putting it all together, but keen on the finished product. Cannot wait to see how it will look.
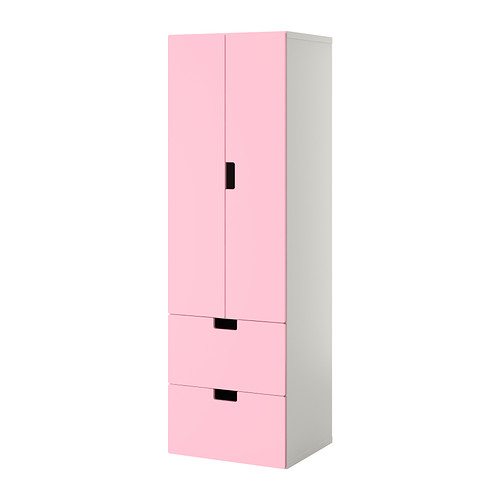
You have seen the bunk bed that we have purchased. Here is the wardrobe that we have got as well. However the draws are going to be different colours, although the top part will be pink. I will leave the rest as a surprise for the next post.
Stay tuned for the second part of my post about the updated twins bedroom.
Note: This post is not in any way affiliated with IKEA. I did get the urge to call them and ask if something can be organized as a new kitchen is just what we need. This post is just from a mummy that thinks that the stuff is cool and wanted to showcase how we are changing around a small room.

