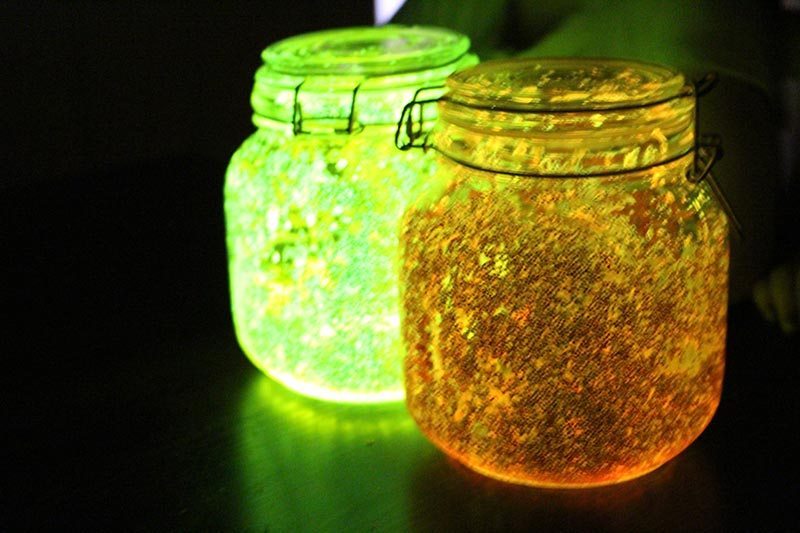
Would you like to create fairy lights?
Need a great activity to do with the kids? I have seen this on the web and thought “Does it really work?” “Will it do as advertised?” and as you guessed it the answer is YES!
Read on to find out what to do and what you will need.

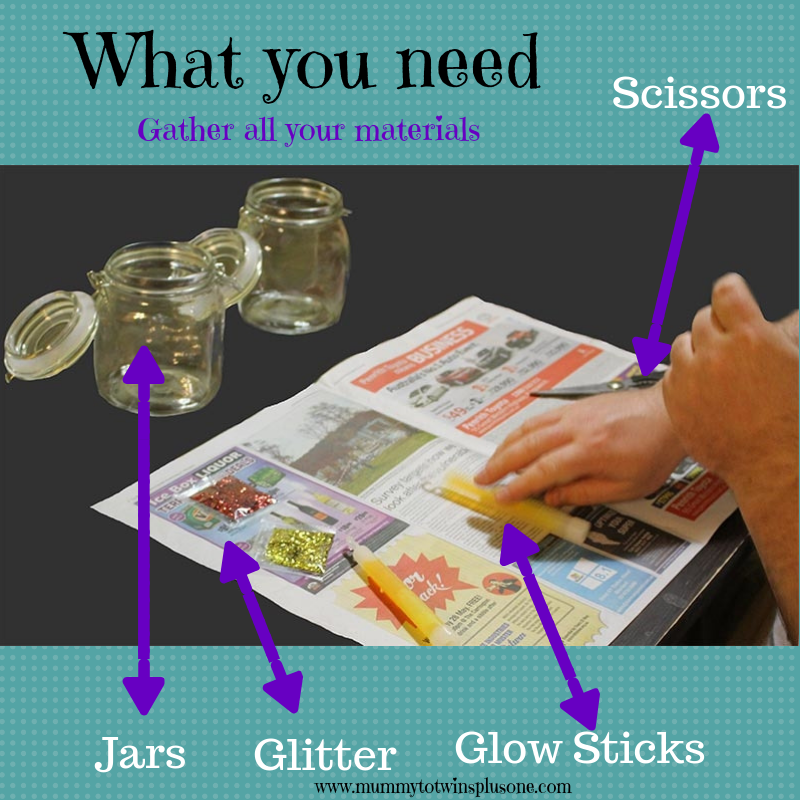
Now that you have the following items:
- Jars – I got ours from Big W. You might have some in your kitchen or pantry that are not being used.
- Glitter – You can get glitter from anywhere. Newsagency, supermarkets, $2 shops and so on. (To make your fairy lights really glow make sure to get the silver or gold glitter. You will see that we tried on with red glitter and it was not as bright.)
- Glow Sticks – I got ours from the local hardware store as it was cheap. I got a pack of two glow sticks for around $6.00.
- Scissors – You should have a pair but you might need to use a heavy duty kitchen scissors to make sure they can cut through the plastic on the glow stick
Here are the steps to follow to make your very own Fairy Lights…..
Step 1: Crack and Activate the Glow Stick
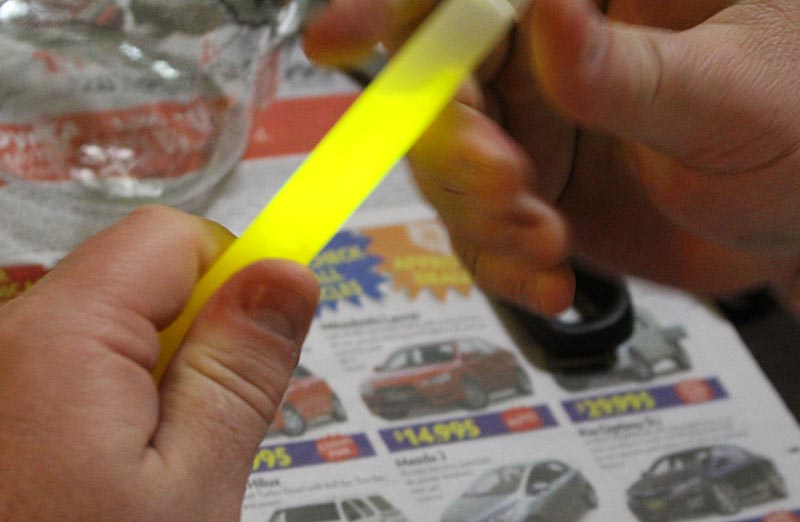
Note: Be super careful of the glass inside the glow stick. To make it work it needs to be still in the jar. Make sure that little fingers don’t touch it. Also, have sealable jars to ensure kids cannot open them.
Step 2: Cut the top off the glow stick – Be careful of the broken glass

Step 3: Empty out all the glowy goo into the jar
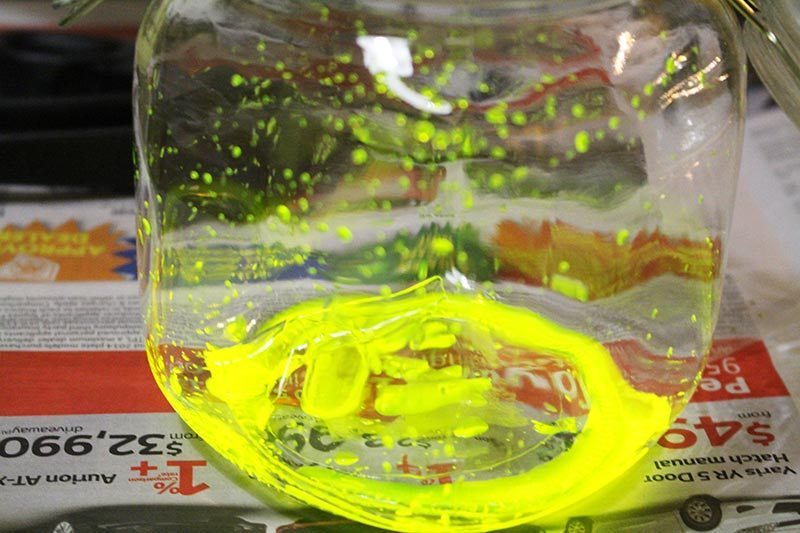
Step 4: Add the Glitter
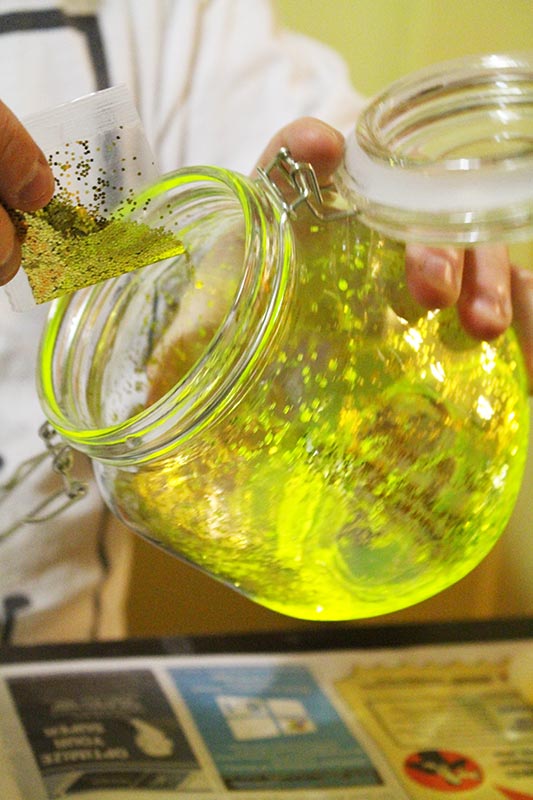
Step 5: Your Fairy Lights Are Complete – Have Fun!

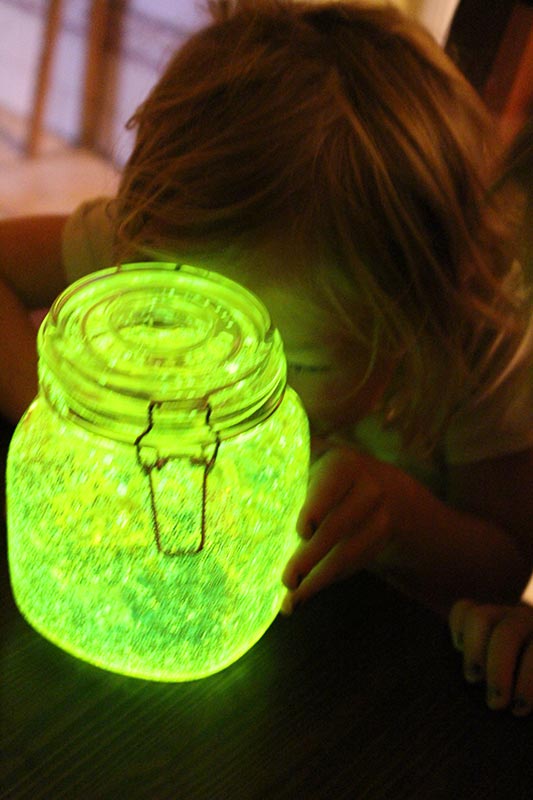
Note: Make sure to use gold or silver glitter as mentioned before. You will get much better results with lighter and brighter glitter.
I hope you have enjoyed this activity and my instructions on how we did ours. I am sure your little ones will love it as the twins cannot wait to give it another go.
Sign up for my newsletter
Stay current with all the things that are happening on Mummy to Twins Plus One. Don’t miss a thing by signing up for my newsletter. This newsletter will list all giveaways and fabulous things that are happening.
This post contains affiliate links
Originally posted June 16th 2014

I’m glad to see this worked for you. My niece tried something similar for her son’s birthday, last year, and they didn’t glow. I wonder if she failed to activate the glow sticks before she emptied them into the jar. Thanks so much for sharing your success!
Thanks for the comment Mama Carmody. Sorry to hear your niece had problems with hers. I would say give it another go. We are going to. One child was a bit sad that hers did not glow as much as the other. So my tip here is to make sure to use light glitter like silver and gold. Glad you liked the post. Have a wonderful day. Suzanne.
What a great effect! Well done. I bet the girls loved it.
Yes Trish, I was amazed how wonderful they looked. Something to do for a party or just for fun.
That looks awesome might get the kids to do it over Christmas with Grandma.